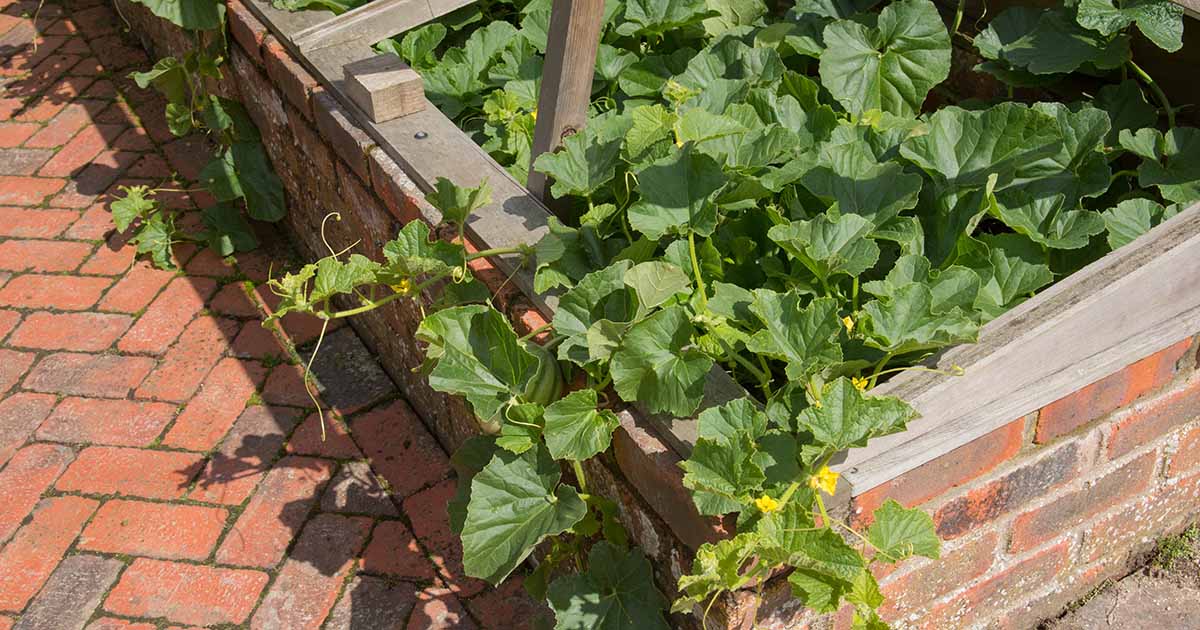
If you don’t have the room or the budget for a greenhouse but want to extend your growing season, a cold frame is the way to go.
Most gardeners use cold frames to extend the season earlier into spring or later into fall. Some even use them to grow during the winter months.
A cold frame is a small structure with four short walls and a transparent top that allows the sun’s rays to enter.
It creates a microclimate in your garden that is more friendly for plants that don’t do well in chilly or freezing weather. Think of it as a teeny, tiny greenhouse.
We link to vendors to help you find relevant products. If you buy from one of our links, we may earn a commission.
The microclimate inside the structure is typically one or two Zones warmer than your USDA Hardiness Zone.
Eliot Coleman, who literally wrote the book on cold frames, says that they are one of the most powerful tools you can have in your garden.
In his book, “Four Season Harvest,” available via Amazon, he calls his cold frame the “magic box.”
Ready to learn about using a magic box in your garden? Here’s what we’ll cover:
A cold frame is a small structure used to extend the growing season. It consists of four walls and a clear top that allows sun in.
The heat is trapped inside the structure, creating a microclimate warmer than the ambient temperature outdoors.
These structures are typically placed on the ground over the existing earth.
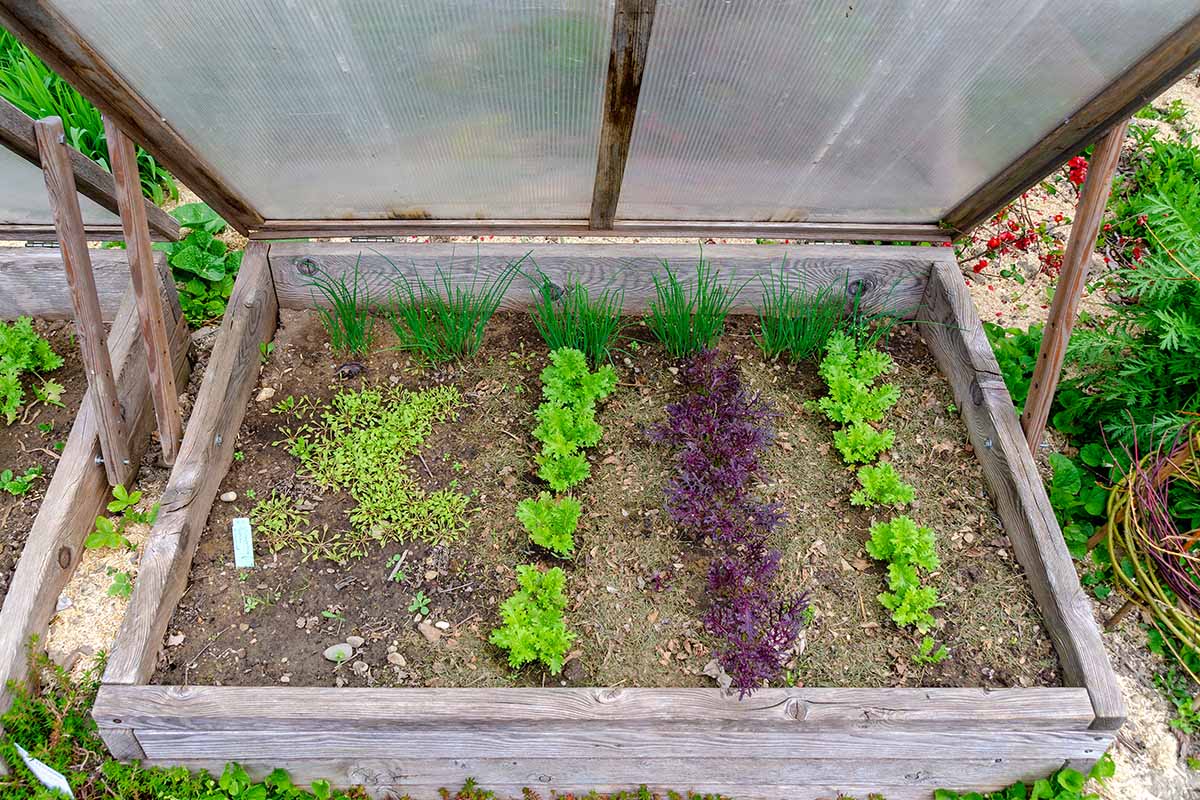
Some people choose to dig down a foot or so to amend the soil and improve drainage. Others choose to put a layer of soil in the base of the structure. You might also use pots or trays inside the cold frame.
One of the most important considerations is where you locate your structure.
Find yourself a spot in full sun on the south side of any tall buildings or trees. If you place it on the north, west, or east side of a building, it won’t receive full sun.
While you can float the structure out in the middle of a garden, field, or yard, a lot of gardeners like to place the cold frame against a building.
Placing it next to a brick wall can increase the heat inside the the structure a bit.
Most cold frames are designed to be slightly higher on one end and lower on the other to facilitate water runoff.
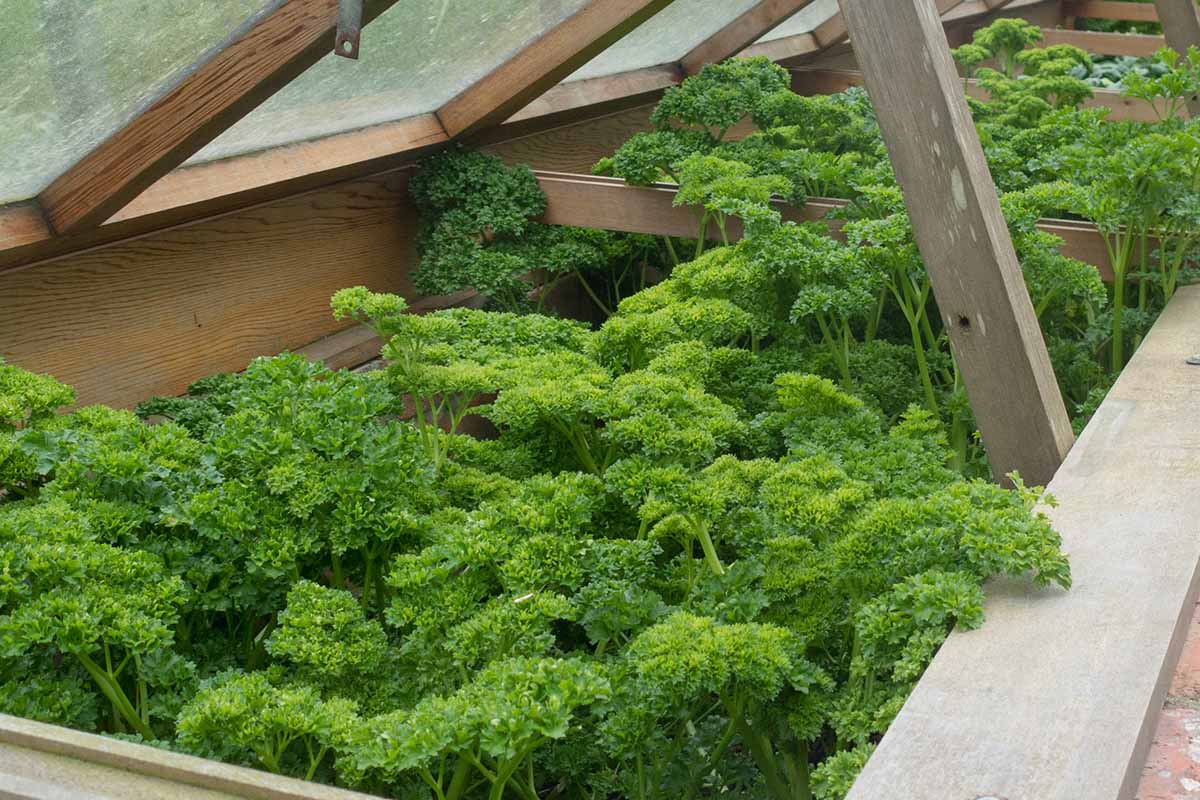
You don’t want the walls to be too tall or they will reduce the amount of light reaching the interior. But they can’t be too short, either. For example, a six-inch-high structure doesn’t allow for very tall plants.
A good compromise is a structure that’s about 18 inches tall in the back and nine inches in the front.
While there are no standard dimensions for a cold frame, you want to make sure it’s large enough to be useful but small enough to be accessible. Six feet long and three feet wide is about right.
Structures made from brick or concrete will stay warmer than those with wooden walls, but they typically cost more to construct. The same applies if you use double-pane glass versus something like a single piece of plastic.
The walls of the frame are typically permanent and you access the garden through the top, which is made out of a clear material.
You don’t have to hinge the lid, but a lot of people choose to. This makes it easier to prop it up to let in some air, and it keeps things in place.
But if you can’t afford or don’t want to hinge yours, you can always just lift up the clear cover and move it to the side when you need to access the garden.
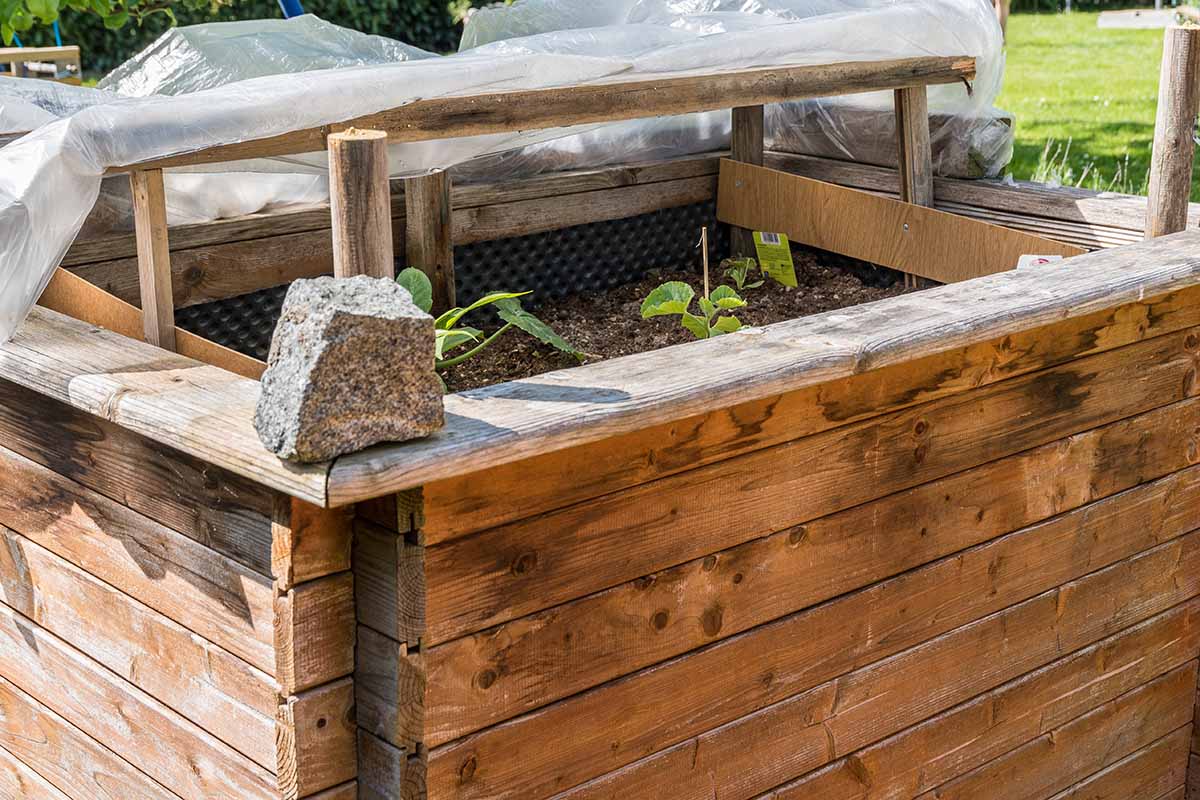
When using a cold frame, there are a few things that can help you make the most of the structure.
If you can heap straw, cardboard, or soil around the outside walls of the structure, that will help insulate it and retain more warmth inside. You can also cover it with a blanket at night to help retain a little extra heat.
You should also try to grow the plants closer together than you normally would. This helps increase the temperature, too.
1. Starting Seeds
Cold frames are indispensable for starting seeds in spring. For plants like tomatoes, peppers, and other heat-loving species, it’s best to start these indoors or in a greenhouse.
The structures can help to protect plants from frost, but they aren’t significantly warmer than the surrounding environment and likely won’t be warm enough for heat-lovers unless you already live somewhere like USDA Hardiness Zone 7 and up.
By the way, if you’re curious about how to grow in a greenhouse, check out our beginner’s guide.
As a rule of thumb, your cold frame can increase the ambient outdoor temperature by about 10°F.
Cold-weather seeds can be started with no trouble, even if there is a pile of snow on the ground. Many species are tolerant of low temperatures and won’t be killed by a freeze.
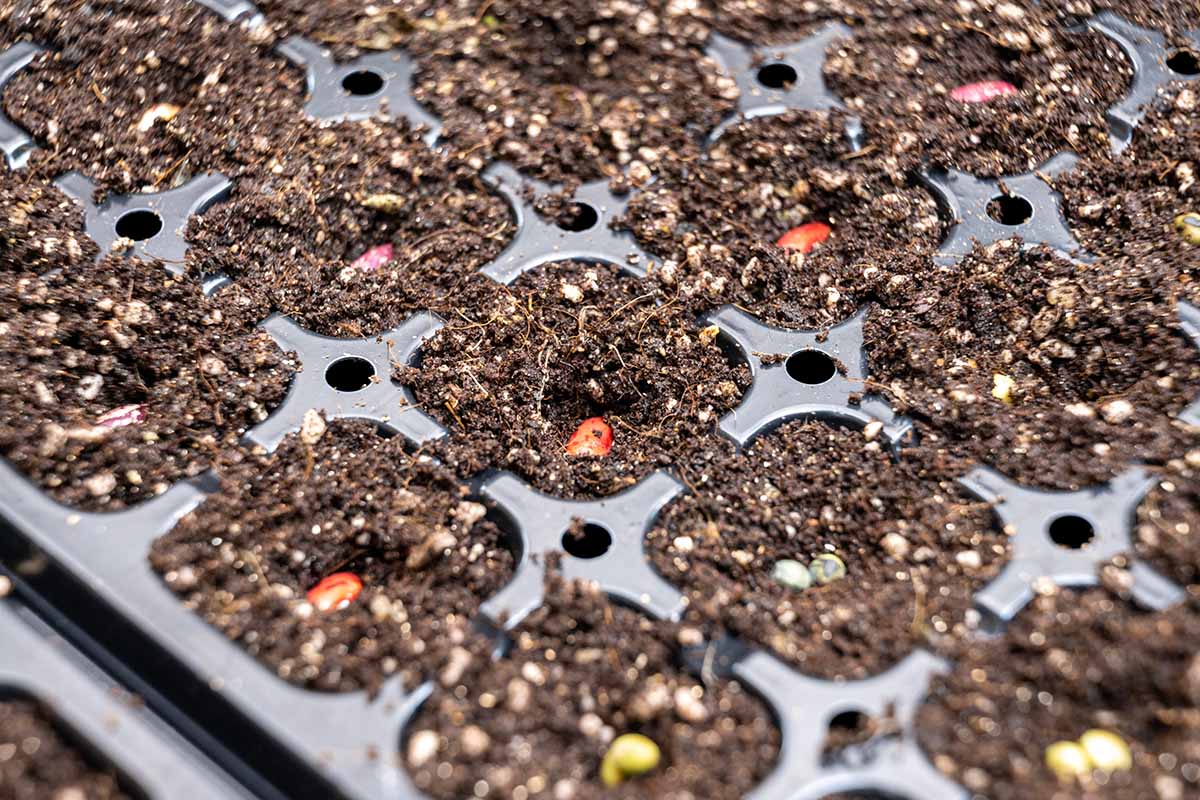
Start seeds like beets, broccoli, brussels sprouts, cabbage, carrots, cauliflower, celery, collards, endive, kohlrabi, lettuce, parsley, radishes, and spinach in pots or seed trays in your cold frame and watch the magic happen.
Keep the soil evenly moist and open the lid if the temperatures happen to climb above 60°F. Heat can build up rapidly when there is direct sunlight on the glass.
One of the best parts of starting seeds this way is that you can harden off the seedlings right where they are. Just open the lid for a bit longer each day until the last predicted frost date has passed.
For additional tips and other ways to use cold frames in the spring, check out our guide.
2. Harden Off Seedlings
When you start seeds indoors, you should always harden them off before transplanting outside. But sometimes a surprise rain, freeze, strong wind, or other inclement weather can derail your progress.
You can harden off seedlings in the cold frame, and you don’t have to worry about any surprises.
Using a cold frame also makes the process easier. Bringing pots in and outside can be a nuisance.
You can leave the seedlings in the structure and just open and close the top as needed to gradually introduce the seedlings to the real world. Just don’t start the process when there are days predicted to be below 32°F.
If you’re worried about your seedlings receiving too much sunlight, just toss a blanket or some shade cloth on top of the structure for a few hours in the afternoon.
Most seedlings should be hardened off over a period of a week or two.
Depending on how sensitive the plants are, you’ll want to leave the plant exposed to the sun and outdoor conditions for a half hour to an hour on the first day. Add a half hour to an hour the next day.
Keep adding a half hour to an hour each day for a week to 10 days. At this point you can plant them in their permanent home.
3. Grow Cold-Hardy Plants During Fall and Winter
Plants like claytonia, lettuce, mache, spinach, and radishes can live outside full-time in the winter in some areas.
You can assume that the temperature in the cold frame will be about 10°F higher than the surrounding environment and plant your vegetables and herbs accordingly.
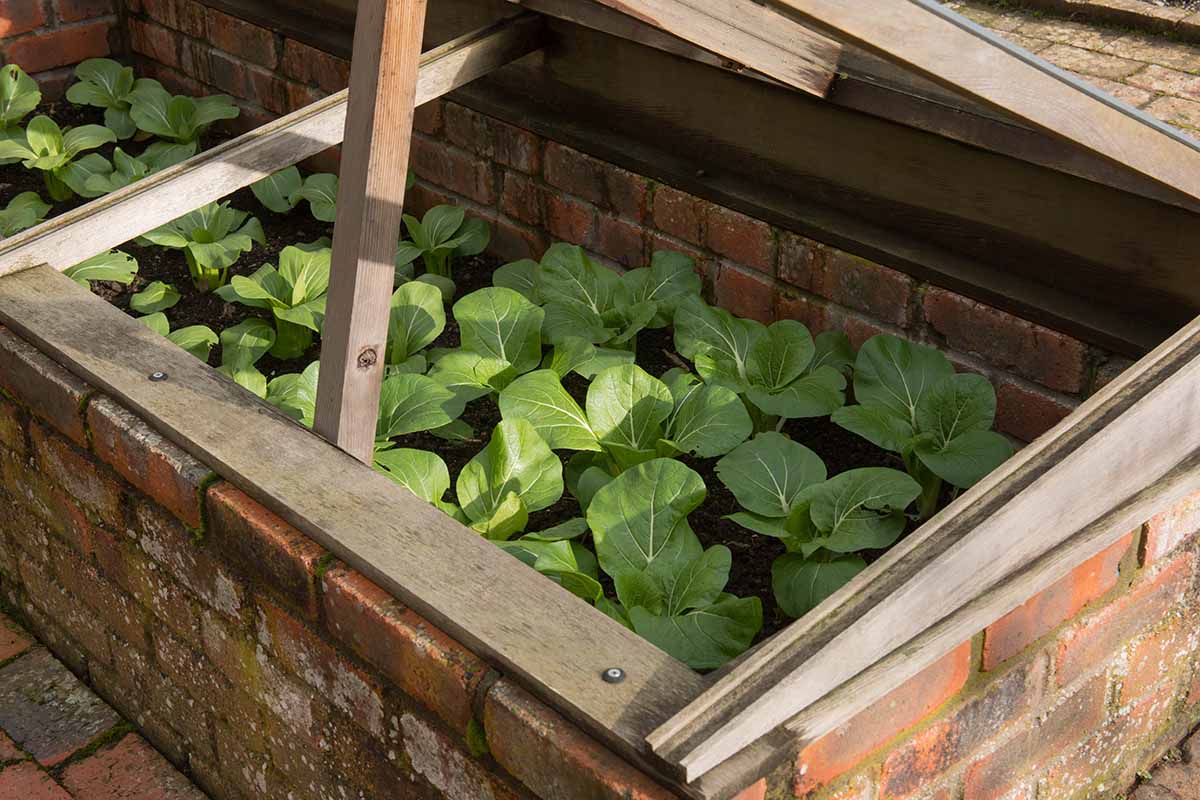
Start seeds in late summer or fall, and you can be enjoying fresh vegetables well past the holidays.
You’ll need a fresh layer of soil at the bottom. I like to mix in some well-rotted compost to loosen up the soil and improve the nutrition profile.
These structures are also useful if you live in a warmer area that receives a lot of rain in the winter, like the Pacific Northwest. In these areas, the biggest challenge isn’t cold temperatures but too much rain.
You can simply close up the structure and open it when you need to add a little water.
For specific information about how to cultivate plants in a cold frame during the fall, visit our guide.
4. Extend the Growing Season
There are some plants that require a longer growing season than Mother Nature provides in certain areas.
For me in the Pacific Northwest, it’s a struggle to grow tomatoes and peppers that need lots of warm days because even though we don’t have early or late freezes, we only have a handful of hot days.
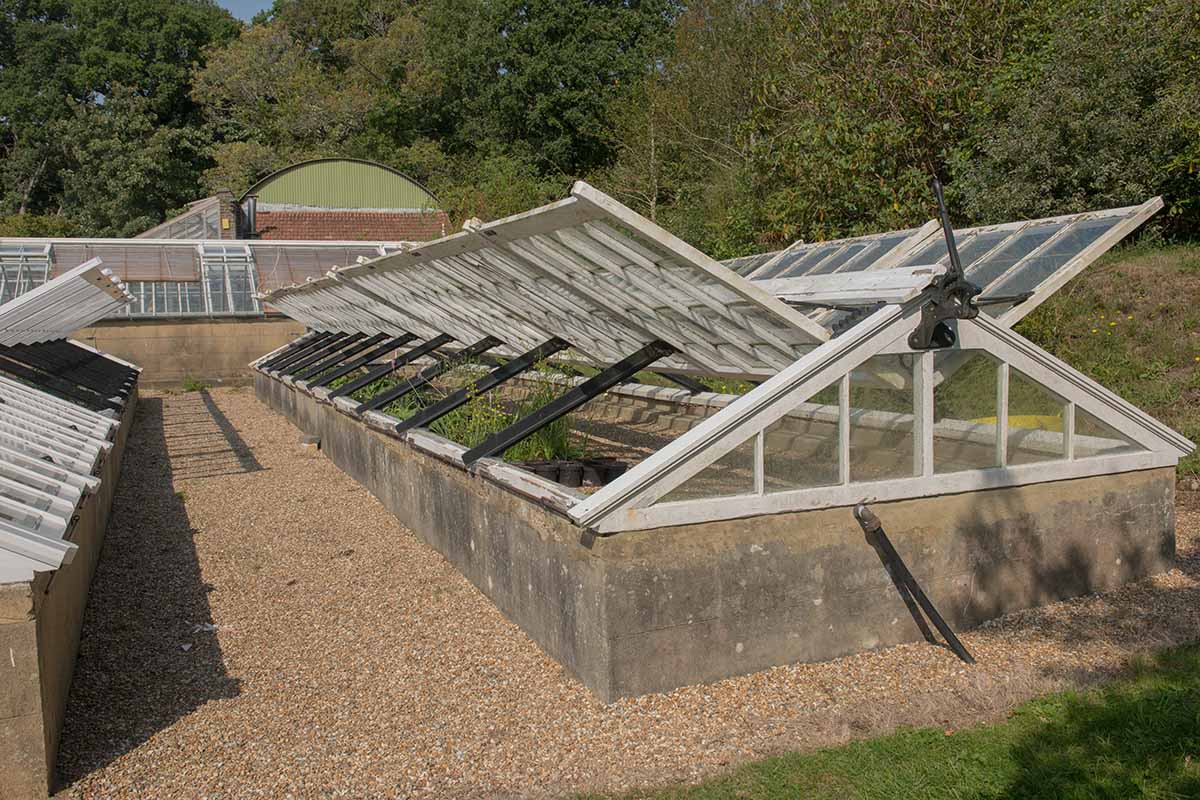
I will start my tomatoes in the cold frame and then open it as the days heat up. As the fall arrives, I close the structure again to trap the heat.
You can do something similar with any plant that typically doesn’t have enough time to mature in your neck of the woods.
Put the plant in the cold frame a few weeks before the last frost and keep it closed to allow the heat to build up.
As the days become warm enough, you can gradually start opening the structure for increasing amounts of time until it can remain open all summer until the first frost in the fall.
When the first frost arrives, close up the cold frame. You’ll have several more weeks of additional growing time in the protected microclimate.
5. Overwinter Dormant Plants
If you grow ornamentals like fuchsia (Fuchsia spp.), geraniums (Pelargonium and Geranium spp.), and hibiscus (Hibiscus spp.), you probably know that these plants are actually perennials, not annuals, even though many of us grow them that way.
If you keep them alive throughout the winter, they will come back the next year. This can be done by overwintering in a cold frame.
Some tender rhizomes, bulbs, and corms need to be overwintered in a warm area as well.
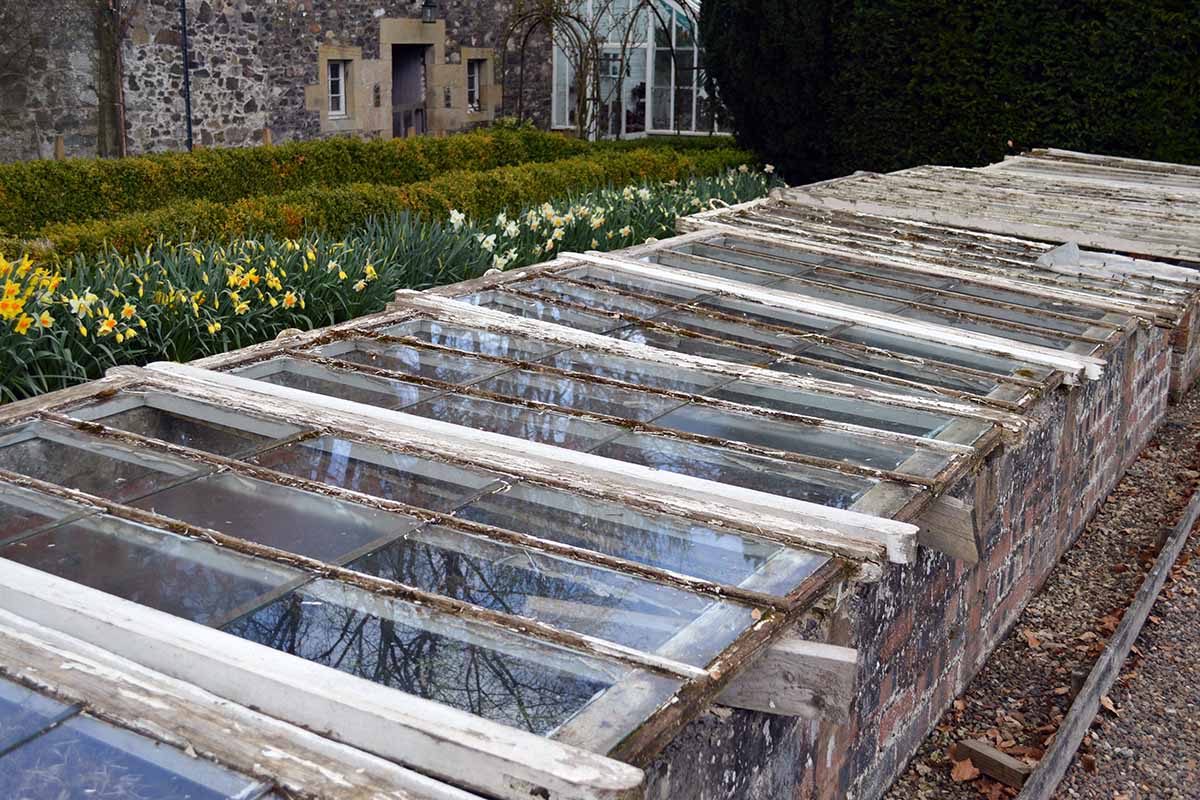
Dahlias (Dahlia spp.), canna (Canna spp.), and gladiolus (Gladiolus spp.) are often dug up and stored in garages and basements, but a cold frame also works well.
To overwinter tender perennials, trim the plant back to a few inches above the ground, dig it up or remove it from the container, and plant it directly in the soil in the cold frame.
Top the soil around the plant with some mulch to keep the roots warm, but keep the mulch from touching the stems.
You can leave plants in their containers if they don’t need the extra insulation around the roots, but I find most plants do better in the ground. If you leave them in pots, wrap the containers with blankets or cardboard.
Dormant plants need very little water. If you water them as much as you do when they’re growing, they will be susceptible to root rot. Don’t water until the soil has dried out at least a few inches down.
You also want to reduce the amount of light the plants receive. I secure a piece of shade cloth over the glass, but do whatever works for you.
Dormant plants require about a fifth of the amount of light that they would during the growing season. So for a plant that enjoys 10 hours of sun per day, about two hours should be sufficient during the dormant season.
Learn more about overwintering plants in a cold frame in our guide.
In the case of tubers or bulbs you’ve dug up, these need to stay dry and not be exposed to light.
Lay down a layer of straw and place the tubers or bulbs on top. Cover them with more straw. If you can’t put enough straw on top, add a layer of newspaper to keep them in the dark.
On days that climb over 50°F, open the cover to let some cool air in to prevent overheating.
Dedicate Your Own Monument to Cold Frames
Inch for inch, there’s no more powerful tool for extending the growing season.
If Eliot Coleman can use his cold frame to create year-round harvests in chilly Maine, the rest of us can harness their power, too.
How do you use your cold frame? Do you use it to harden off seedlings? Start seeds? Or grow some lettuce for mid-winter salads? Let us know in the comments section below.
If you’d like some other tips about how to extend the growing season, we have a few other guides you might find helpful. Take a look at these next:
