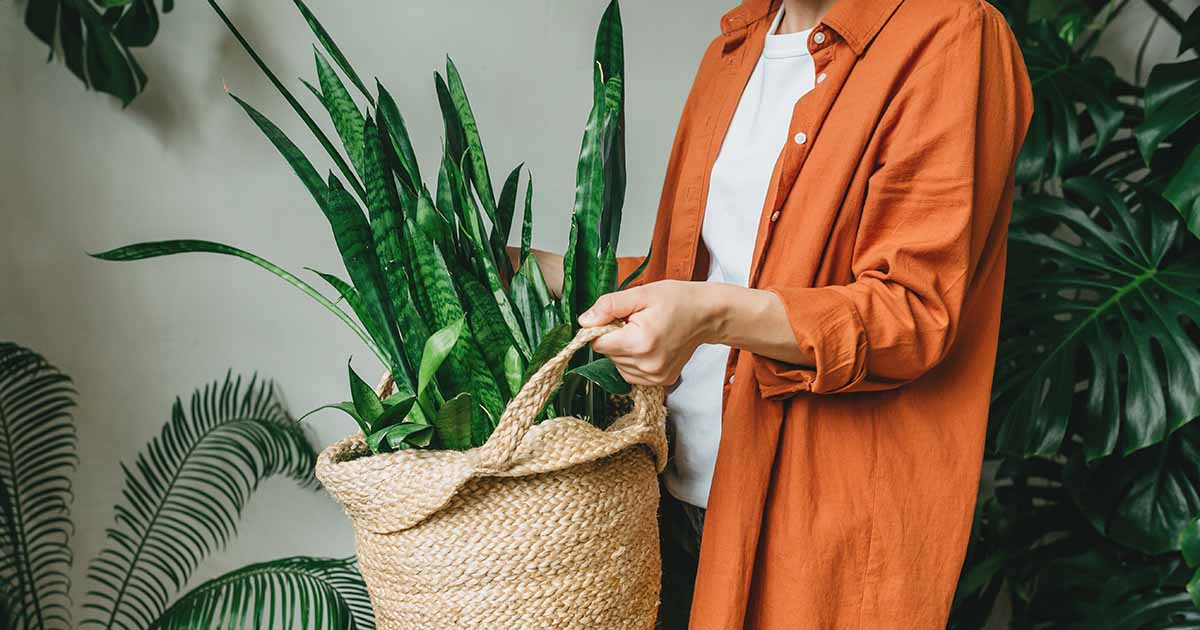
I always take my houseplants outside during the summer months. I have way too many of them, and it starts to feel a bit crowded in my home come April.
My annual spring cleaning involves shifting many of my houseplants onto the patio to enjoy the warm weather outdoors.
And then summer passes all too quickly, and it’s time to move them all back inside. But after spending months outdoors, if you don’t give your beloved plants the right transition, they might lose their leaves or even die.

We link to vendors to help you find relevant products. If you buy from one of our links, we may earn a commission.
Transitioning a plant back indoors after spending the summer outside isn’t all that difficult, it just takes some forward planning and a little time.
We’ll give you all the information you should know for success, coming right up. Here’s what we’ll cover:
As with many things in life, timing is everything. So let’s sort that out first.
When to Move Your Plants
Every species is different, but most species commonly grown as houseplants need to come inside before the air temperatures drop below 45°F.

Some tropical varieties are extremely sensitive to cold. Species like bird of paradise (Strelitzia spp.) should be brought indoors before the lows reach 55°F, for example.
Because the process takes a week or two, you’ll need to keep an eye on the forecast and plan ahead.
If your area tends to be unpredictable, just plan to start this process in early October or late September to be safe.
Preparation
You can’t just grab your plants and bring them indoors. Whether you realize it or not, your home is typically much darker than even a covered patio.
Unless you have a sunroom with glass walls and ceilings, you need to acclimate them to the lower light conditions.
Before you do that, check, double-check, and triple-check your plants for pests.

Look for sticky honeydew coating the leaves, spots of black sooty mold, tiny white flies, or bumps that can be scraped off the leaves or stem.
Look under the leaves and on the stem under leaves, in particular. That’s where the bugs like to hide.
If you see any pests, spray them off with a blast of water or scrape them off, in the case of scale. You can also treat the plant with insecticidal soap.
Visit our guides to aphids, scale, and whiteflies to learn more about these common houseplant pests.
Heavily infested specimens might need to be disposed of, or at least quarantined until you can resolve the situation. Otherwise, you run the risk of the pests infesting every plant in your home.
I also like to flush the soil and rinse the leaves and stems with water before bringing the plants inside.
This can help remove any pests that are hiding in the soil. To do this, just saturate the soil until water is running out of the drainage holes at the bottom of the pot and allow it to run out for a minute or so.
Then, let the soil drain completely, emptying out the saucer or catchment pot as needed.
Alternatively, set the pot in a sink full of water to submerge it to flush out any insects.
Don’t flush the soil using either technique for species that require dry soil, like succulents or cacti as it will likely take too long to dry and you run the risk of root rot.
You should also check for other hitchhikers in addition to the pests mentioned above. In the past I’ve had lizards and frogs hiding out in my containers. Watch for snakes, spiders, and small rodents, as well. Wipe the bottom of the pot since spiders seem to like that area in particular.
Next, remove any yellowing or dead foliage and any spent flowers.
If you need to repot, now is a good time. If you see roots circling the surface perimeter of the pot or coming out of the drainage holes, it’s definitely time for an upgrade or time to trim back the roots a little.
Not all species require repotting frequently, as many houseplants enjoy being rootbound.
If you do decide to repot, remove the plant from the container, gently loosen up the roots and brush away the soil.
Place a thin layer of potting medium in the bottom of the container so the plant is sitting at the same height it was originally. Set the plant in the container and fill in around the root ball with potting soil.
Don’t reuse your old soil. I know it’s tempting and I’ve done it a few times myself.
But potting soil becomes depleted of nutrients and compacted over time, meaning air and water can’t move through it. Use fresh potting soil and toss the old stuff into your garden, assuming your plant is pest and disease-free.
The potting soil you use depends on the species you’re growing.
Cacti and succulents do best in a light, loose mixture made formulated specifically for these types of plants. A majority of species are happy in a standard, water-retentive, loamy potting mix.
Something like De La-Tanks soil mix is the perfect mixture of organic compost, coco coir, pumice, and fertilizer.
It’s available in quart, eight-quart, and 16-quart bags at Arbico Organics.
Moving Indoors
If you’ve ever hardened off a plant before taking it outdoors, the process for transitioning your houseplants back indoors is the same.
Bring the plant inside and put it in the spot where you intend to keep it. Leave it there for an hour and then take it back outside.
The next day add a half hour to an hour. Add another 30 to 60 minutes the next day. Keep adding time indoors each day for at least a week, but preferably two.

Of course, if the temperature drops suddenly, it’s better to bring your plants inside too quickly than to leave them outside in the cold.
If you do have a sunroom, you’ll still want to transition the plants gradually to the indoor conditions, but you can do it more quickly.
Ongoing Care
It’s entirely possible that, despite your efforts, your plants will still drop a few leaves. Don’t worry, this is totally normal.
Many species respond to an environmental change by dropping their leaves. Trim off any leaves that turn brown or yellow.
However, if the plant drops a majority of its leaves or begins to grow leggy, with long internodes (parts of the stem between each node), it’s a sign that the plant isn’t receiving enough light.
In that case, you’ll want to move the plant to a brighter spot or give it supplemental lighting.

Most plants will need significantly less moisture than they do when they are situated outside during the growing season.
For most species, you should allow the soil surface to dry out between watering.
Learn more about how to water houseplants in our guide.
The same applies for fertilizers. Most popular houseplant species won’t need any fertilization or very little, during the winter months.
Unless the species care guidelines specifically call out for food in the winter, don’t feed your plant.
Our guide to fertilizing houseplants has more information.
Take Cover
Houseplants enjoy a summer vacation outdoors as much as the rest of us, but unlike you and me, they need special care when moving from the patio to the living room.

What kind of houseplants are you growing? Have they been outdoors during the summer? Let us know your set up in the comments section below.
Now that you’ve got the know-how to move your plants indoors in the winter, you might be looking for some additional houseplant care tips. If so, we have some guides that could help, like these:

