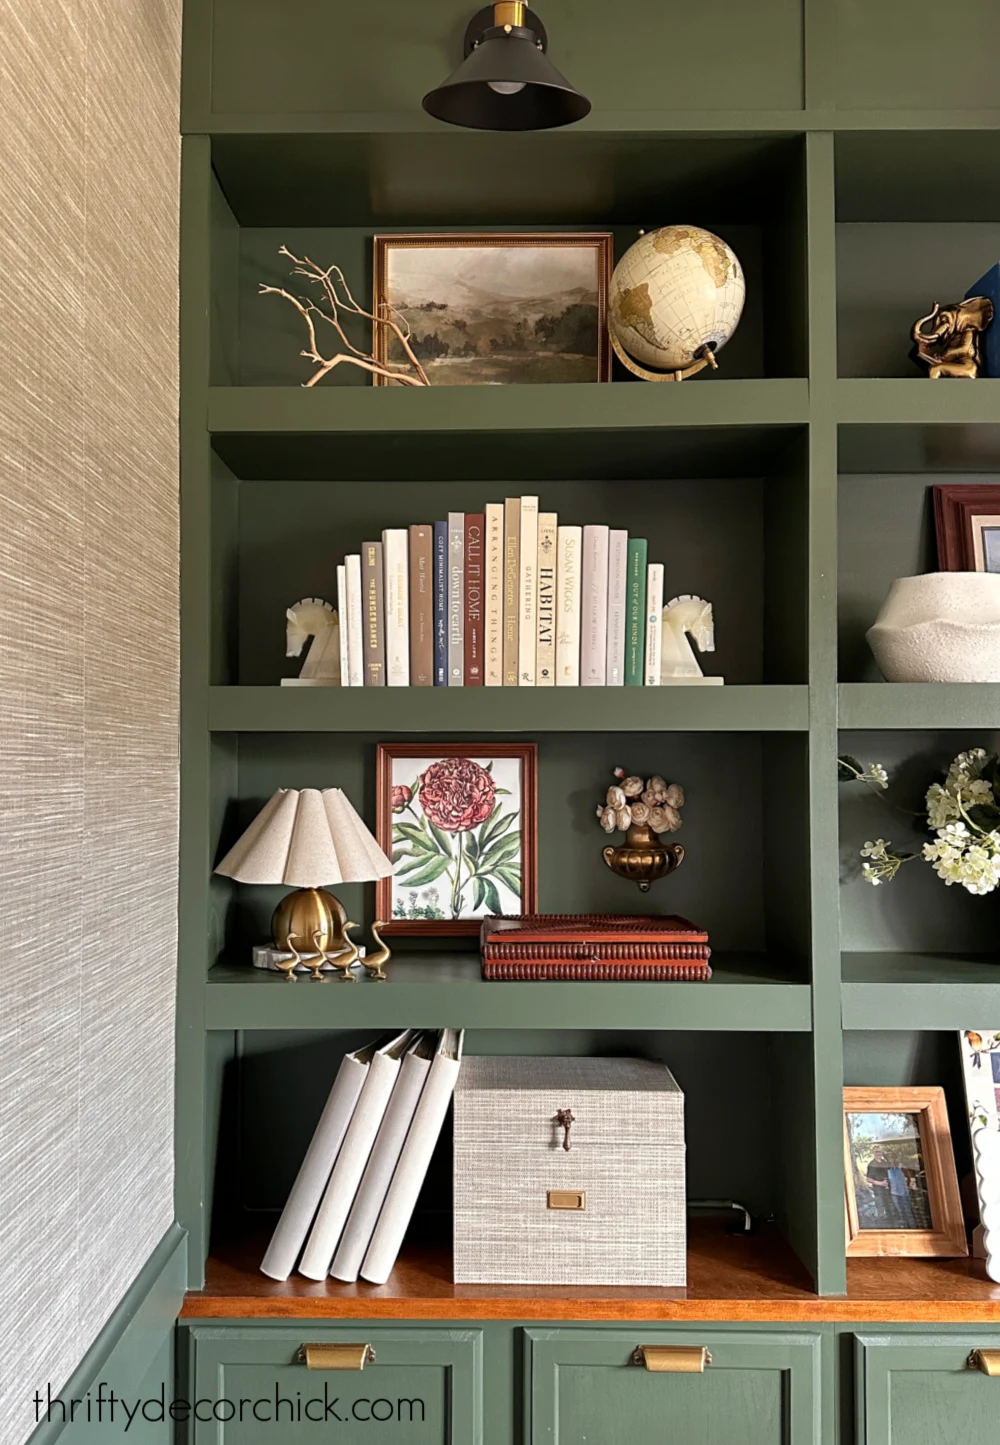
Moody library/office makeover with grasscloth wallpaper.
I’ve been hard at work transforming my home office with wallpaper and painted
bookcases!
I know, I know…I say this a lot. But this space is turning into one of my
all time favorite makeovers. I don’t think I could love this room more!
The room looked great, but I wanted to add some warm finishing details and
change a couple of things up.
This post may contain affiliate links for your convenience.
I may earn a small commission when you make a purchase through links.
It worked perfectly with the built ins and was much calmer and easier
to work with than the other designs I looked at. I’m so glad I found it!
You will need clean walls and it is recommended to wait
four weeks after painting to apply removable wallpaper.
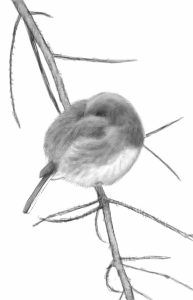
ten Audubon prints on the long wall in my office, as you can see in this
before pic:
I’ve had those forever and still love them! They used to hang in our old
living room:
So anyway, after hanging those ten frames perfectly spaced out years ago, I
did not want to have to do that again.
Instead, I kept the nails in the wall as I wallpapered, and then when I got to
that spot, I pressed down to feel where the nail was and marked it:
I pulled up the peel and stick wallpaper up to remove the nails, then
applied it back to the wall normally.
When each piece of wallpaper was fully stuck to the wall, I found my marks
and reinserted the nails in each spot:
This helped a TON! I saved so much time with this method.
I spent a couple hours a day working around the top two thirds of the walls
hanging the wallpaper. It took a few days, and I was SO thrilled with the
outcome!:
When I hung this artwork shortly after we moved in, I had no idea I’d be
using green in the room. Turns out the Vintage Vogue paint color works
perfectly with the leaves in the art.
After the wallpaper was up, I started at least some of the trim work that
will go around the bottom third of the walls.
Because I’ll be installing wainscoting, I needed to remove the existing
baseboards:
I think a large pry bar and a scrap piece of wood works just as well. If
you have that, don’t waste your money on this tool!
I replaced the base with a simpler 1×6 inch wood board that has a flat top,
so my trim work can butt directly up to it:
While I was at it, I installed that chair rail (1×4 inches) as well. I
painted the trim and the space between with the same green paint as the
bookcases.
I’ll be adding some detailed trim between the chair and baseboards
soon!
The only major item I want to change out in this room is the rug. I tried
out a bigger rug I found online and when I laid it out one evening, I really
liked it in the room.
But there were a couple issues. Even after steaming, it just
would not lay flat:
The rug comes folded and the creases would not budge. I taped down the edges
with rug tape and it still didn’t help to flatten it out. I was super
concerned this would be a tripping hazard. (I’m not getting any younger!!)
😊
Crazy thing was, the rug is so lightweight I couldn’t even vacuum it. It
would get stuck in the vacuum no matter what setting I had it on.
Also, when I walked in the room first thing the next day, I hated the
colors. It felt super heavy and way too dark. The description says it’s
supposed to be green and brown, but I only saw brown and black.
The next project I completed was changing out the backs of the bookcases.
Previously I hung a cherry blossom wallpaper on that wall, and needed to
remove it before painting.
I used a new, sharp razor blade to lightly score the wallpaper around all
the edges:
The wallpaper came off almost perfectly! I only had a couple of small spots
that pulled away some of the drywall.
After the walls were bare, I gave the backs of each shelf three coats of the
green paint on the rest of the built ins (Vintage Vogue by Benjamin
Moore):
Then it was time to start (re)decorating the shelves! The previous wallpaper
on the backs was neutral, but still too busy to add a lot to each
shelf.
Now that the bookcase is all one color, I could fill them a little more.
Almost all of the decor is what I had on hand, but I’ll link the few newer
items below.
I find decorating shelves to be the hardest, but I’ve never been happier
with a decorated bookcase or built in before! I had so much fun reworking
the decor.
The shelves are filled with items and memories I truly love
and function perfectly for me.
Some of the decor stayed the same, I just moved it around or added to it.
I’ve had those brass elephant bookends forever, and added them to the row of
books:
The dark vase is from Hobby Lobby and I think I may have gotten the
hydrangea stems from there as well, but I’ve had them for a while.
The shelf in the middle pretty much stayed the same, but I gave the artwork
frame a quick coat of paint. I’ll share all of the little DIYs I’ve done in
this room soon!
I’ve never displayed my college diploma! It’s been
nearly 30 years 😳 since I
graduated, but I thought why not?
the top from Hobby Lobby and the
CUTE little brass lamp:
round up of great countertop lamps! It’s just beautiful — the size is perfect and the scalloped linen shade
is a great little detail. It’s my favorite decor find in a long time!
I also adore that little bitty brass vase on the wall. I found that at an
antique store years ago and this is the perfect spot for it.
I’ll be back soon with more updates in this space! So far I’m thrilled with
the progress. I’m focused on making this room really reflect me this time
around. I’m sure that’s why I love it so much.
If I forgot anything or if you have questions about a project I described
here, please let me know.


