Tips for purging and storing photos, artwork and paper mementos.
Purging family keepsakes, photos and children’s artwork can be SO overwhelming.
As with any major decluttering project I take on, the process of sorting through and organizing these mementos took a lot of time!
From start to finish, it took me NINE months to complete the process of going through all of our most treasured photos and paper memorabilia.
I learned a lot through the process and wanted to share some tips with you. 🙂
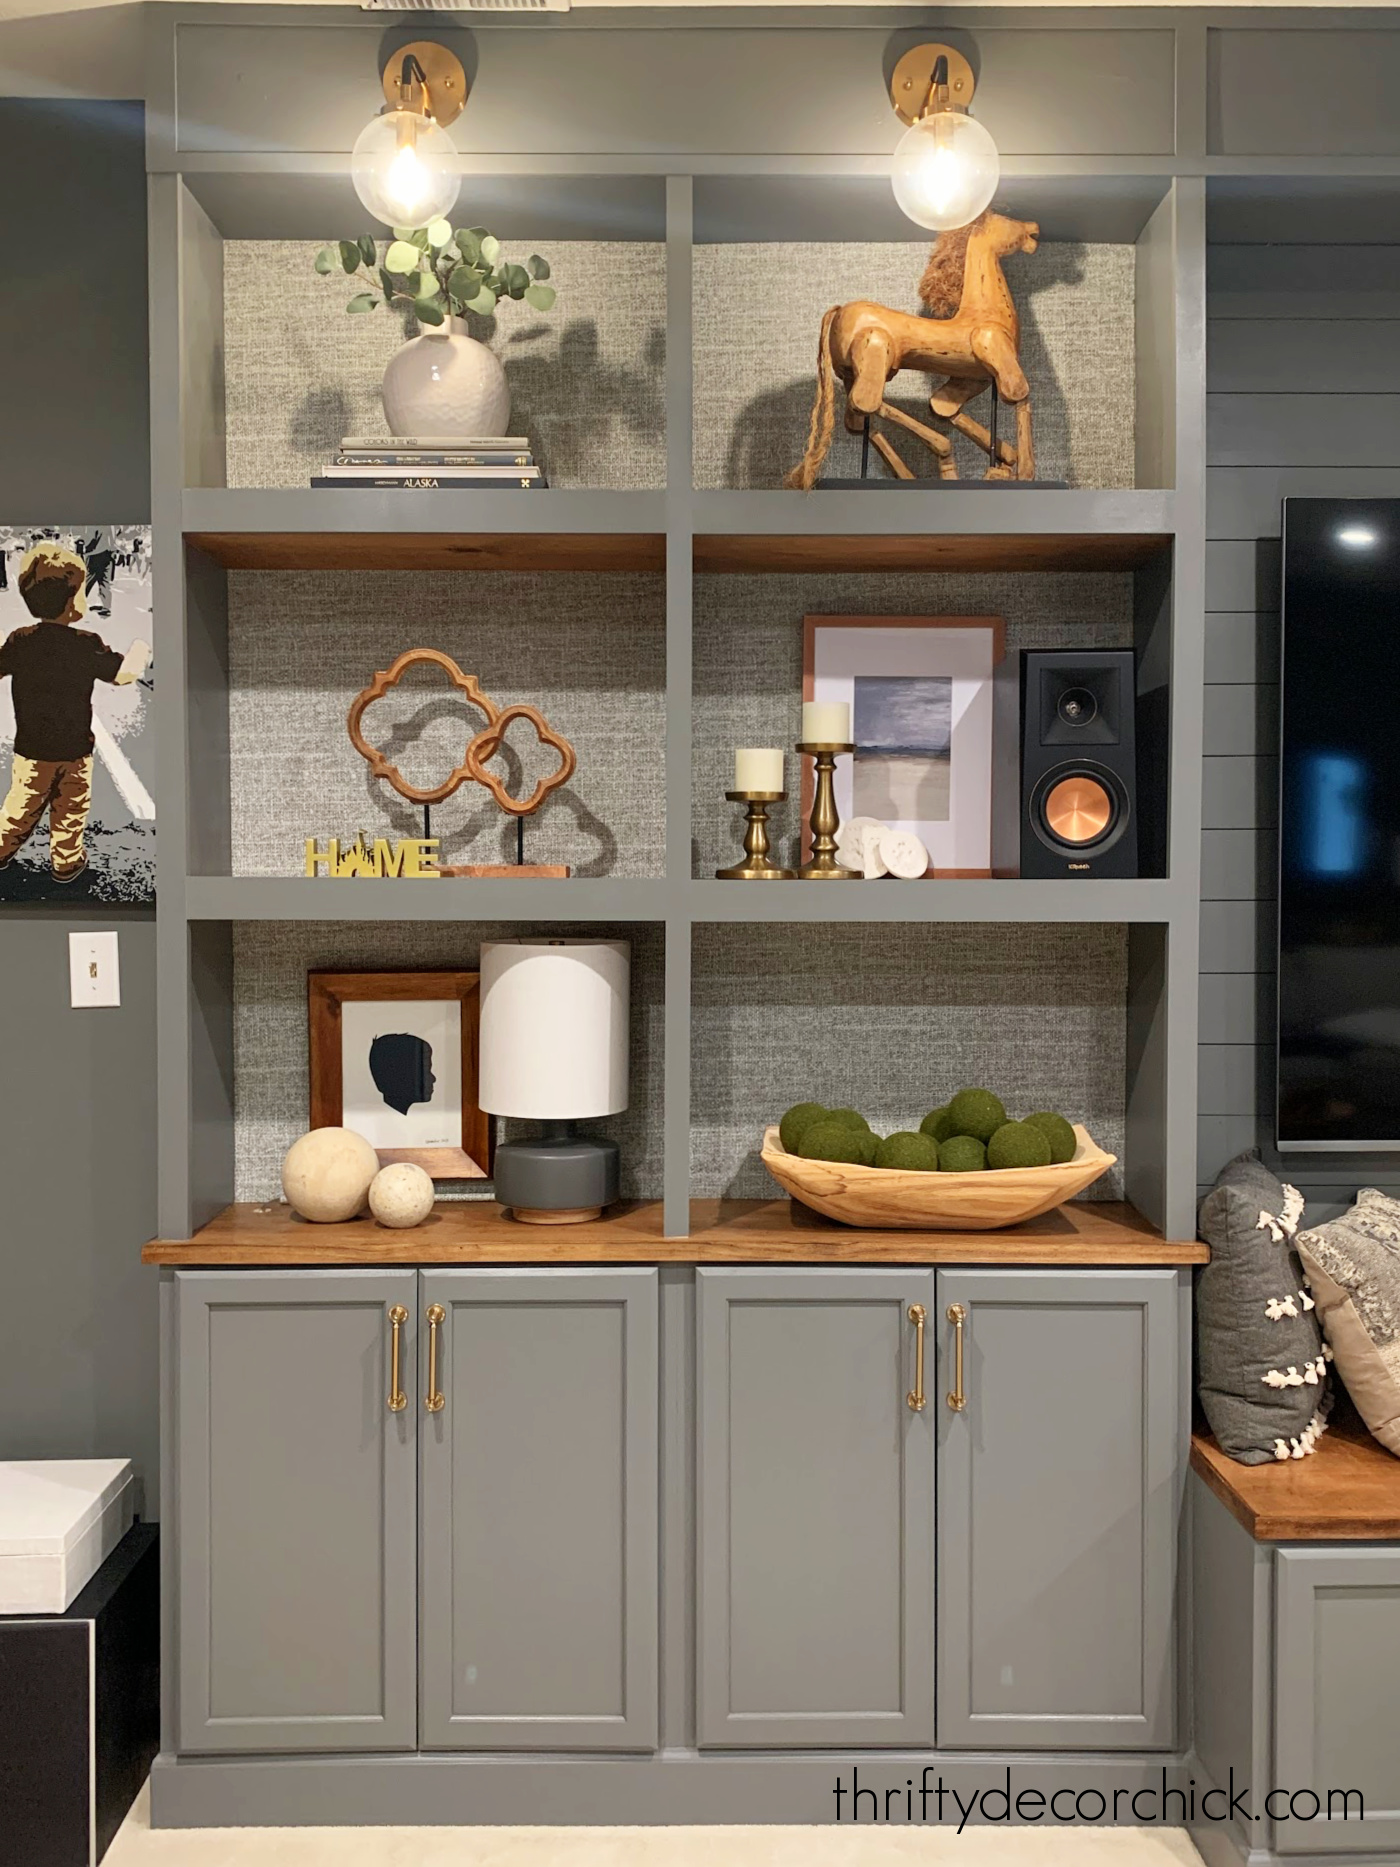
I knew this was the perfect spot!:
This post may contain affiliate links for your convenience.
I may earn a small commission when you make a purchase through links.
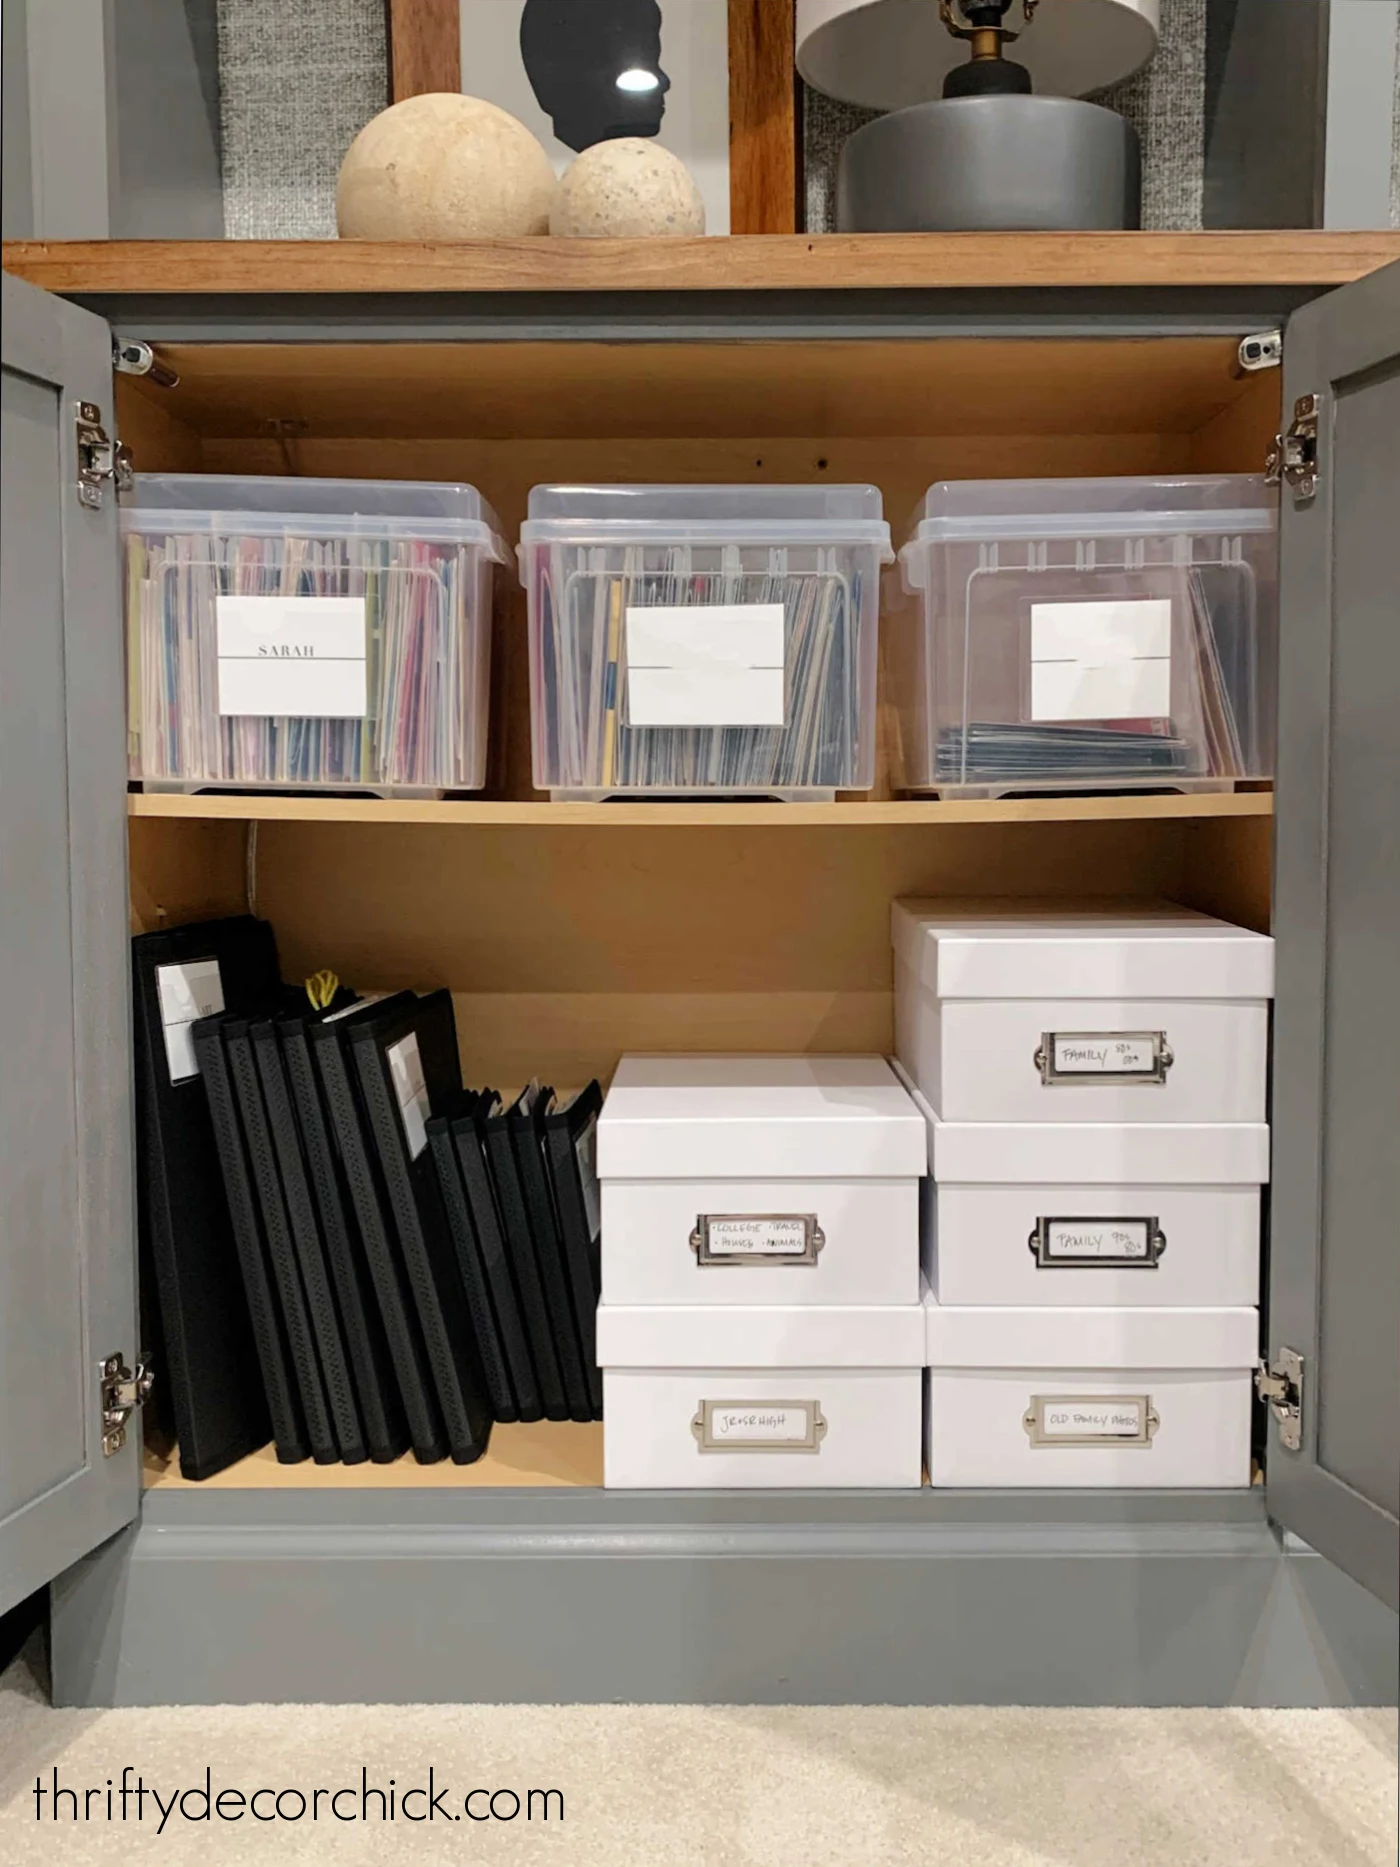
I still had plenty of room, so one of those cabinets is now a storage spot all of our family photos and stuff from our kids’ childhoods.
I had five main “paper” items to sort through and store:
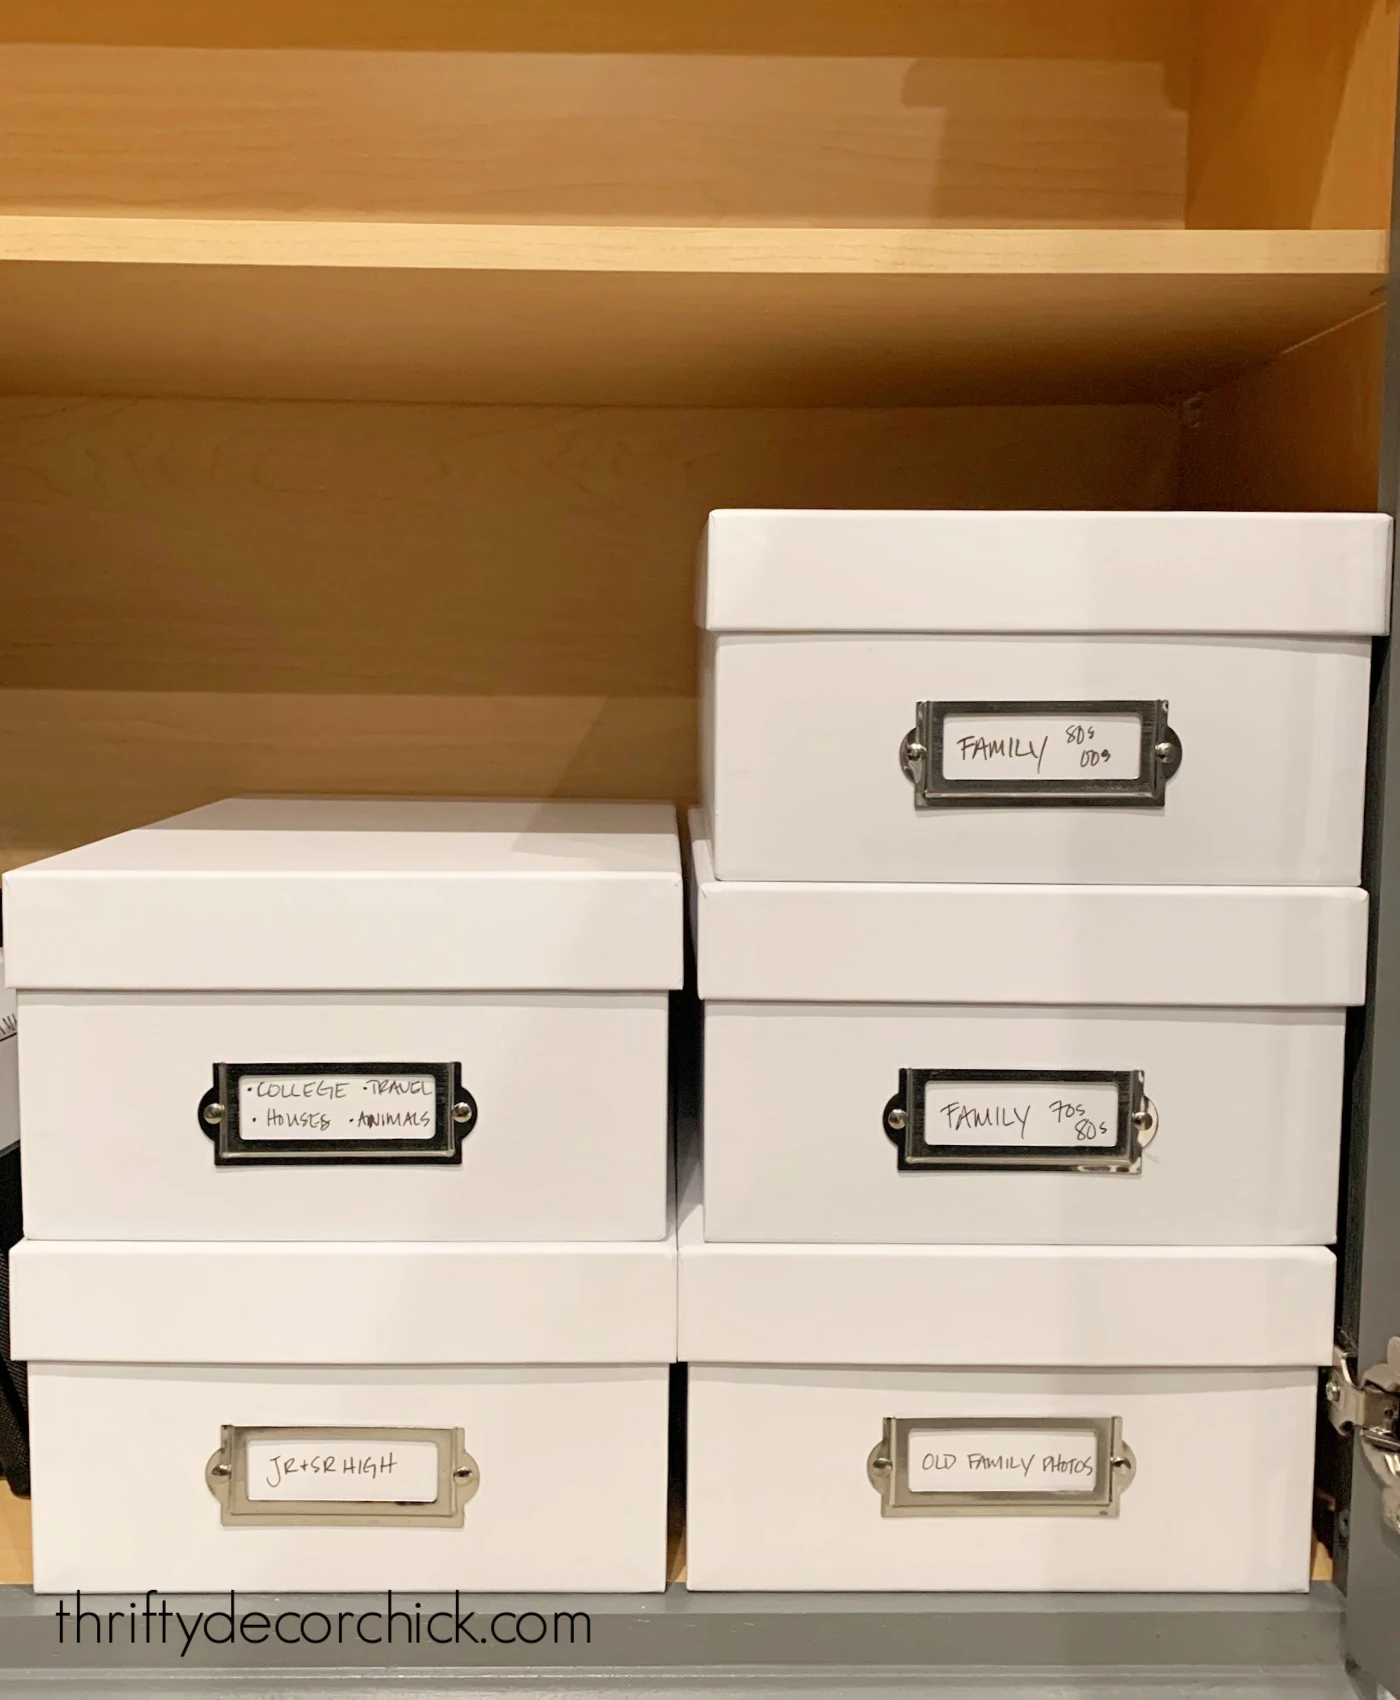
- Small photos — we had eight photos boxes FULL.
- Medium to large photos — things like school and family photos. Some of my old family photos (some nearly 100 years old!!) are HUGE, and I wanted to find a way to enjoy them but keep them protected.
- Kids’ schoolwork — PILES of school projects ranging from tiny to huge.
- Mementos from our childhoods, travel and school like report cards, music programs and ticket stubs.
- Greeting cards — more on that in a minute!
My first step was to go through everything to decide what to keep.
There is a difference, and I find keeping items I LOVE so much easier than deciding what needs to go.
If I don’t love something, I no longer feel guilty donating it. And if I LOVE it, I no longer feel guilty for keeping it, no matter how silly it may seem. It really is freeing to purge the clutter this way!
Step one: The photos
My first part of this project was sorting through thousands of photos. It took me a loooong time to do this.
Family photos and a small box of items are the only things from my childhood that my Mom was able save from move to move…so I cherish those photographs.
Because of that, a few years ago I would have felt bad about tossing ANY photos.
- I’ve learned if I don’t know the person in a picture and the people in my life who do (say, my Dad), don’t want the photos…I can toss them.
- I can toss blurry photos I took from the bus windows on Girl Scout and school field trips. 🙂
- I can also throw away doubles from all of the rolls of film I took in middle and high school. (I did text some to friends to see if they wanted them.)
It was SUCH a great feeling to toss a ton of the photos that were cluttering up the ones I wanted to enjoy. I whittled the photos down from eight boxes to five.
They worked so well for the photos, I decided to use these folders for the artwork and paper memorabilia as well.
Step two: Kid’s artwork and mementos
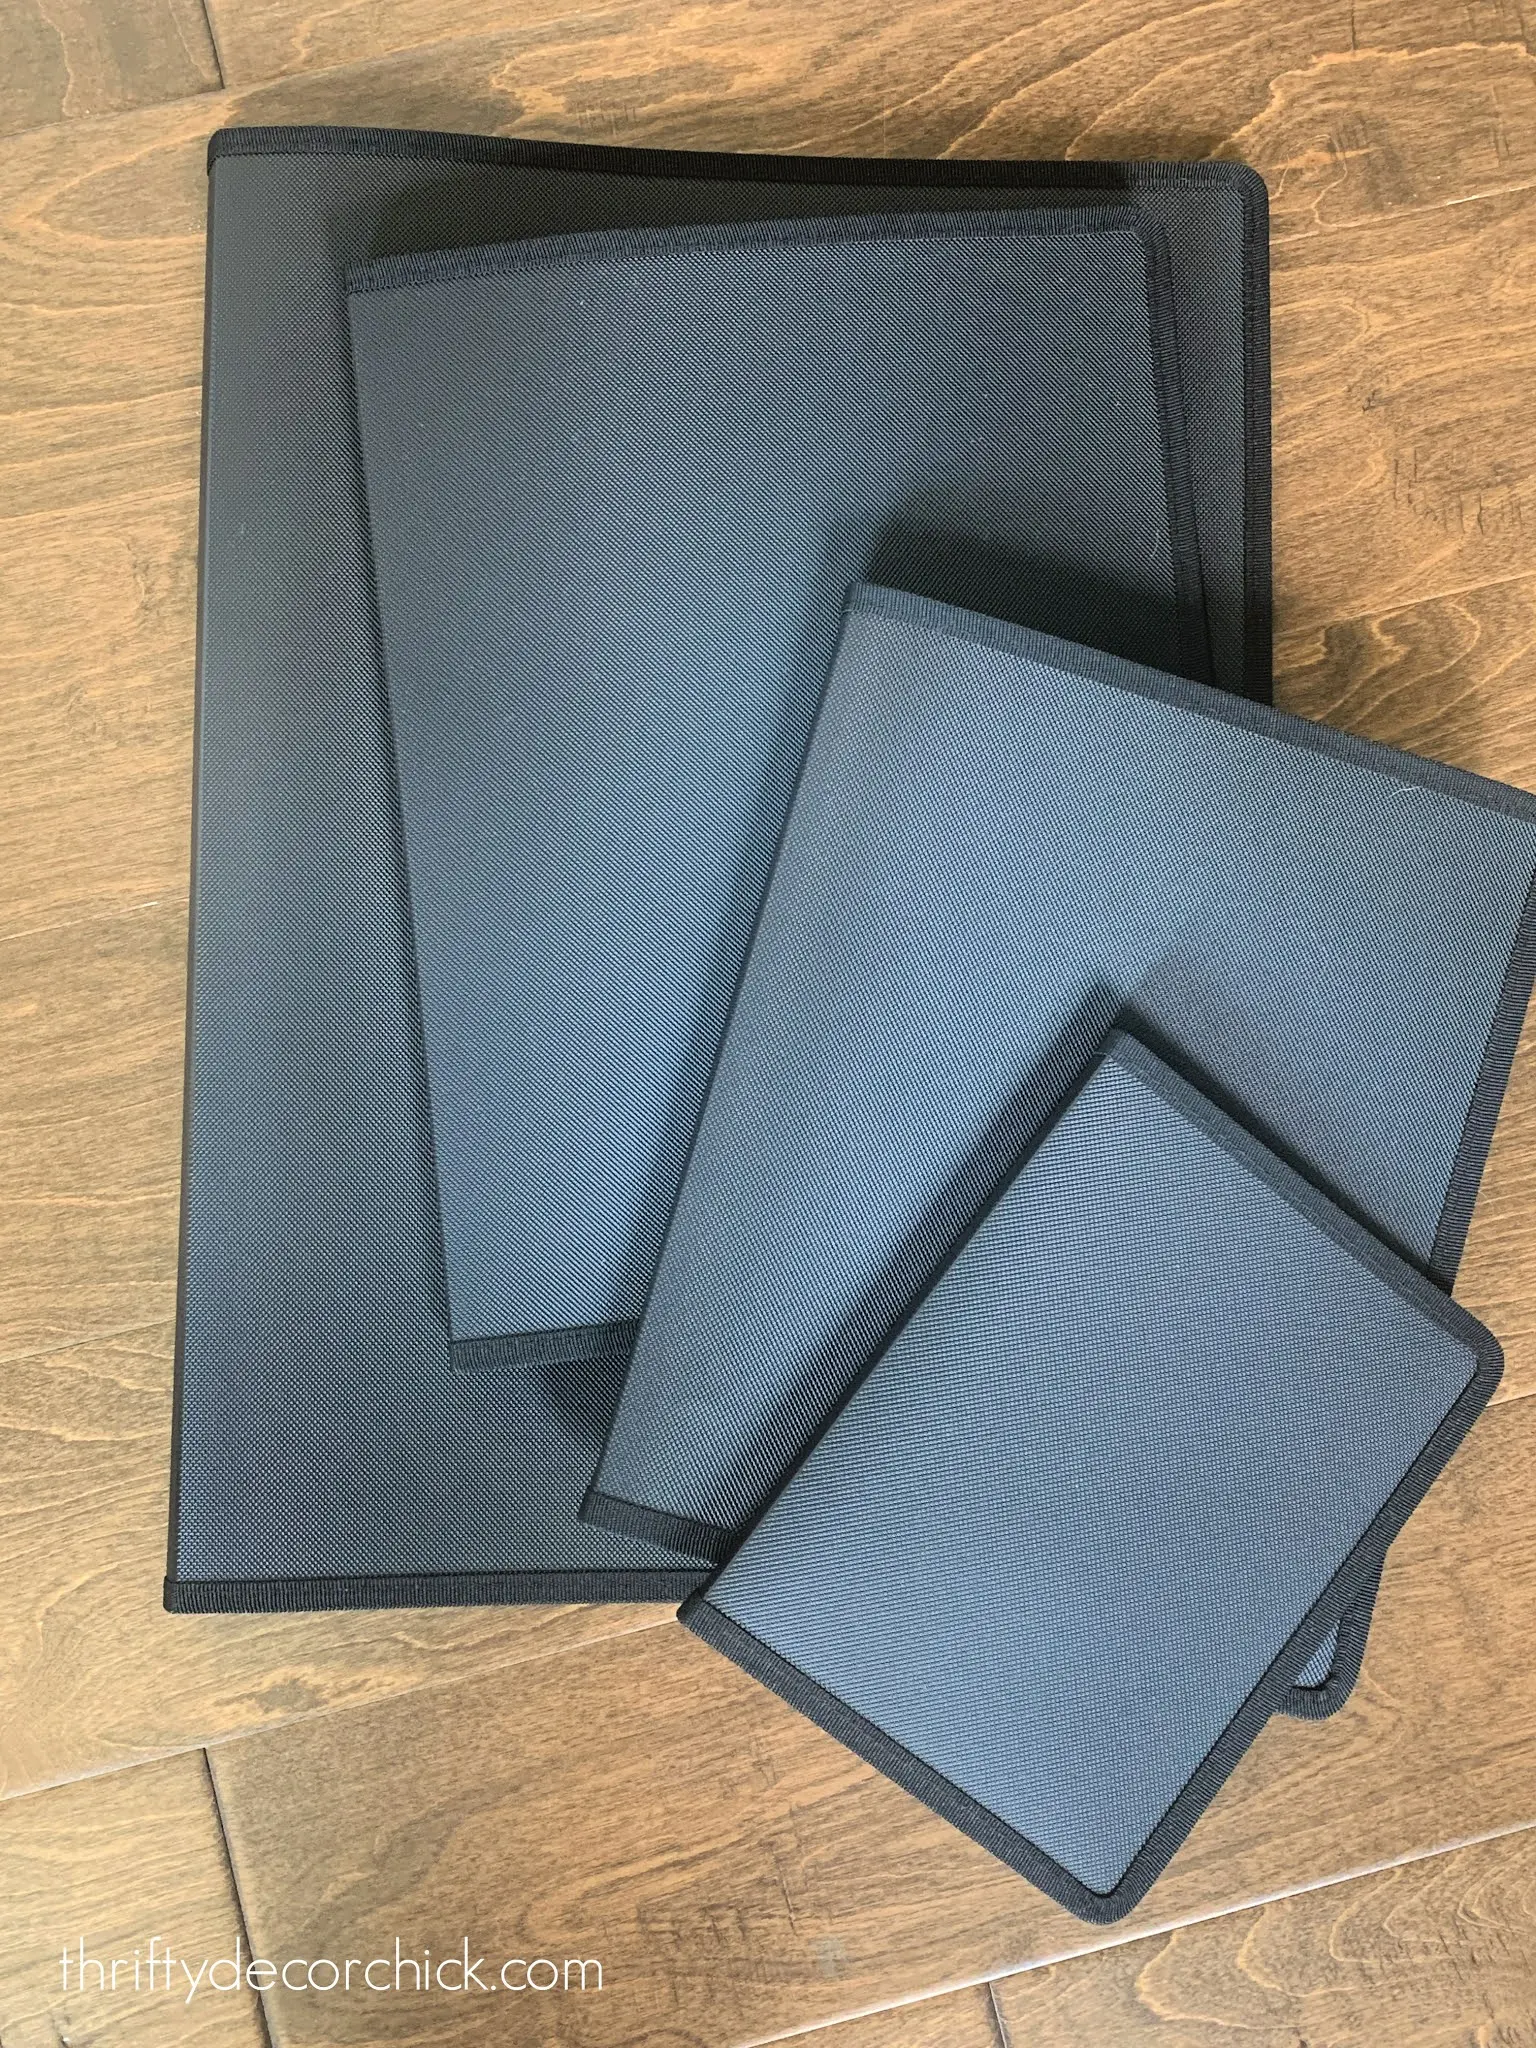
These sleek portfolios have solved so many storage issues. They come in six sizes, from 4×6 up to 11×17 inches, and are ideal for both photos and artwork.
Every paper keepsake went into these portfolios, from the large pieces of artwork and family photos:
And even the smallest — I put multiples of things like tickets and small programs in one as well.
I sorted them into families and topic so we can easily find what we’re looking for:
These binders are awesome!
- Each one, no matter the size, has 24 sleeves inside. I filled them back to back, so 48 items fit inside.
- They are really durable — the plastic sleeves don’t budge and the covers are wipeable and strong.
- The portfolios come in a few different colors and look nice and clean when lined up together.
- Your items will be protected from dust and even moisture — but they are not sealed.
- I love that the binders lie flat when open, it makes it so easy to look through them!
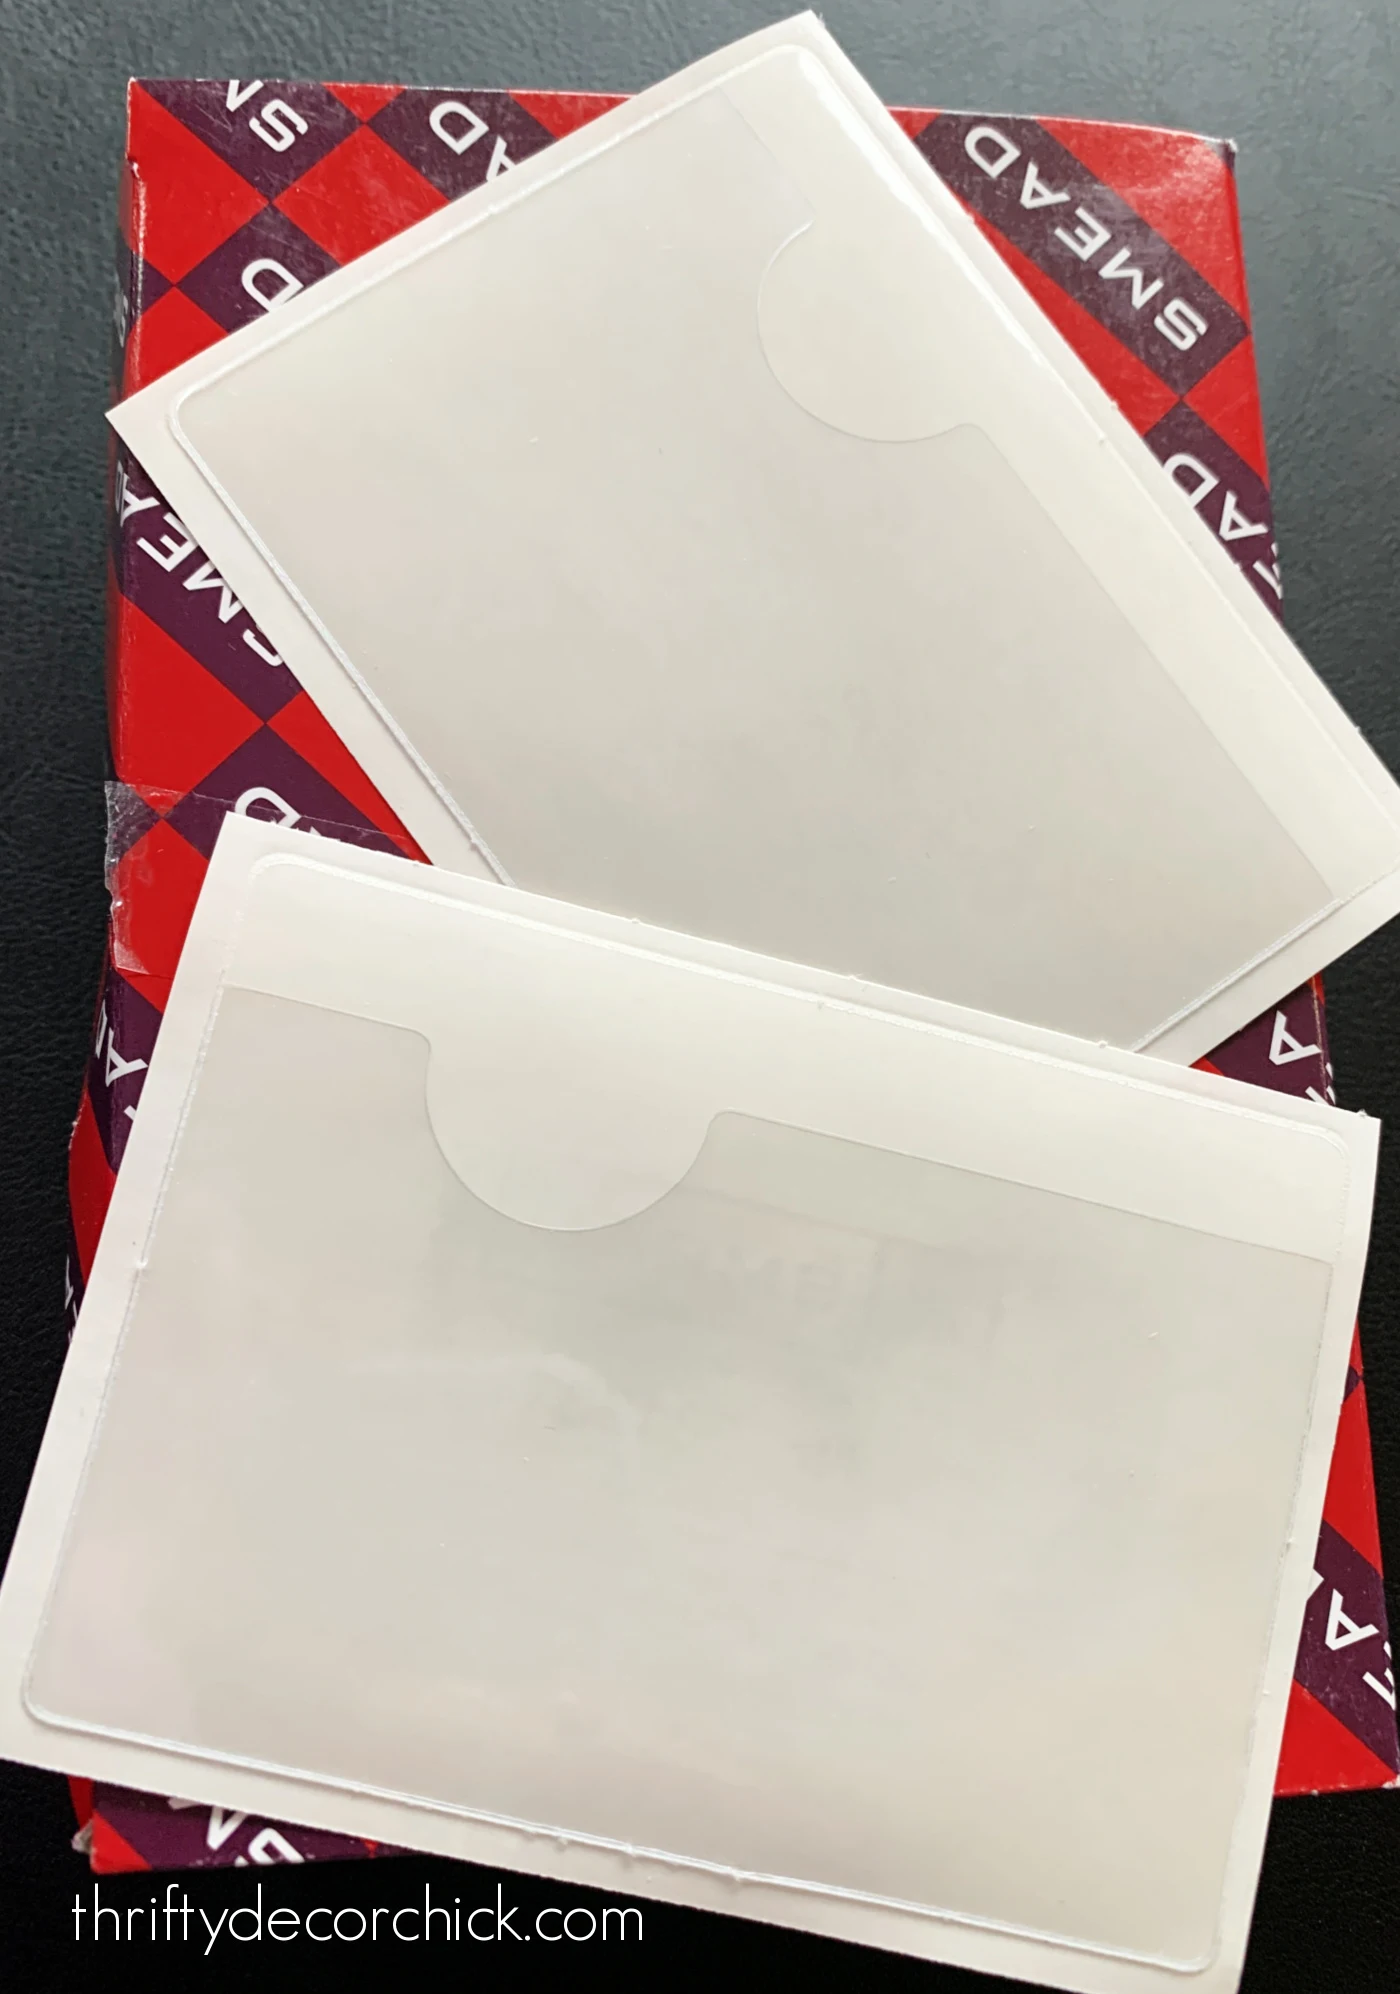
They’re sticky enough to stay on the covers (so far!) and you can easily change out the paper label if you change the contents.
Step three: Greeting cards
My final items to tackle were the greeting cards. I used to feel silly for keeping these, but I’m over that now. 🙂
Looking through old cards from my family and friends makes me happy, and I’ve realized it’s perfectly OK to keep stacks of them if I have room.
YOU get to choose what you cherish and want to keep!
They come with a bunch of plastic dividers you can label as well, but I only used a couple per bin.
I got a box for each of us, and only kept what I could squeeze in would fit. It was tedious considering I started with a pile four times this size, but it was also so much fun to read back through our sweet anniversary, holiday and birthday cards.
It took FOREVER to go through them all…I only picked my absolute favorites, and my greeting card bin is already full:

I may have to go through them again before my next birthday. 😉
Now this cabinet is home to all of our paper keepsakes and photos. I love that everything is organized:
It’s so much easier to find specific things now! I can’t tell you how many times we’ll be talking about a specific memory, and I can run down here and find exactly what I want in just a few minutes.
I’m still trying to decide if I will try to put all of those photos into photo albums one day. I’d like to have them in a book and easier to look at, but man…that would be a huge job!
Maybe I’ll tackle it in a few years when we’re empty nesters. 😢 I’d love to create a series of those photo books you can order online someday.
A few final thoughts on organizing keepsakes and memorabilia:
- I realized very early on in this process that this is mostly for my benefit — I don’t expect our kids to want any of this later, but I hope they will! The elementary school artwork especially is something I keep because I love it, but I’m not sure our son will want to take that someday. We will see!
- I have a few regular sized storage bins that I use to store bigger items like baby blankets and books, christening clothing, childhood items, etc.
- We keep some t-shirts that our son has grown out of, and someday I plan to hope to have my aunt make them into a quilt.
- I’ve created a space for our son to start putting away some of his childhood toys he wants to keep as well. He’s so good at letting go of things, but I also love that there are so many items he wants to keep for his kids. 🙂
- I plan to gather all of our yearbooks and put them in this cabinet as well. ALL the memories in one place!
- If you have small trinkets like matchbooks, postcards or magnets, you can display them in a shadow box like this. It would be a cool way to get your favorite items out where you can enjoy them!
- Avoid storing keepsakes in locations that get extreme temperatures like attics or garages if possible.
My husband and I have cleaned out two of our parent’s homes after their passings, and no matter the size it was emotionally and physically exhausting. Completing this process gives me some peace of mind about what we are leaving to our two kids.
I purchased the storage items over the nine months, so it was nice to break the cost up a bit. I recommend starting with a few and seeing what you’ll need as you go.
Have you figured out a solution for your keepsakes? It is overwhelming to you too? I took my time so it was a long process, but totally worth it!
