I’m still working on the pendant light to go over my desk in the studio. Every. Single. Day. But I am making progress, and I’m starting to see the light at the end of the tunnel. I really do think I can finish all of the components this weekend, but I’m not quite as confident that I can actually get it all assembled and finished by Monday. But I can assure you that I’ll try my hardest!
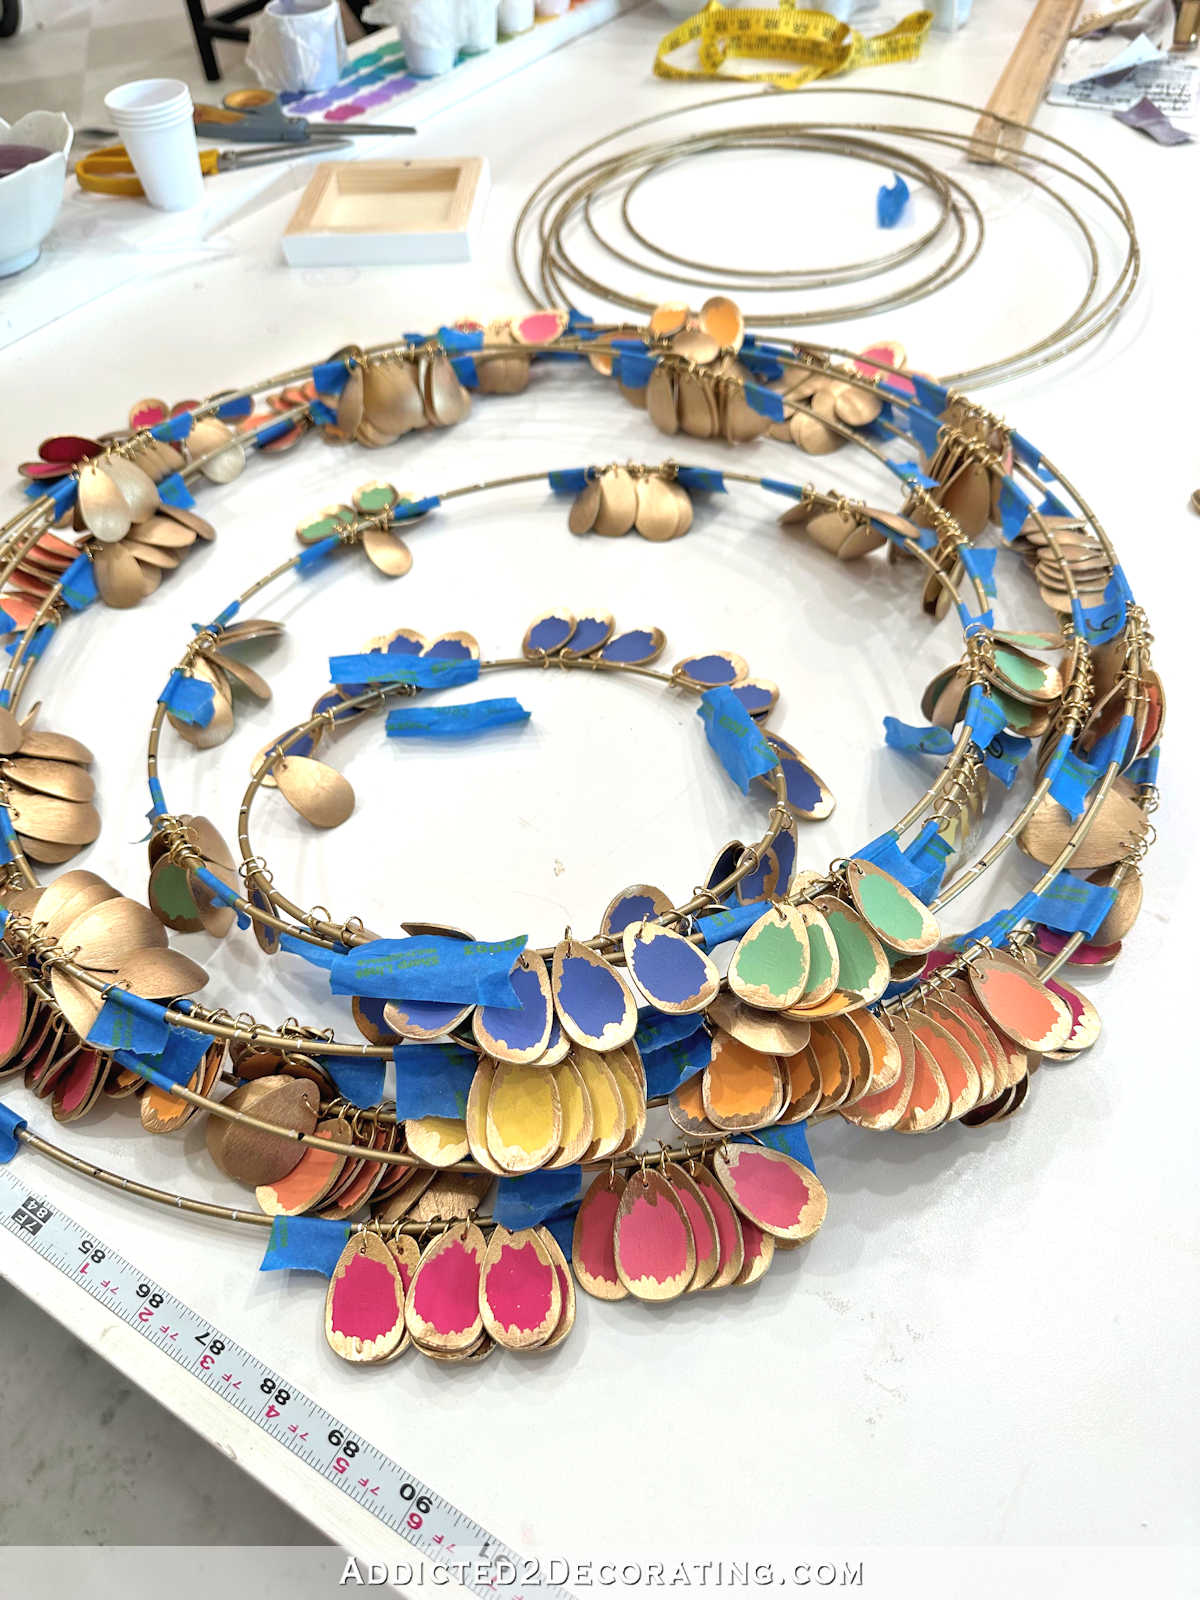
So far, I have the first (and biggest) ring finished and ready for the next ring to be assembled.
And I have seven more rings finished and ready to be assembled.

I have two colors that are completely painted and gilded. I still need to drill holes and attach them to rings.

And then I have four colors that are painted on the fronts, but still need gilding on the backs and fronts. Then I need to drill holes and attach them to rings.

And then I have one color that is painted on fronts, gilded on backs, but still needs to be gilded on the fronts before I can drill holes and attach them to rings.

So there’s still quite a bit of work to be done, but I passed the halfway point a while back. I hope to have a finished pendant light in the next few days.
Now moving on to the desk. As several people suggested, I took a look to see what I could find locally for my desk makeover. I did find the Target panels and the Kirkland’s panel locally, but they just didn’t do anything for me. Then at Hobby Lobby, I found this panel that I really liked, but the middle part (i.e., the actual decorative part) was made of very thin wood. I don’t even think it was 1/4-inch thick, which means that it could break very easily.

But look what I found…and bought!

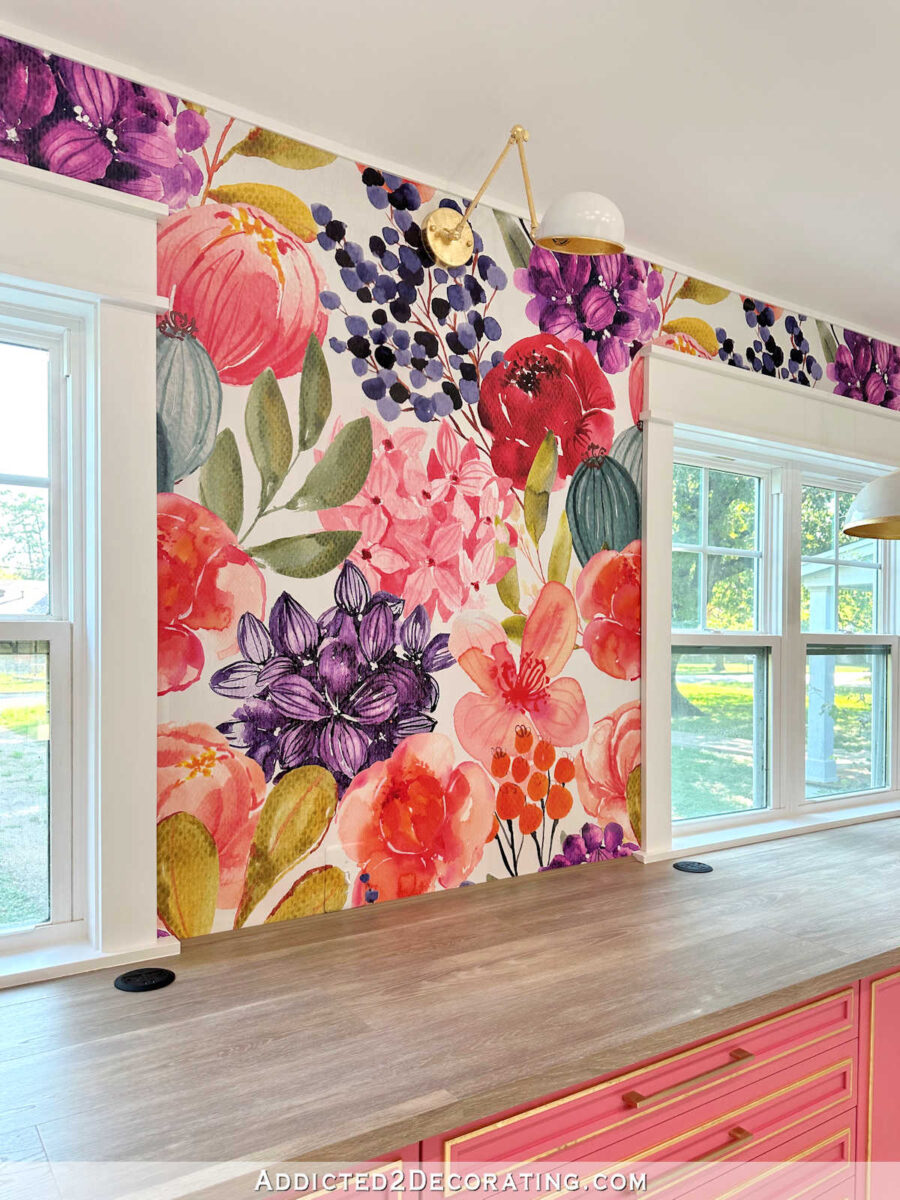
As soon as I saw these, I thought they might be perfect. They look very similar to the darker green leaves in the wallpaper mural.
I love that! It’s like these were made for my desk! Well, kind of. I absolutely love the design, and I think they’ll be perfect once they’re incorporated into the design and everything is painted the same color.

But, as you can see here, the cutout design is about an inch too short.

I’m not quite sure what I’m going to do about that, but I’ll figure out something. Because these are too perfect to pass up!
And finally, let’s talk about the desk chair fabric. My last round of samples didn’t really work out. I realized almost immediately that green wasn’t the right color for my desk chair. So while I was at lunch with my mom last week, we talked about some other possibilities. She suggested that I look for a solid fabric in the darkest color on my favorite striped fabric.

I loved that idea! Instead of looking for a contrasting color, I loved the idea of doing the chair in a color more similar to the cabinets, but in a darker shade. So I ordered every dark pinkish red velvet sample that I could find from KOVI. Obviously, one of them was an immediate “no”.

So that left me with these four as possibilities. They are all very similar, but they do have very subtle differences.

I liked all of them, but the one of the far left seemed a bit too true red to me. It seemed too harsh against the cabinets.

So then I was down to three, and I tried to determine which one looked best not only with the cabinets, but also with the darkest red color on the pendant light. My eye keeps going to the middle swatch.

I’ll show you a close up of each one. The far right swatch has some variation in color which almost makes the velvet look shimmery, but it’s not.

This is the one that my eye keeps getting drawn to. It has a bit of a texture to it that reminds me of a tiny, micro corduroy.

And then there’s the left swatch, which has more pink in it than the middle one.

So it’s down to these three. Whichever one I choose, I’m going to cover the whole chair in this fabric, and then add white piping and a white three-letter monogram to the middle of the front chair back (i.e., where my head rests). I’m pretty excited about this idea! But I just need to make a decision about the fabric. As of this moment, the middle one is the winner for me.

Addicted 2 Decorating is where I share my DIY and decorating journey as I remodel and decorate the 1948 fixer upper that my husband, Matt, and I bought in 2013. Matt has M.S. and is unable to do physical work, so I do the majority of the work on the house by myself. You can learn more about me here.

