Last night, I was both frustrated with how long this cabinet project is taking, and I was also giddy from finally being able to see some color on the cabinets. I got the cabinets caulked, and only make it about halfway through the first coat, but I still wanted to give y’all a little peek of the pink.
You still have to use your imagination to picture the finished cabinets, but this sneak peek of the pink will help.
I’m so excited to get those finished!! The first coat always takes the longest, but after the second coat, I’ll still need to do two coats of the clear coat finish. I’m really hoping they’ll be done by Friday!! I’d love to head into the weekend with this huge project behind me so that I can focus on other projects on my to-do list.
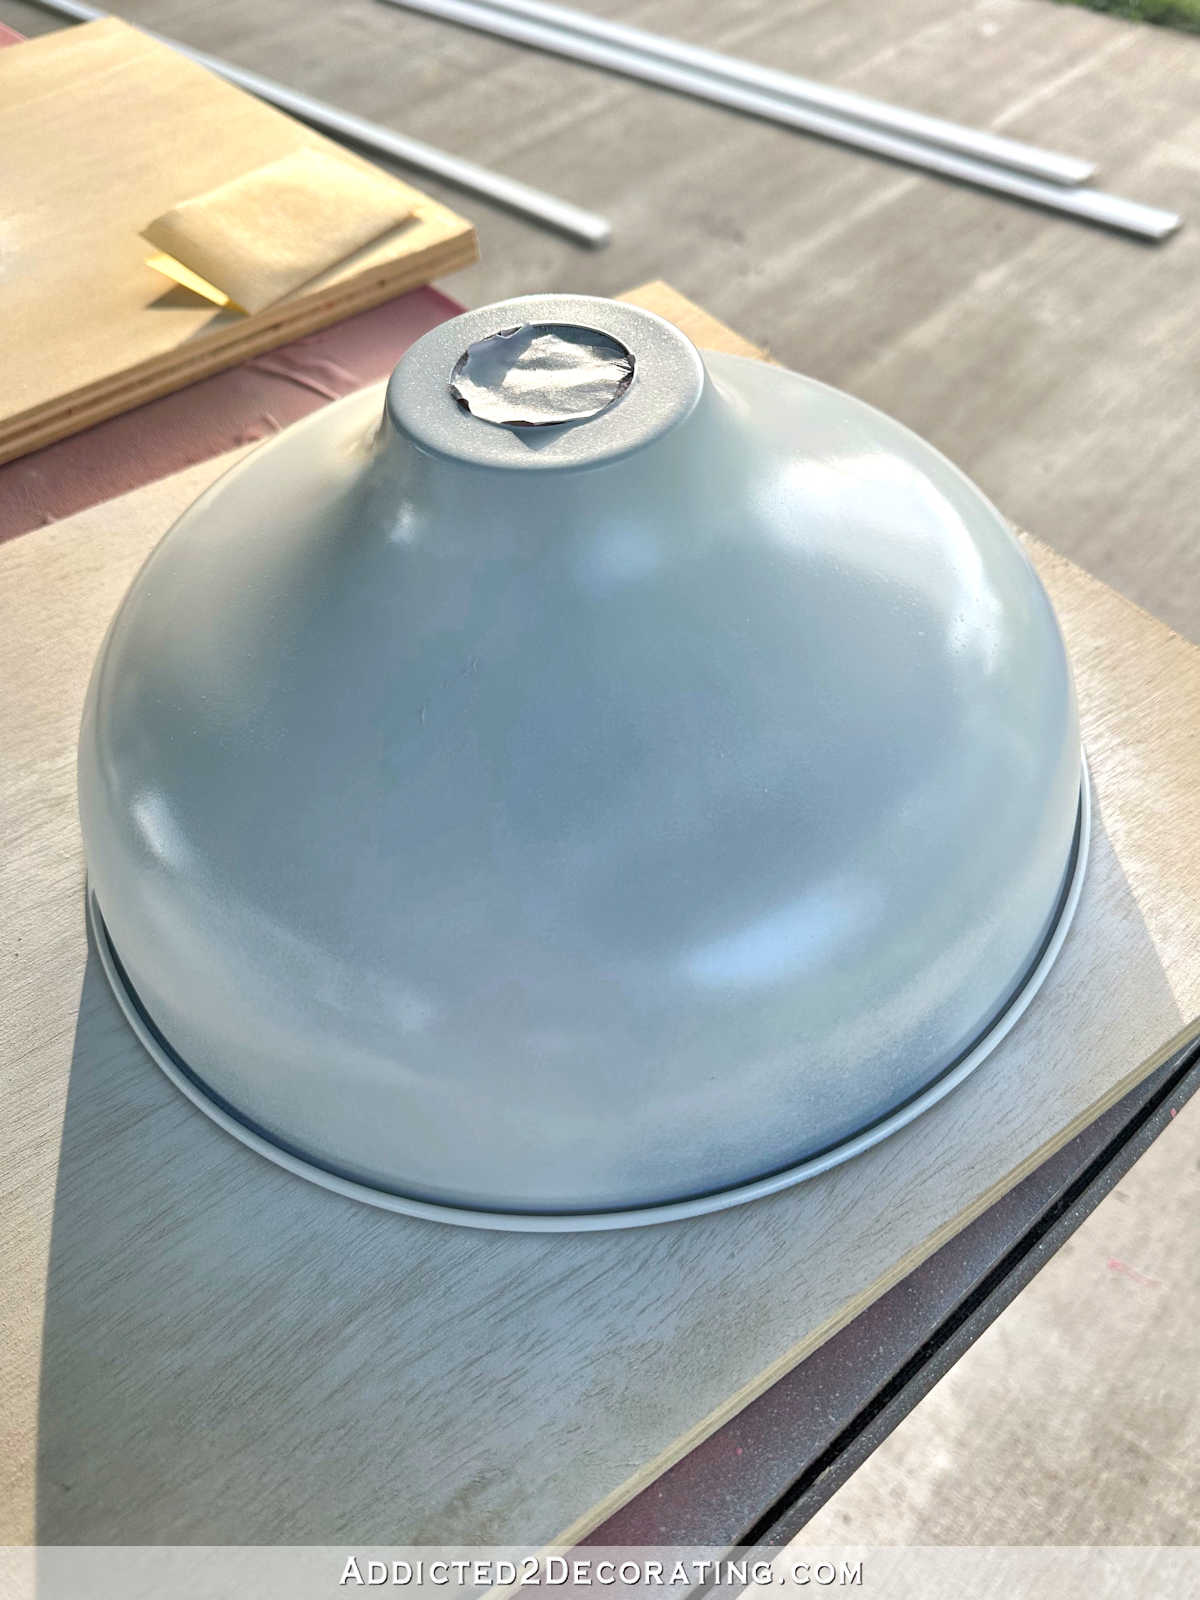
Since the weather was nice yesterday, I also took a few minutes to tape off and paint the sconces that will go in this area. I used Rust-Oleum spray paint in a gloss finish. Unfortunately, even after shaking the can for 60 seconds, the first few sprays came out powdery and rough. I have no idea why this happened, but it was almost like one of those textured spray paints.
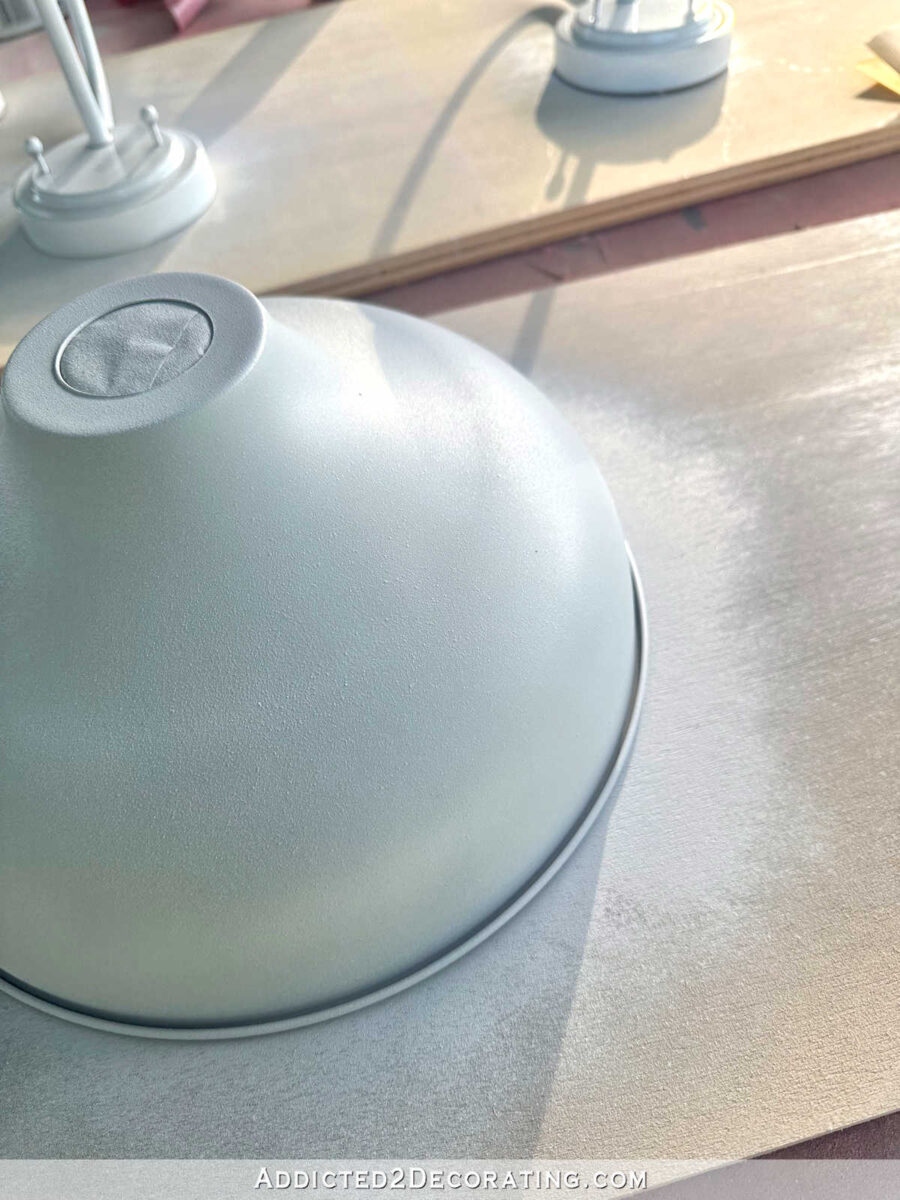
I don’t now if it shows up enough in the picture so that you can see it, but the texture was rough, and it was the very opposite of a glossy finish.
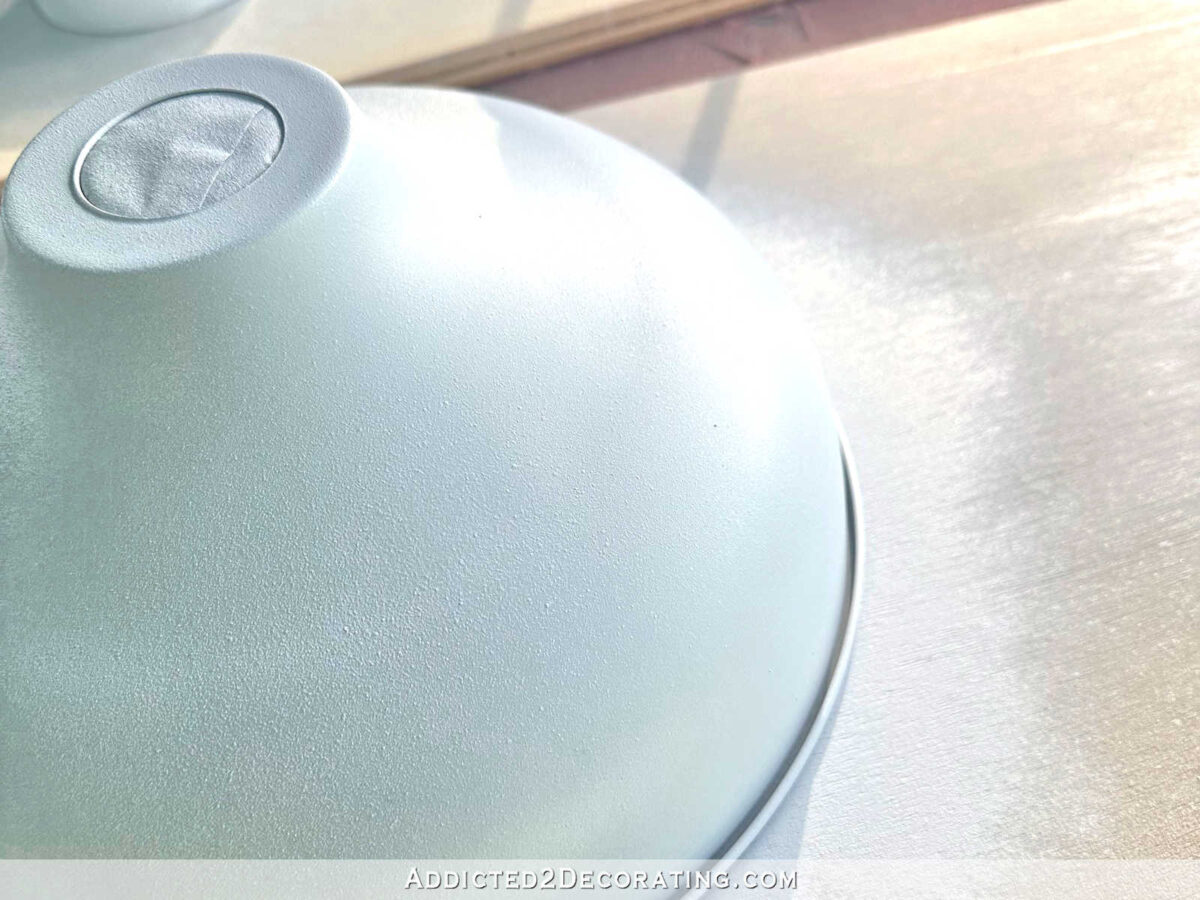
So I had to wait for it to dry thoroughly, sand it smooth with 220-grit sandpaper, and try again. After that first 30 seconds of spray that came out rough and powdery, the rest of it worked just fine.
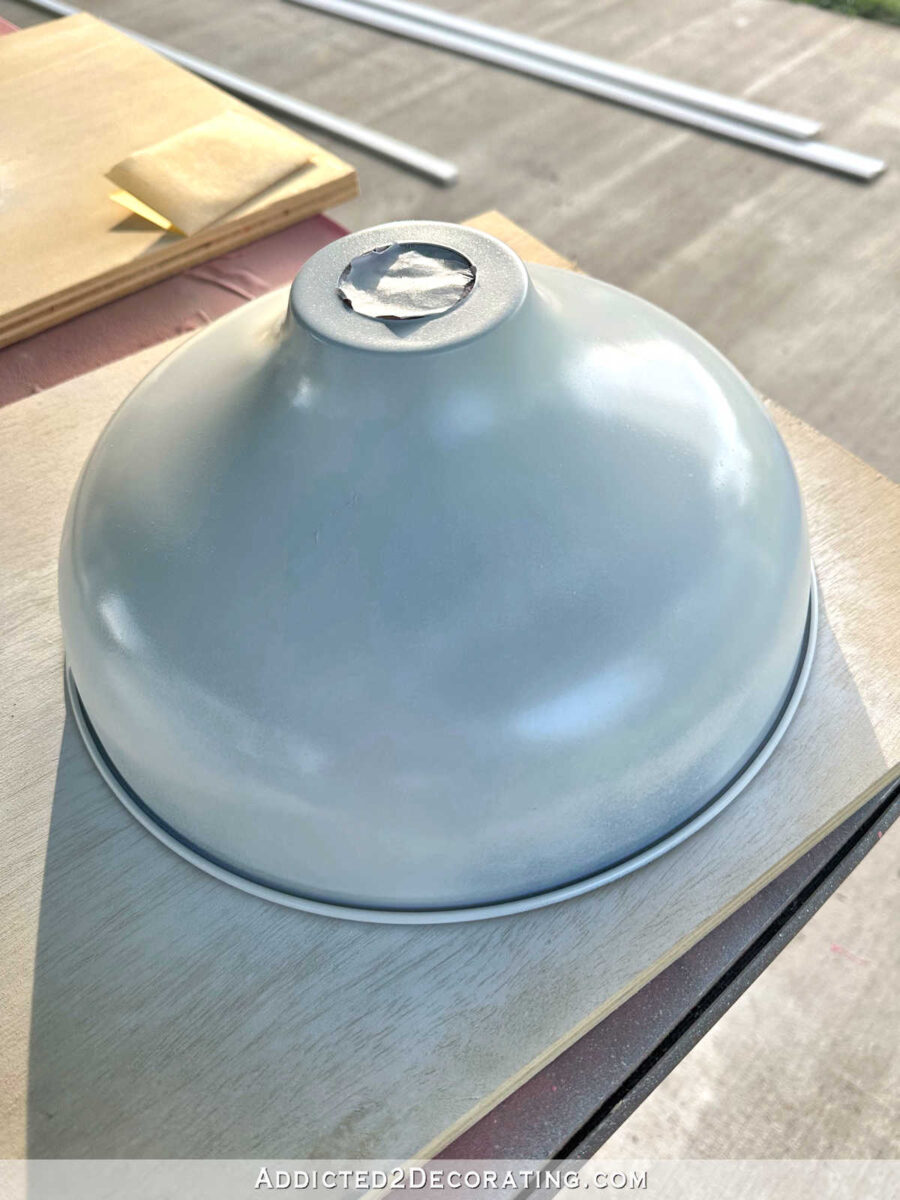
All of the pieces now have a beautiful glossy white finish on them, and as soon as they dry (I’ll give them a couple of days before handling them), I’ll be able to gold leaf the parts that need to be gold, and then install them as soon as the countertop and window casing are done.

One thing I’m still undecided on with these lights is where to start and stop the gold leaf. That decision was pretty easy with the pendant lights.

But with these sconces, it’s not quite as clear. These sconces don’t have the raised part around the bottom of the shade for a perfect stopping point for the gold leaf. And what do I do with that horizontal support piece? Does that stay white? Or do I gold leaf that part? These are some of those small decisions that I tend to obsess over. 😀

Moving on, I’m all ready to work on my desk makeover as soon as the cabinets are finished. I bought two of these ready-made, easy-to-install drawers. I honestly had no idea these even existed until someone mentioned them in a comment on a past post, and I headed to Amazon to check it out. There are so many different variations of these ready-to-install drawers! I can’t believe I never knew these existed!
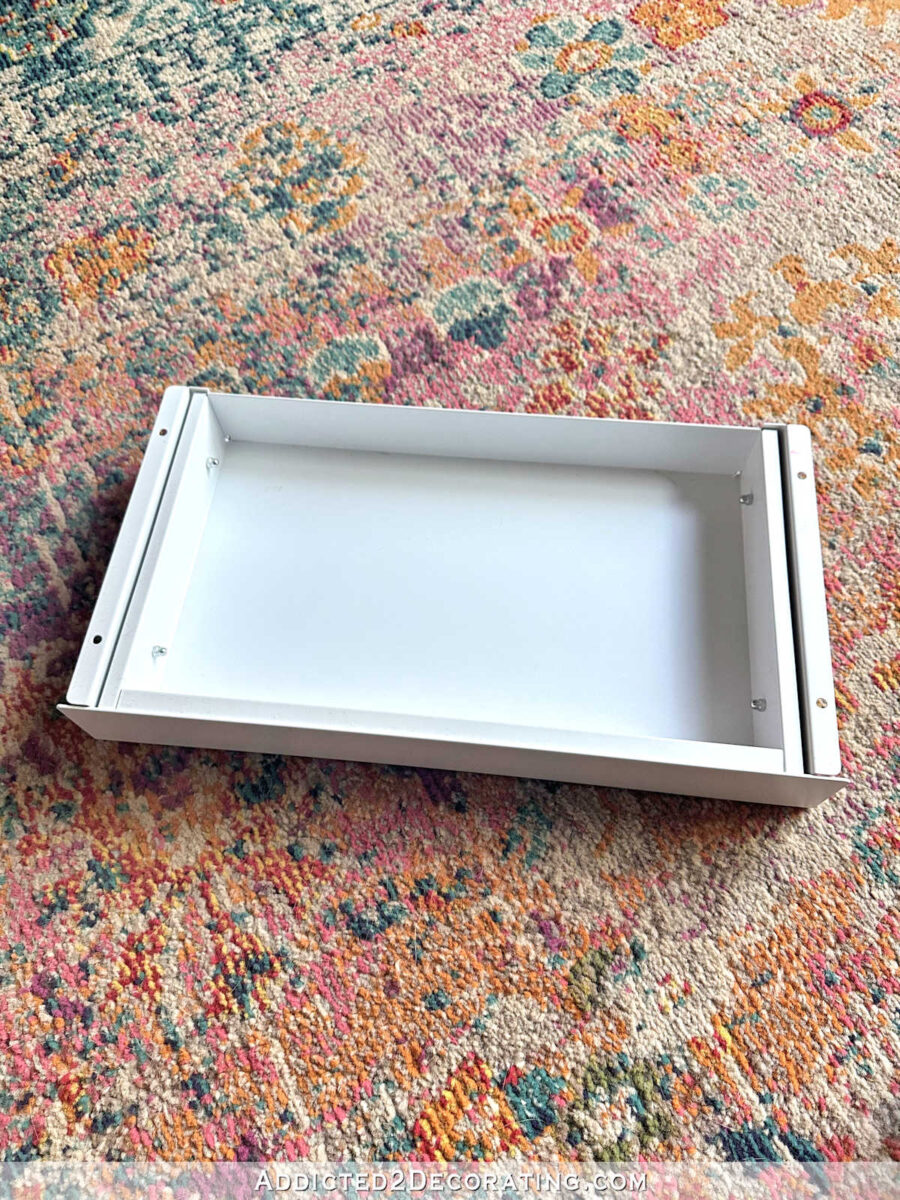
I mean, it doesn’t get any easier than this. You just screw the drawer to the bottom of the desktop, and you have a drawer!
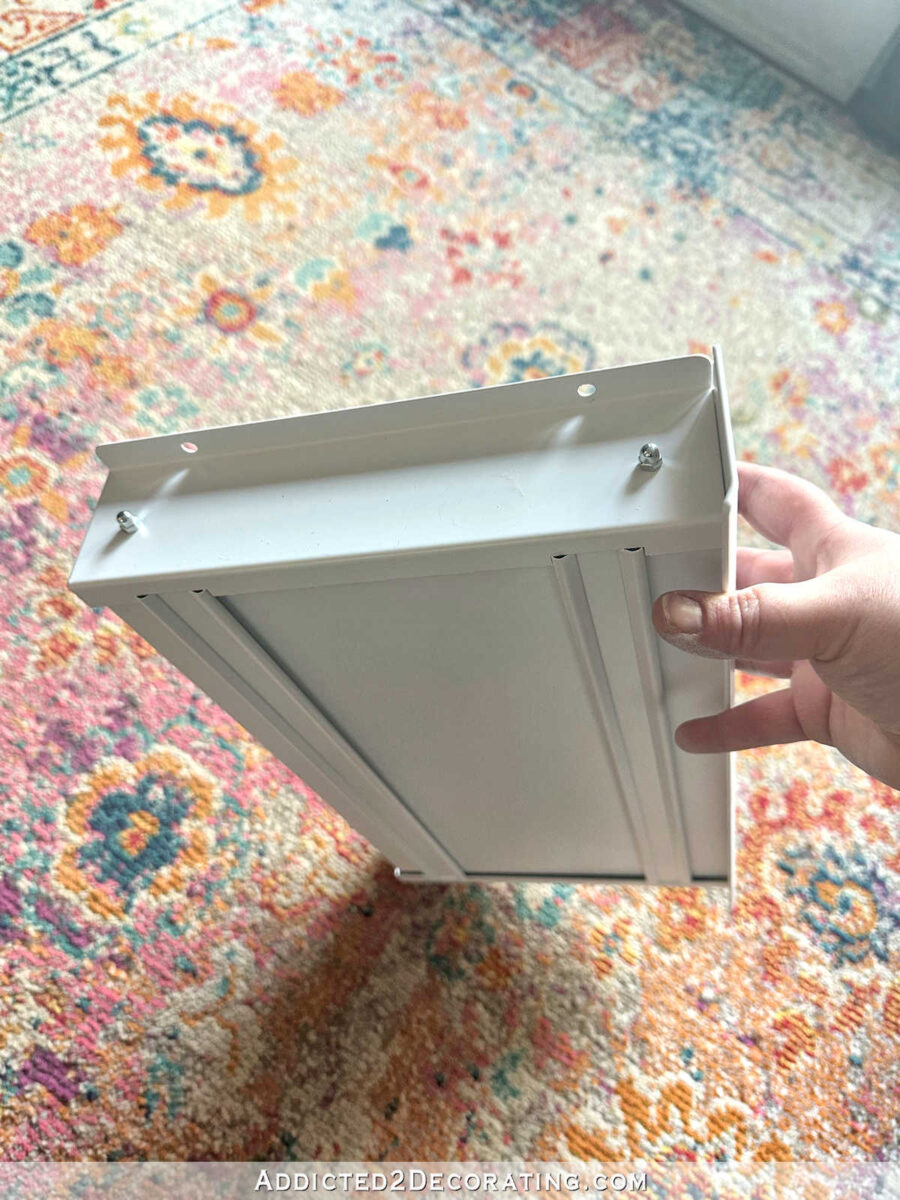
I bought two of them for my desk, and I think they’ll be perfect. The ones I got aren’t very big, but I just needed a place for pens, pencils, a stapler, some Post-It notes, etc. So they don’t really need to be big. These will be perfect.
And finally, I now have a very clear plan for the pendant light I want to make to go above the desk. This was actually my mom’s idea, and I love it! Basically, I’m going to take the idea of my favorite piece of artwork I’ve ever made…
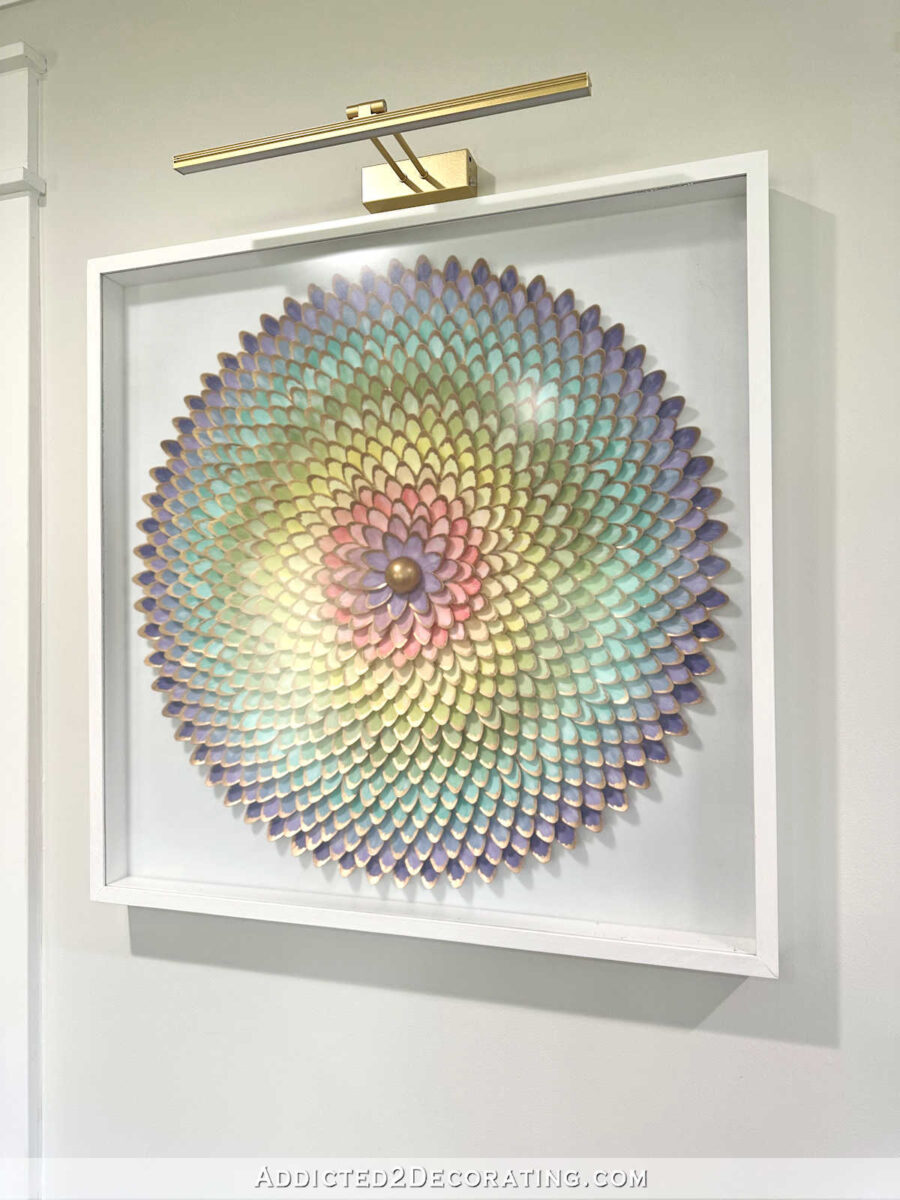
And I’m going to adapt that idea into a pendant light using these 20 lampshade rings.
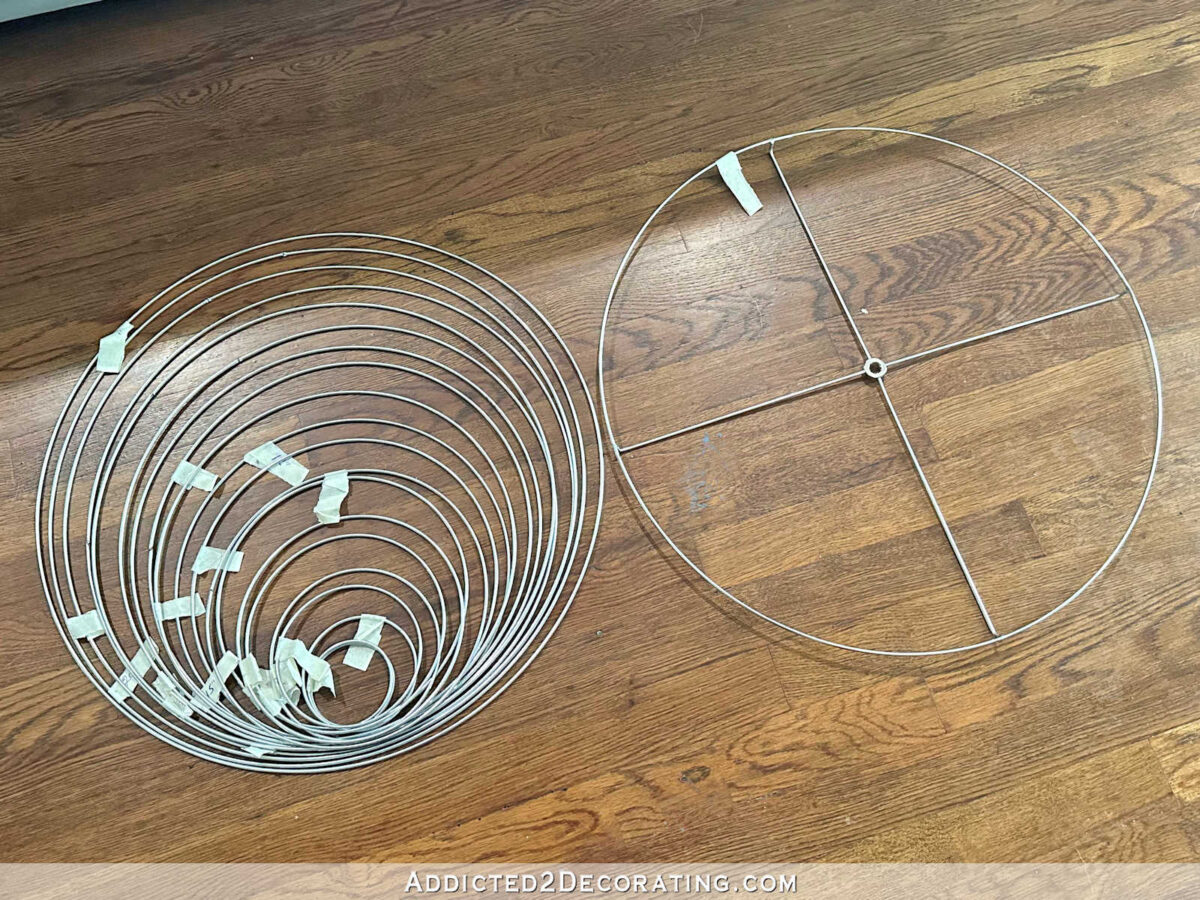
That’s just my kind of project! Tedious, repetitive, and made of probably 1500 small pieces. 😀 I don’t know why, but I love projects like that, and I’m so anxious to get started on it! But first, I have just a couple more days I need to spend on these cabinets to get them finished up.
Addicted 2 Decorating is where I share my DIY and decorating journey as I remodel and decorate the 1948 fixer upper that my husband, Matt, and I bought in 2013. Matt has M.S. and is unable to do physical work, so I do the majority of the work on the house by myself. You can learn more about me here.

