How to build long wood DIY picture ledges in minutes.
These wood picture ledge shelves can be customized to the length and width you need and are a great way to display art and photographs!
If you do a lot of DIYing, you may have enough scrap wood on hand to make these. If not, they can be made affordably with basic pine from the hardware store.
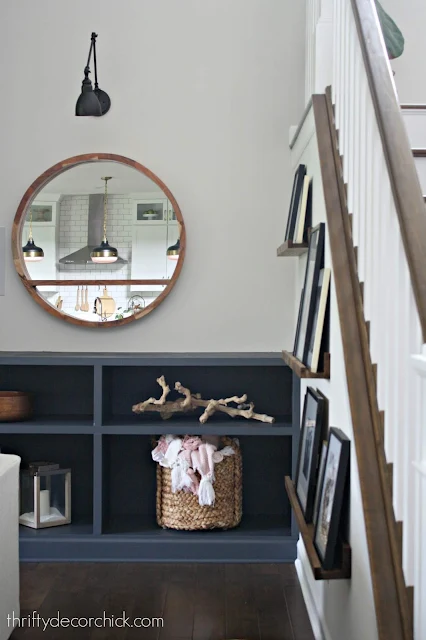
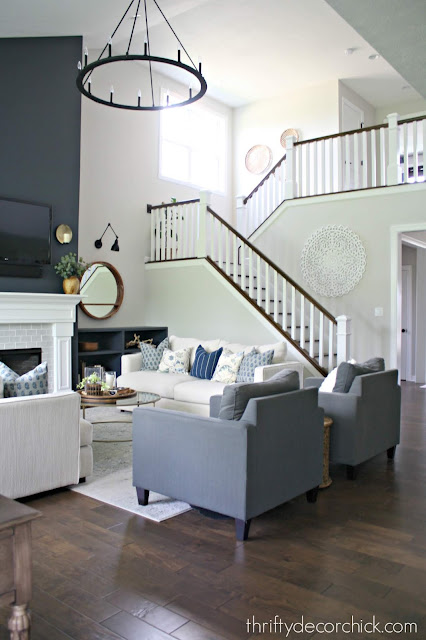
When we moved into this house, I knew immediately I wanted to do something fun on our staircase walls. This project in particular was on the wall under the stairs:
It needed something — and I imagined some simple display shelves with photos along this wall.
First I stuck some painter’s tape to the wall to figure out the sizes of each one and get an idea of how it would look.
I built three, four and five foot shelves. I wanted to go down low on the wall as much as possible because it just felt right visually to me.
These shelves only come out about four inches from the wall.
To build these you’ll need three pieces of wood — one 1×2 for the front, one 1×3 for the base, and one 1×4 for the back, all cut to the length you want.
You can also make the shelf with a 1×4 on the bottom so it would be a bit deeper. I found the three inch to be fine but if you plan on leaning a bunch of frames I’d go with the four inch.
You can see what I mean here:
This post may contain affiliate links for your convenience.
I may earn a small commission when you make a purchase through links.
Here are the three steps to building these quick DIY shelves:
You can see here how they barely take up any space as far as the depth:
I marked where the studs were in the walls and then just screwed through the backs to hang them.
I wasn’t worried about the screws showing because I knew the frames would cover them. If a couple show I’m not worried about it:
We absolutely LOVE how it turned out. My husband and son both came to me at different times saying how much they liked it! When the men notice you know it’s good! 😂
Shelves with leaning photos turned out to be a great in between — not too busy because I kept the frames to the same shape and only two colors. But it fills in the space beautifully because I went low and filled the wall:
It’s nice to get your photos off the phone, right? I’m SO bad about that. I grabbed pics from recent trips and random snapshots and I love every single one!
I especially love how they follow the angle of the stairs. It just makes it more visually appealing:
We have plenty of space behind the sofas but this would also work great somewhere with less room just because they’re not very deep at all.
I’m so thrilled with them! I especially love that they were so inexpensive and quick. I made all three and had them hung in less than an hour.
They would look great painted black or white too.
I didn’t even remove the ledges, just worked around them. 🙂
I spent $30-something on all three because I went with select pine (it doesn’t have knots). If you used regular pine and don’t mind a little more rustic look (or if you’re painting!) you would spend way less.
Check out more gallery wall ideas below:
Use this image to pin this project for later:


