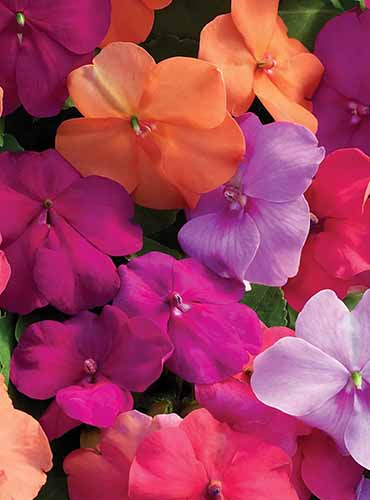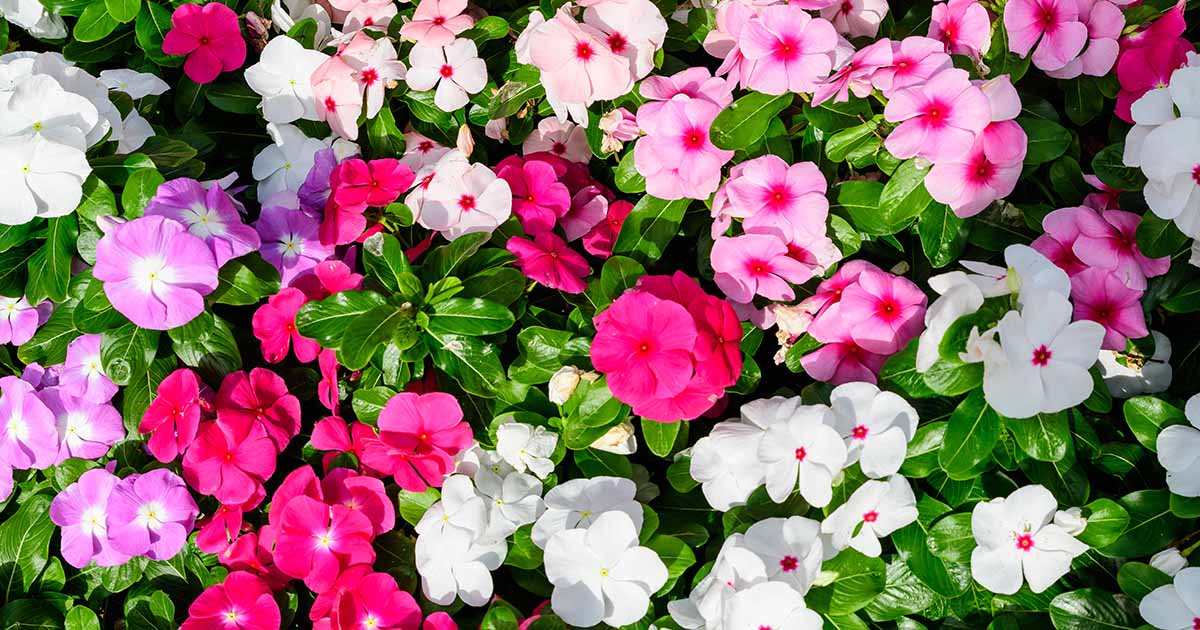
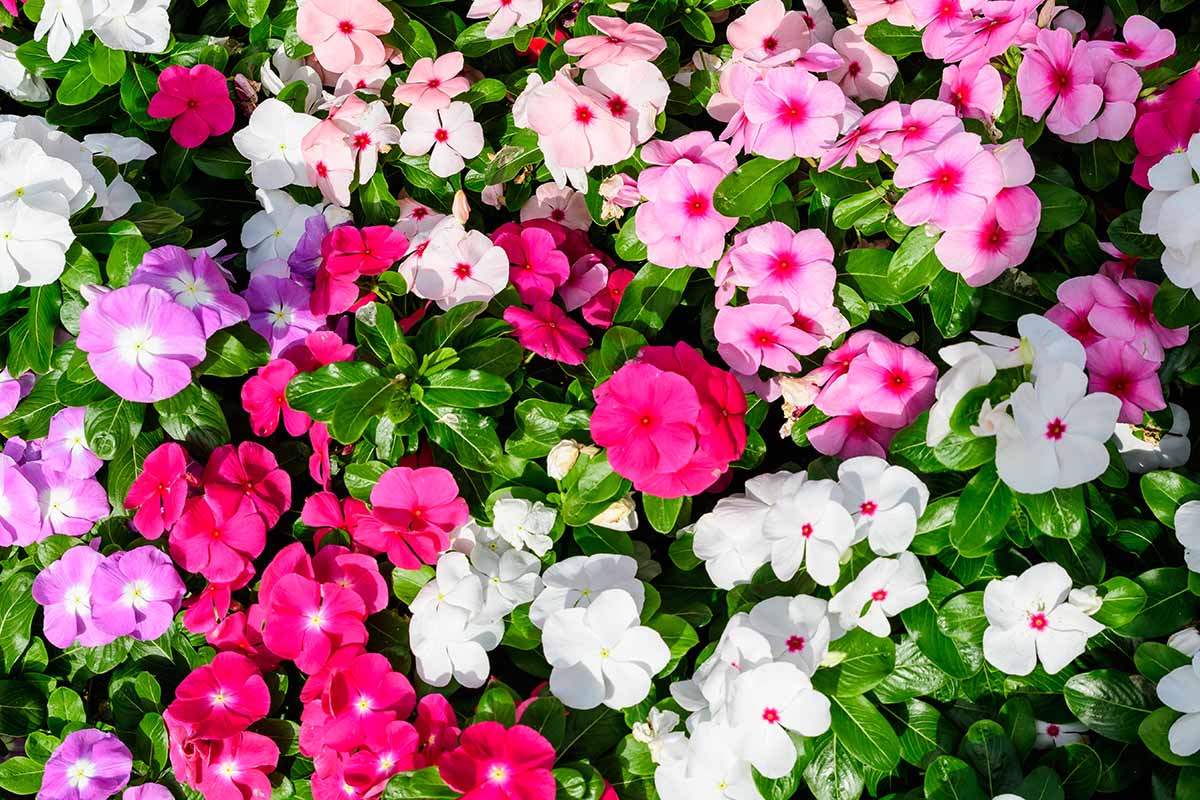
Impatiens flowers are like jewels in the garden. They bloom reliably and for a long time in vibrant, colorful hues. Some thrive in shady areas, and others shine brightest in full sun.
They’re low maintenance and the plants are covered in flowers, with some species blooming from spring through fall. There are types perfect for hanging baskets, containers, or garden beds.
We link to vendors to help you find relevant products. If you buy from one of our links, we may earn a commission.
The only downside is if you want dozens of plants like I do, it’s going to eventually hurt your wallet.
Even if you buy the cheapest annuals in the clearance aisle, the cost will add up if you want lots of them. So what to do? Start your impatiens from seed! Seed packets are the most affordable way to get these annuals started in your garden.
No matter the species you want to fill your garden with, you can start the seeds in the same way.
Here are the steps of the process that we’ll go over:
Impatient to start? Gather those supplies and let’s start digging in.
When to Sow
You can direct sow impatiens seeds outdoors if you want, but you’ll have more success if you start them indoors, as it gives you more control over the growing environment and the process.
Plus, you can give them a headstart when the weather is still cold and miserable outside.
Impatiens can’t survive a freeze. So if you intend to start them outdoors, you would need to do so after the last predicted frost and when the soil temperature is around 75°F. That’s the soil, not the air temperature.
Otherwise, start them indoors and put those pots or containers onto a heat mat to keep them nice and toasty.
Maintaining the right temperature is key. If you don’t, the seeds will take too long to germinate, and they’ll likely rot before they can even get started.
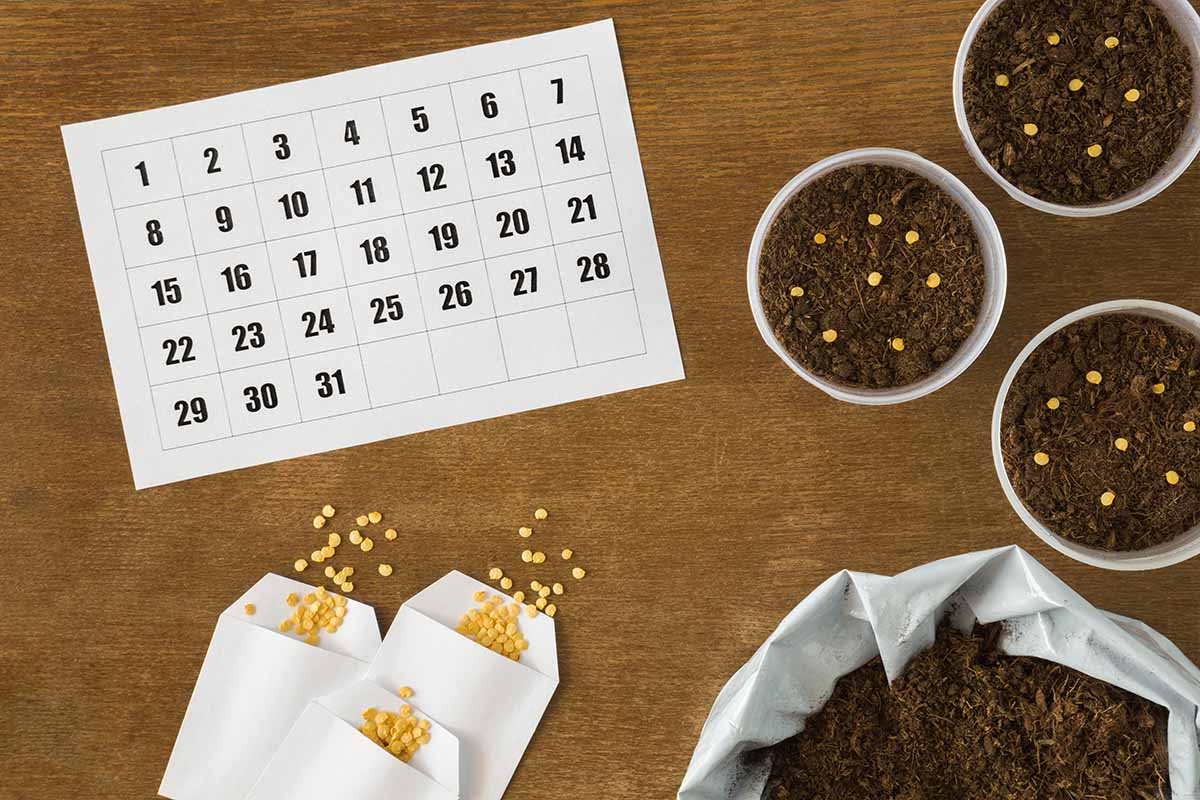
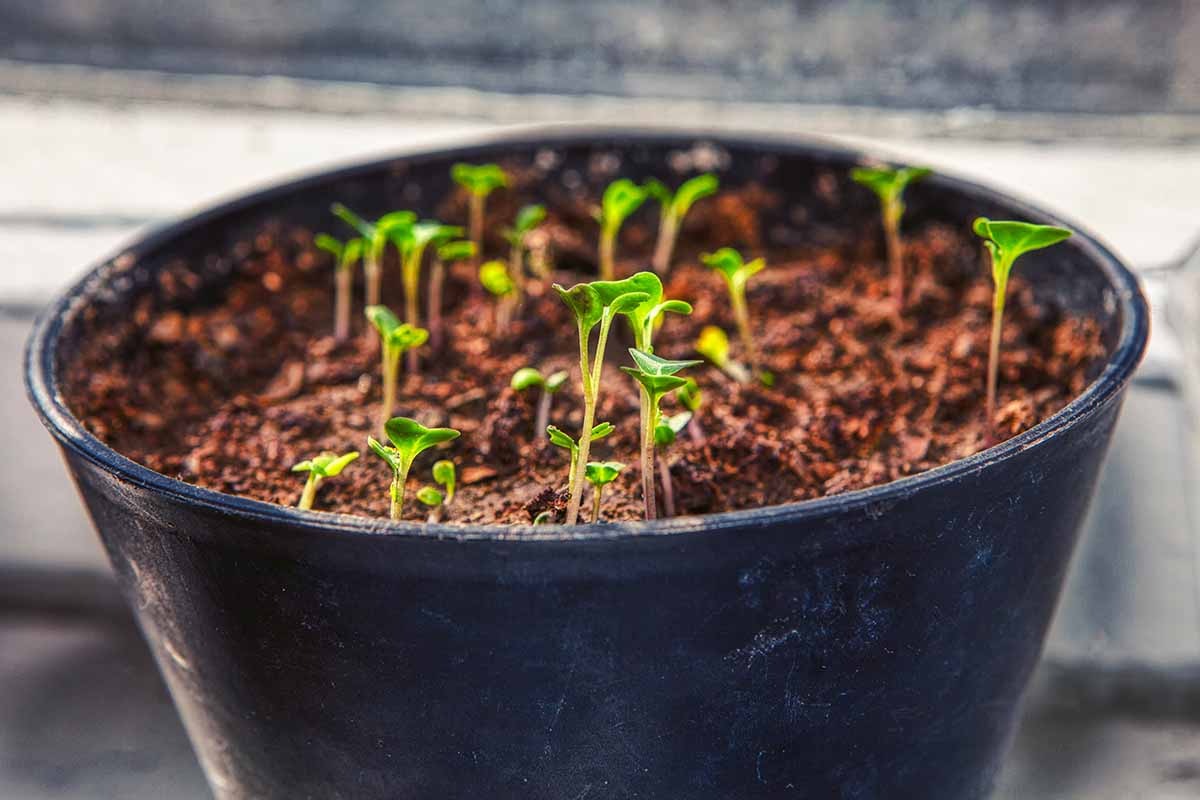
Impatiens are slow and can take two or three weeks to germinate. After germination, you need about four to eight weeks for the seedlings to grow large enough to transplant outside. So you’ll need to sow the seeds indoors about 11 or so weeks before you intend to plant.
Count back from the last predicted frost date in your area to figure out when to start the process. If the last predicted frost in your area is the end of April, then you should plan to sow in early February.
Preparation
It’s easiest to sow in a tray or cells, but you can also use individual pots if you like. If you go that route, use a small container that’s about four inches in diameter. I prefer to use a plug tray.
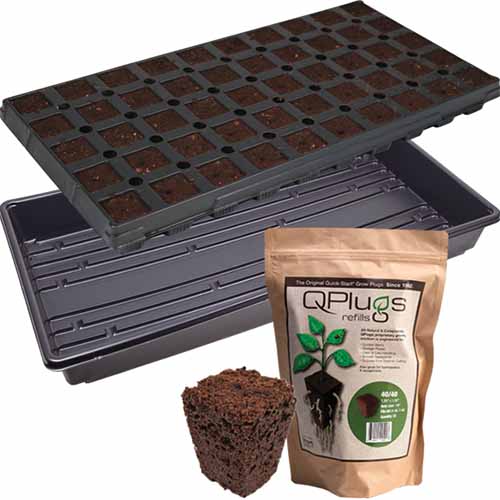
I recently discovered iHORT’s QPlug Propagation Kit, and it’s a game changer for my propagation projects.
It comes with a plug tray and an outer tray to catch the draining water. It also has pre-drilled plugs made of coconut coir, sphagnum peat moss, and coconut shell.
If you’d like to try the kit yourself, you can find it at Arbico Organics, along with plug refills.
Whatever you use, it should be clean and have drainage holes for the water to exit.
Place your pots or trays on a heating mat. If you aren’t using a plug system like the one above, grab yourself some seed-starting medium and fill your trays or containers.
Since you’re starting indoors, you’ll need to place grow lights about four to six inches away from the seedlings once they emerge.
The plants need about 12 hours of bright, indirect light, so if you can’t provide that from a window, you’ll need supplemental lighting.
It’s easiest to moisten the seeding medium in advance of sowing. You can either soak the soil with a spray bottle or set the containers in water to soak up the moisture from below.
If you wish to direct sow outdoors, work some well-rotted compost into the soil and sow them after the last frost or if you live in a frost-free area, in early February. Just make sure that the soil has warmed up to 75°F.
Sow Your Seeds
The timing is right, and the area is prepared – it’s time to sow those impatiens seeds!
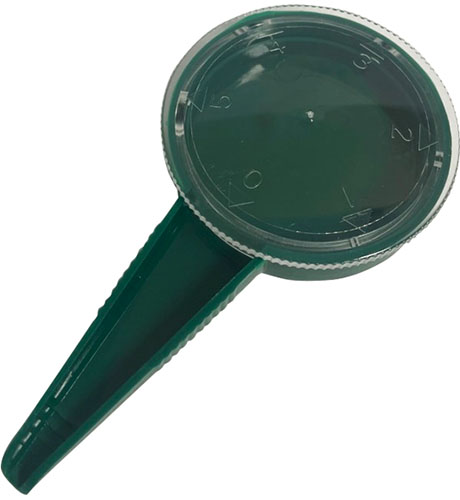
Impatiens seeds are tiny, so handling them can be a bit of a challenge. You can either sprinkle them on the surface of the soil, use a moistening toothpick, or get yourself a seed sower.
I have been singing the praises of seed sowers ever since I received one as a gift. I typically do my best to sprinkle them evenly, but you know how hard it can be, they clump and fall too close together as you sprinkle them out of your hand or the packet.
A seed sower makes the job super easy, and it has saved me from wasting a ton of seeds and then having to do the thinning work later on after they germinate.
Pick one up for yourself at Arbico Organics.
Place two seeds next to each other and set the groups about an inch apart. Press them into the surface of the soil, but don’t bury them as they need light to germinate.
Set a piece of glass or plastic over the trays to help retain the moisture while the germination magic happens. Keep the medium around 75°F by setting your heat mat to the appropriate temperature.
The soil needs to remain moist but not soaking wet while you wait for germination. Remove the cover and use a spray bottle to mist the potting medium so you don’t dislodge the seeds.
Remove the cover when they germinate and thin the seedlings to about four inches apart. Remember, you have to be patient with Impatiens species – it can take weeks for germination.
Continue to care for the seedlings by keeping the soil evenly moist until they have two true leaves.
Transplanting
When the seedlings have two true leaves and all risk of frost has passed, it’s time to transplant.
Impatiens need to be slowly exposed to the outdoors. Give them a day in a shady spot before moving them to the area where you’ll be growing them.
Leave them there for an hour and then put them back in the shade. The following day, give them two hours in the new location before moving them back to full shade.
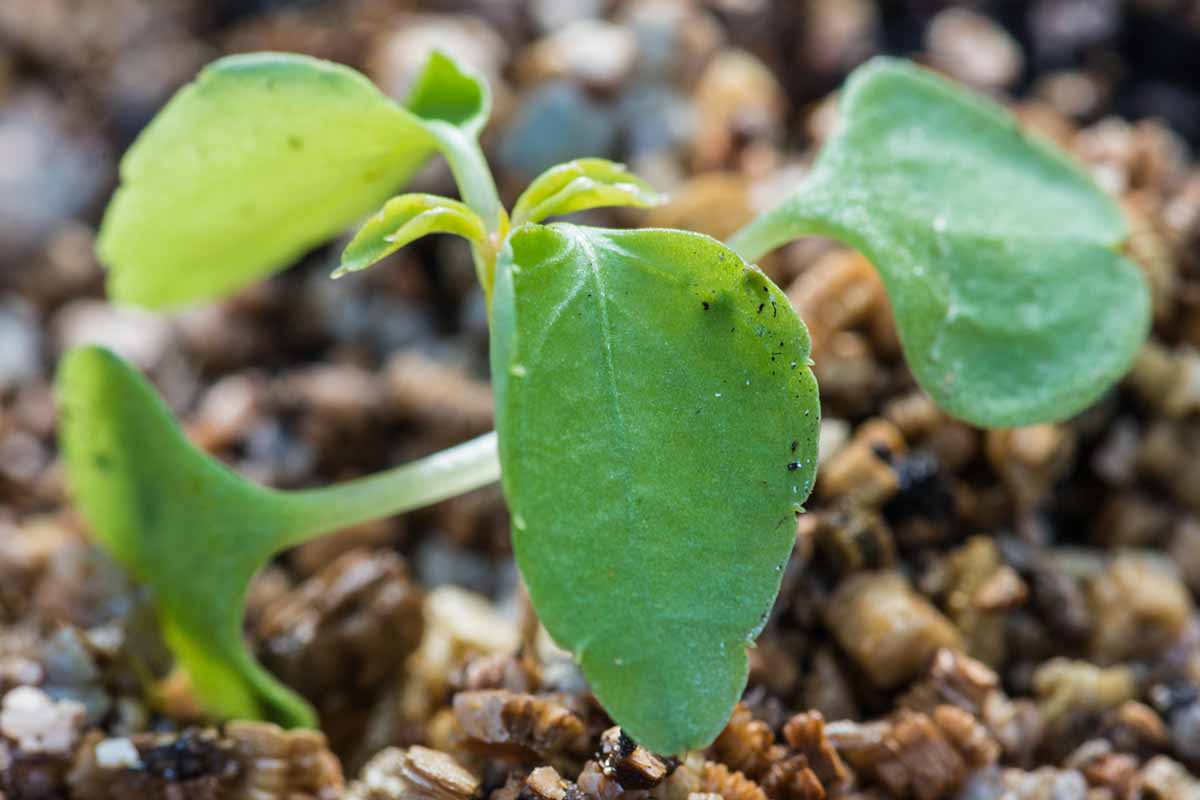
Keep adding an hour each day until a week has passed. Now, you can put the seedlings into the ground or your chosen container if you’re going that route.
Prepare your planting site by working in lots of well-rotted compost into the soil, then dig holes twice as wide and the same depth as the plugs or containers the seedlings are currently growing in.
Gently remove the seedlings from their containers and place them in the holes you have prepared. Backfill with soil and water in well.
Now that you’ve got your plants in the ground, be sure to read our guide to growing impatiens to learn how to nurture them.
Harvesting Seeds
If you want to give harvesting and planting your own seeds a go, the process is a blast. Honestly, I go out and pop the seeds of my plants just for fun. It’s the little things in life, right?
Impatiens use what is known as “ballistic dispersal” to send their seeds far and wide. When ripe, the pods burst open in explosive dehiscence, sending the seeds several feet away from the plant.
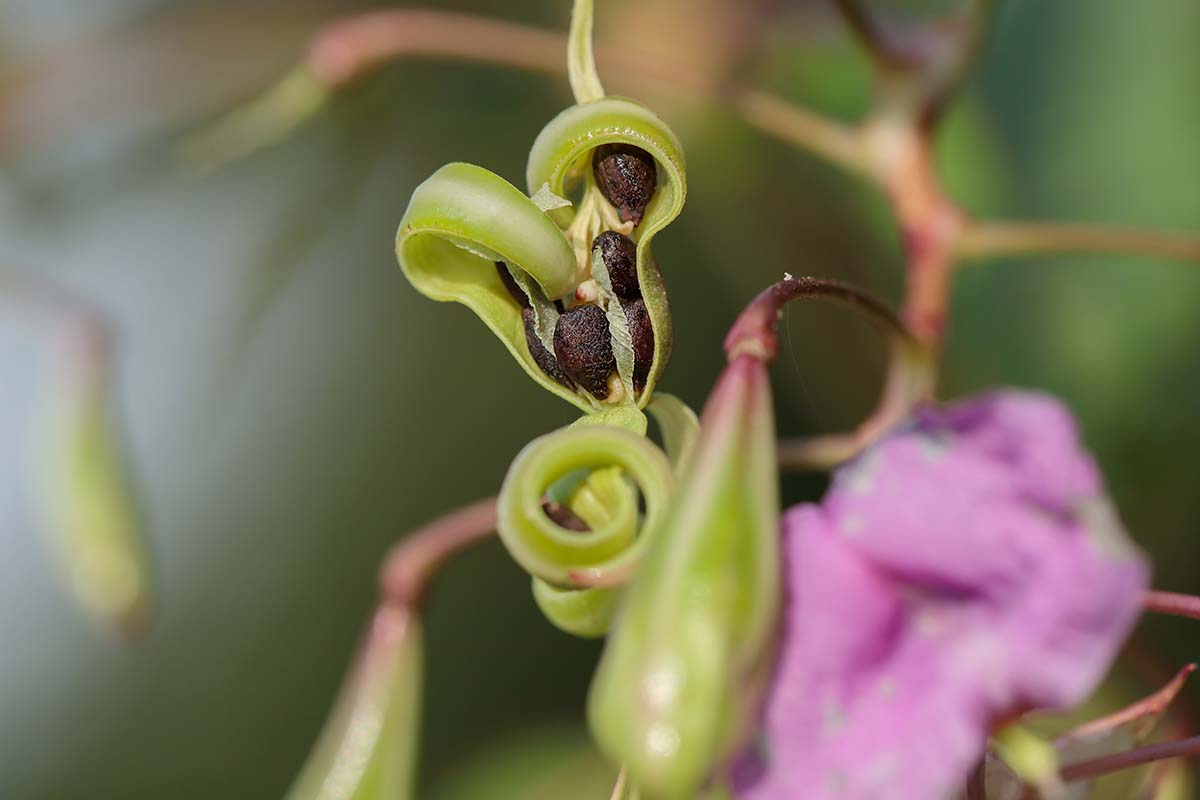
If you want to catch the seeds before the pods burst, look for a pod that is full and plump but hasn’t split open yet. Gently lower a clear plastic bag over the top of it and turn it upside down. Pinch off the pod, keeping the plastic bag in place in case it bursts.
When they’re really ripe, the slightest touch will cause the pods to burst, and they shoot out harder than you might expect.
I’ve been hit in the eye and shot in the cheek, and both times it left a mark! That’s why you want the bag around the pod when you touch it, otherwise, the seeds might go anywhere.
Not all harvested seeds will grow true to the parent plant, so it’s best to purchase them if you want to be very certain about what you’re growing.
You can purchase them at many retailers, including places like Burpee.
They have packets of 30 Candy Box Mix (I. walleriana) seeds, which is a mix of salmon, lavender, fuchsia, and pink flowers.
Or grab a 50-milligram packet of Midnight Blend in vibrant red, burgundy, wine, lavender, raspberry, lilac, fuchsia, and pure red, available at Botanical Interests.
If you prefer the tall plants and big blossoms of balsam impatiens (I. balsamina), you can find a gram, ounce, or four-ounce packet at True Leaf Market.
Your Patience Is Going to Pay Off
If there’s something more satisfying than starting a big, healthy plant from a teeny, tiny seed, I don’t know what it is.
You started with a tiny nugget, and now you’re enjoying bounteous blossoms. It’s like alchemy. So long as you keep them warm and moist enough, these plants are pretty easy to propagate.
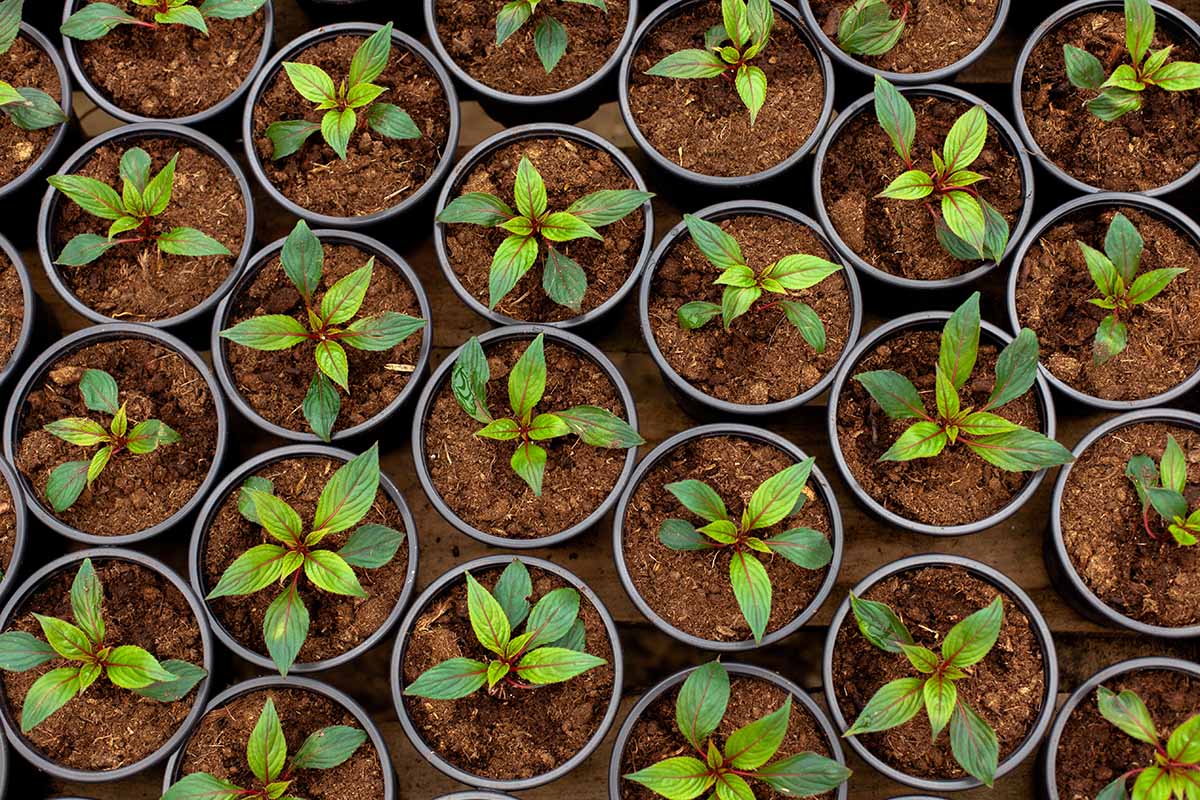
Which species are you starting? Have you run into any trouble with the process? Let us know what’s going on in the comments section below and we’ll help you sort it out.
If this article was useful for you, we have more guides to help you grow and enjoy impatiens plants. Here are a few that you might want to read next:
