How to make a customizable pet food tray that will hold up to water and messes!
I made an adorable, washable feeding station using scrap wood and paint we had on hand and we LOVE it! It turned out so cute.
This is the second time I’ve made a custom DIY pet food tray. I’ll show you my first version at the end of this post!
So we decided to move them back into the pantry at the end of the room, but I wanted to build a new pet food tray to coral their messes a bit.
Our dog seems to drip more out of their water bowl than actually drink it, and our cats drop their food all around their bowls. We needed something that could be washed and hold up to standing water over time.
Thankfully I had most of the materials needed for this cute tray already, so this was a super inexpensive project!
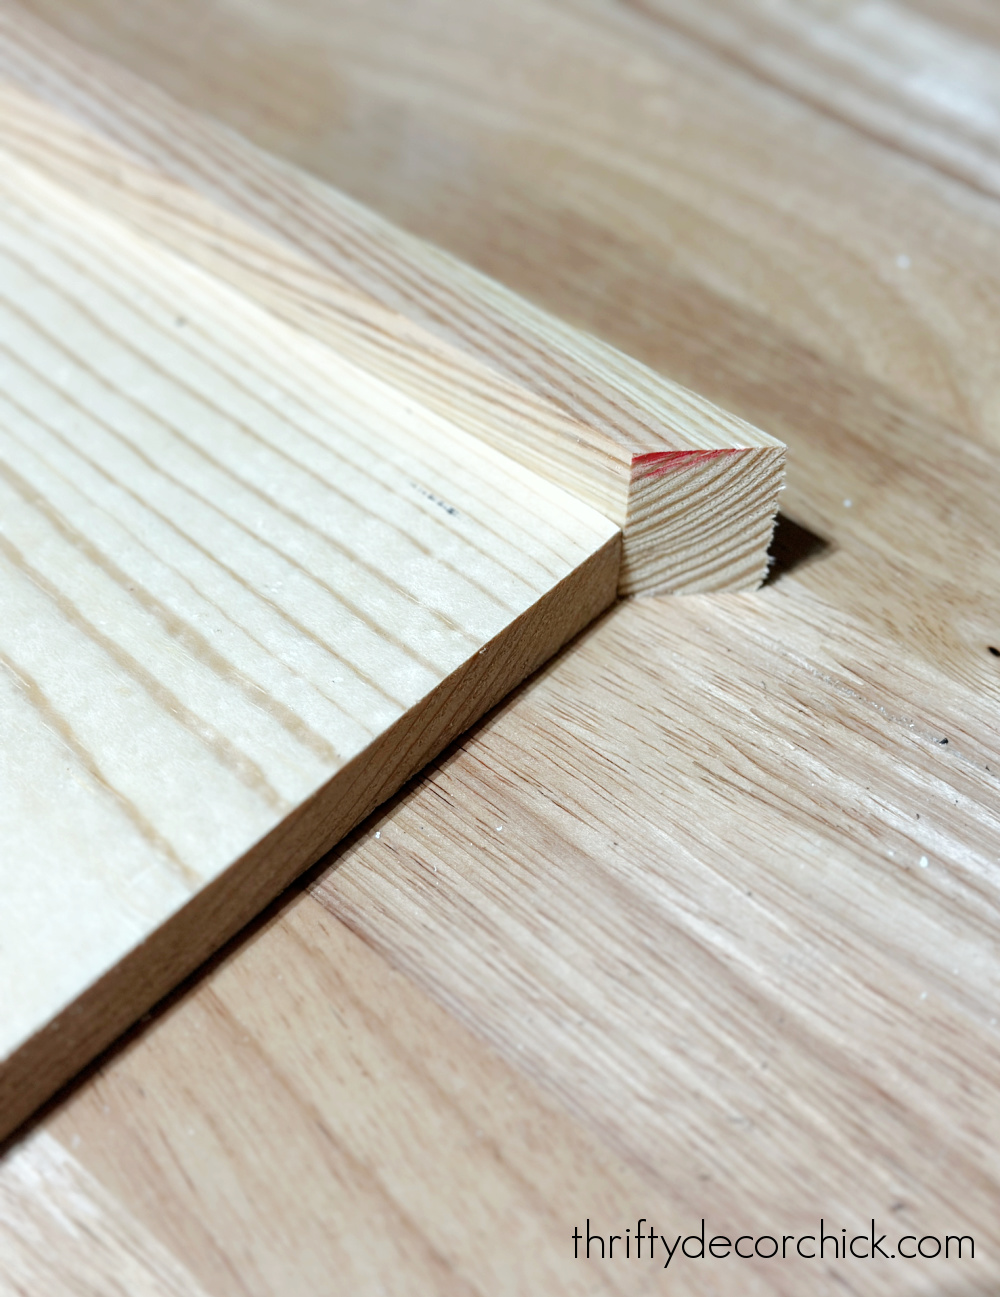
I started with a piece of scrap wood for the bottom of the tray, and then mitered the ends of a 1×2 to make a “frame” around the bottom:
This post may contain affiliate links for your convenience.
I may earn a small commission when you make a purchase through links.
This tray is a great beginner project if you’re just starting out with tools and DIYing!
I measured the pet bowls to see what size I needed and I ended up with 30 inches for the base of the tray. I cut down my 1x2s for the lip on my miter saw.
To attach the trim, I added a bead of wood glue before nailing them into the sides of the base with my nail gun:

If you don’t have a nail gun, wood glue would be sufficient — you’ll just need to let it dry before moving on.
And then because I wanted this to be water tight I caulked the gaps between the base and the trim. This is super important to keep any water from getting into the crevices!
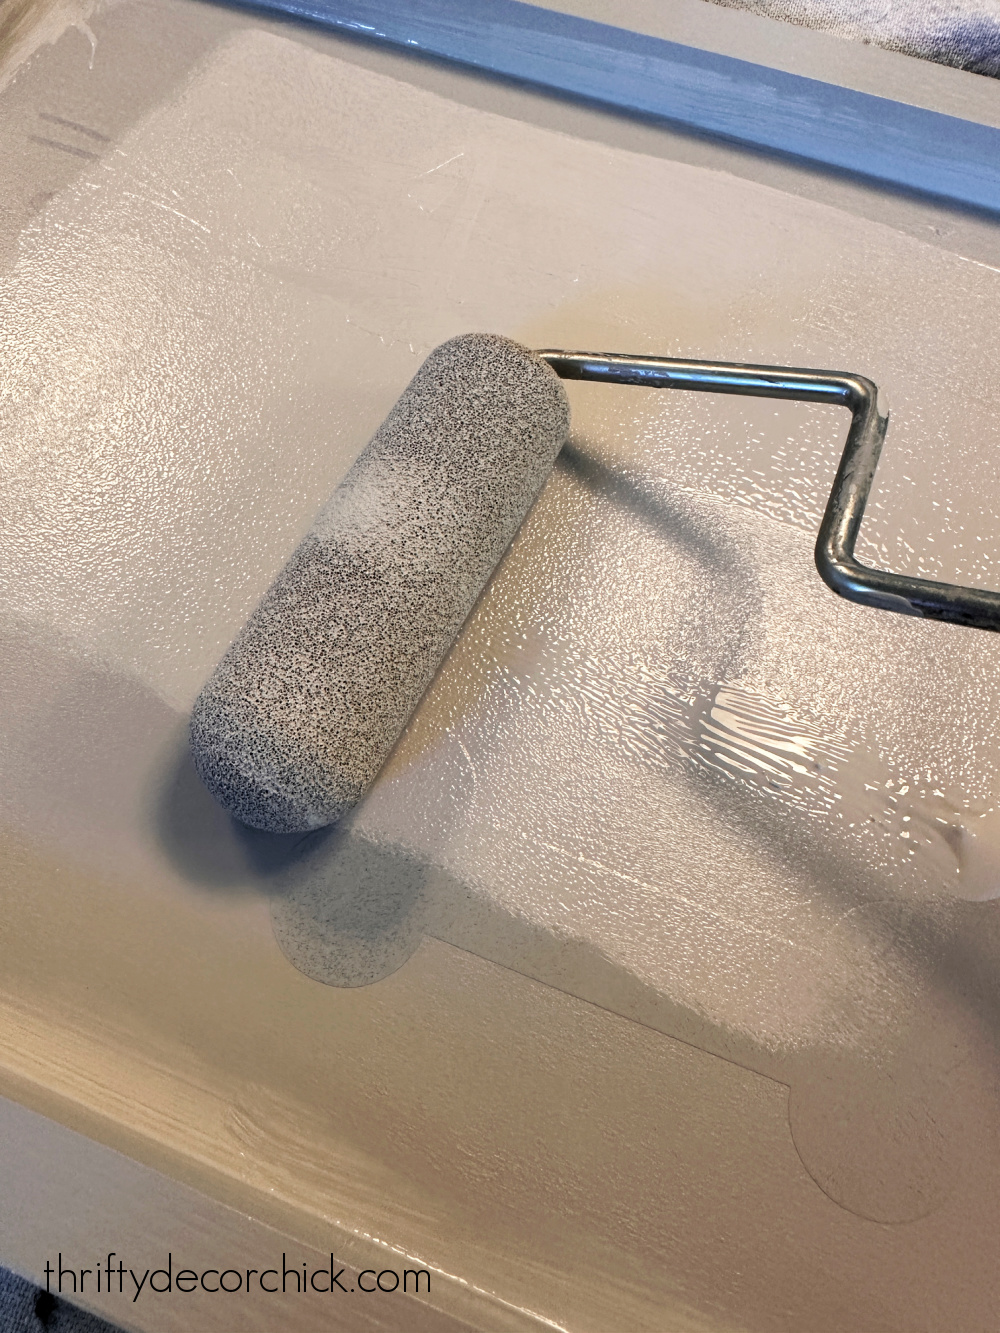
I had this wood primer from Sherwin-Williams on hand and it was perfect for this project since it’s made to protect exterior surfaces that get rain:

Any primer will work, but this version just gives a bit more protection.
Wood surfaces can hold up to a lot of moisture with caulk and paint!
A few coats of good paint will prevent even MDF from absorbing water.
After two coats of primer, I put a quick coat of white paint on just the base of the tray and then let that dry for day before moving on to the adorable part of this DIY. 🙂
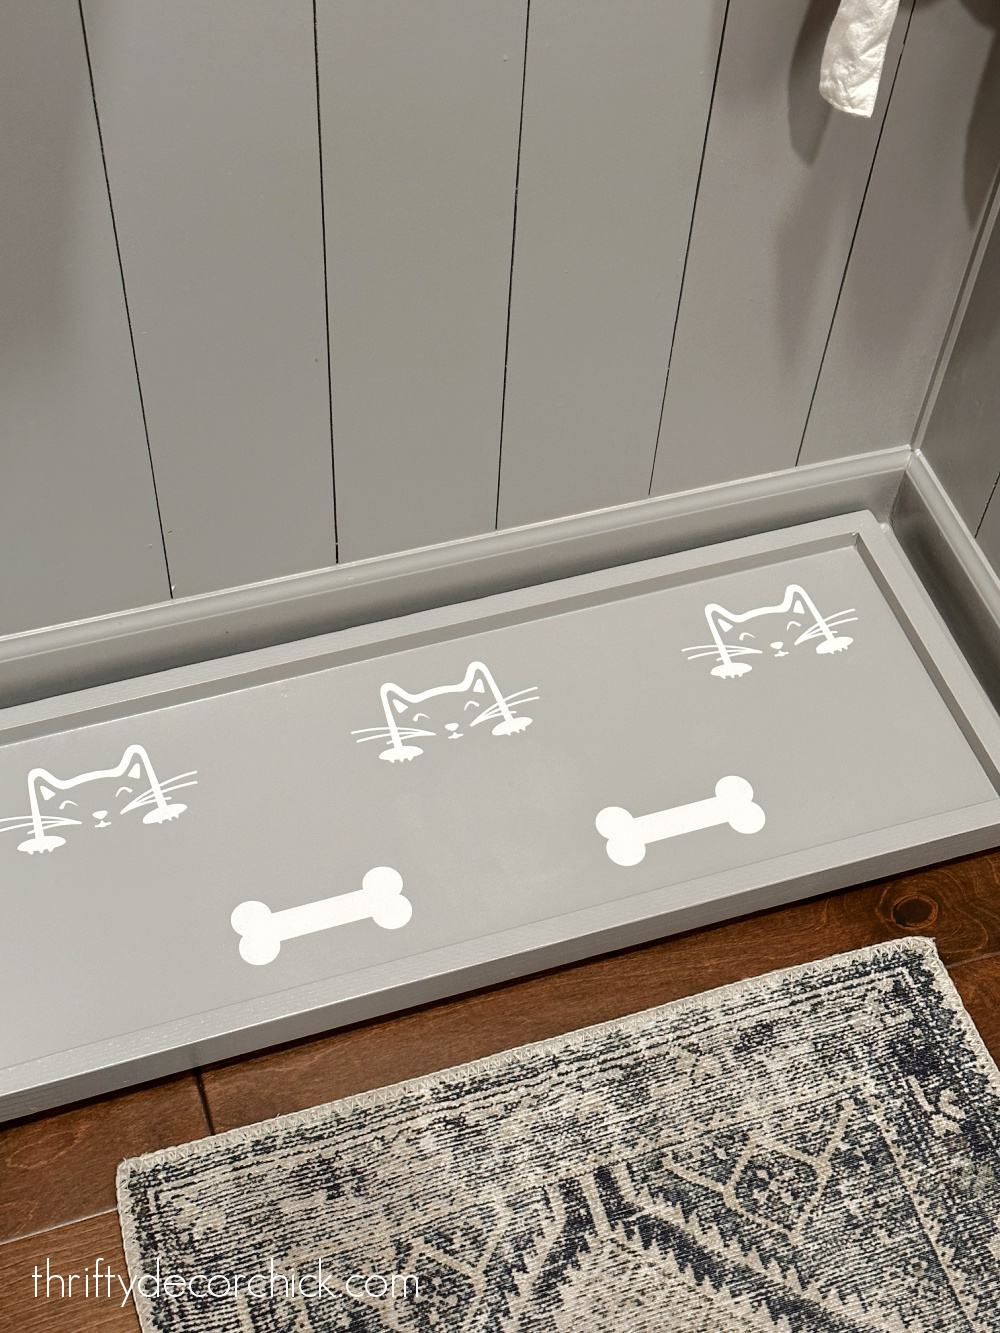
I got some pet wall vinyls last year for another project, and thought this tray would be another cute way to use them! I put a few on the bottom over the white paint:

Keeping the vinyls on, I painted a couple coats a light gray over the entire thing:
I color matched our pantry cabinets to get this color, here’s the formula you can take to the paint store:

It’s such a lovely gray color — no weird undertones at all!
Next, I wanted to add some feet to get the tray up off the floor. I wanted it to be open a bit underneath in case water spilled out.
I found these cute little wood toy wheels at the craft store and painted four in that same gray paint:

I attached these into each corner underneath the tray with screws.
After the paint was fully dry, I used some tweezers to pull up the dog and cat vinyl designs:

I let everything dry for a full day before putting the food bowls on the tray. It turned out SO cute!!:
Adoyable as my neice would say! 🙂
I kept walking around with it, showing my family how stinking cute it was. 😂
I made it to fit at the end of our pantry:

We don’t walk down that far since that end cabinet opens out towards us, so it’s plenty out of the way.
I like having their food back in here so they have more of a calm space to eat. It’s also great because we keep the cat and dog food in that cabinet and it’s easily accessible.
The animals seem to like it. Ha! SO cute:
It’s out of the way and gives them plenty of room. This tray also elevates their food bowls, which is better for food digestion.
I put this simple project off forever, and finally got it done for around $10 in materials!:

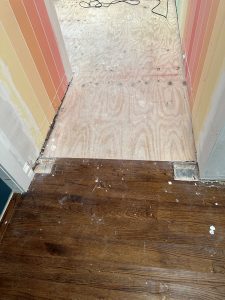
Years ago I made a very similar tray at our old house. I used some painter’s tape to create a simple striped design on that one:

I think the size was the exact same! I don’t know what happened to this one — I can’t remember what we did with it. We had SO many things go missing in our move, maybe it was one of those.
It turned out really cute as well — you can customize these so many ways when you make your own pet food tray:

I’ve made quite a few decorative trays in my day, including this tray with leather handles, and this Lego hideaway tray.
I can never find the perfect sized tray at pet stores, so this is a You can change these up so many ways — add some handles, use a stencil on the base, whatever you want – the possibilities are endless! 🙂

