These ten DIY hacks will make your next painting or wood project easier!
I’ve gathered my favorite little hacks and tips for home DIY projects to share with you! They are tricks that save money and make projects go much smoother.
I use ALL of them consistently and they help a ton, whether you’re staining, painting or building.
My summer of slothdom is about to end my friends! If you’ve been reading for a while you know how I do. Heat makes me…tired. And grumpy. But mostly really lazy tired.
I’m already dreaming up a bunch of DIY projects I want to tackle now that a normal schedule will be upon us again soon.
That had me thinking about these DIY tricks. Some of them are pretty basic, but I wish I would have known about them in my early do-it-myself days.
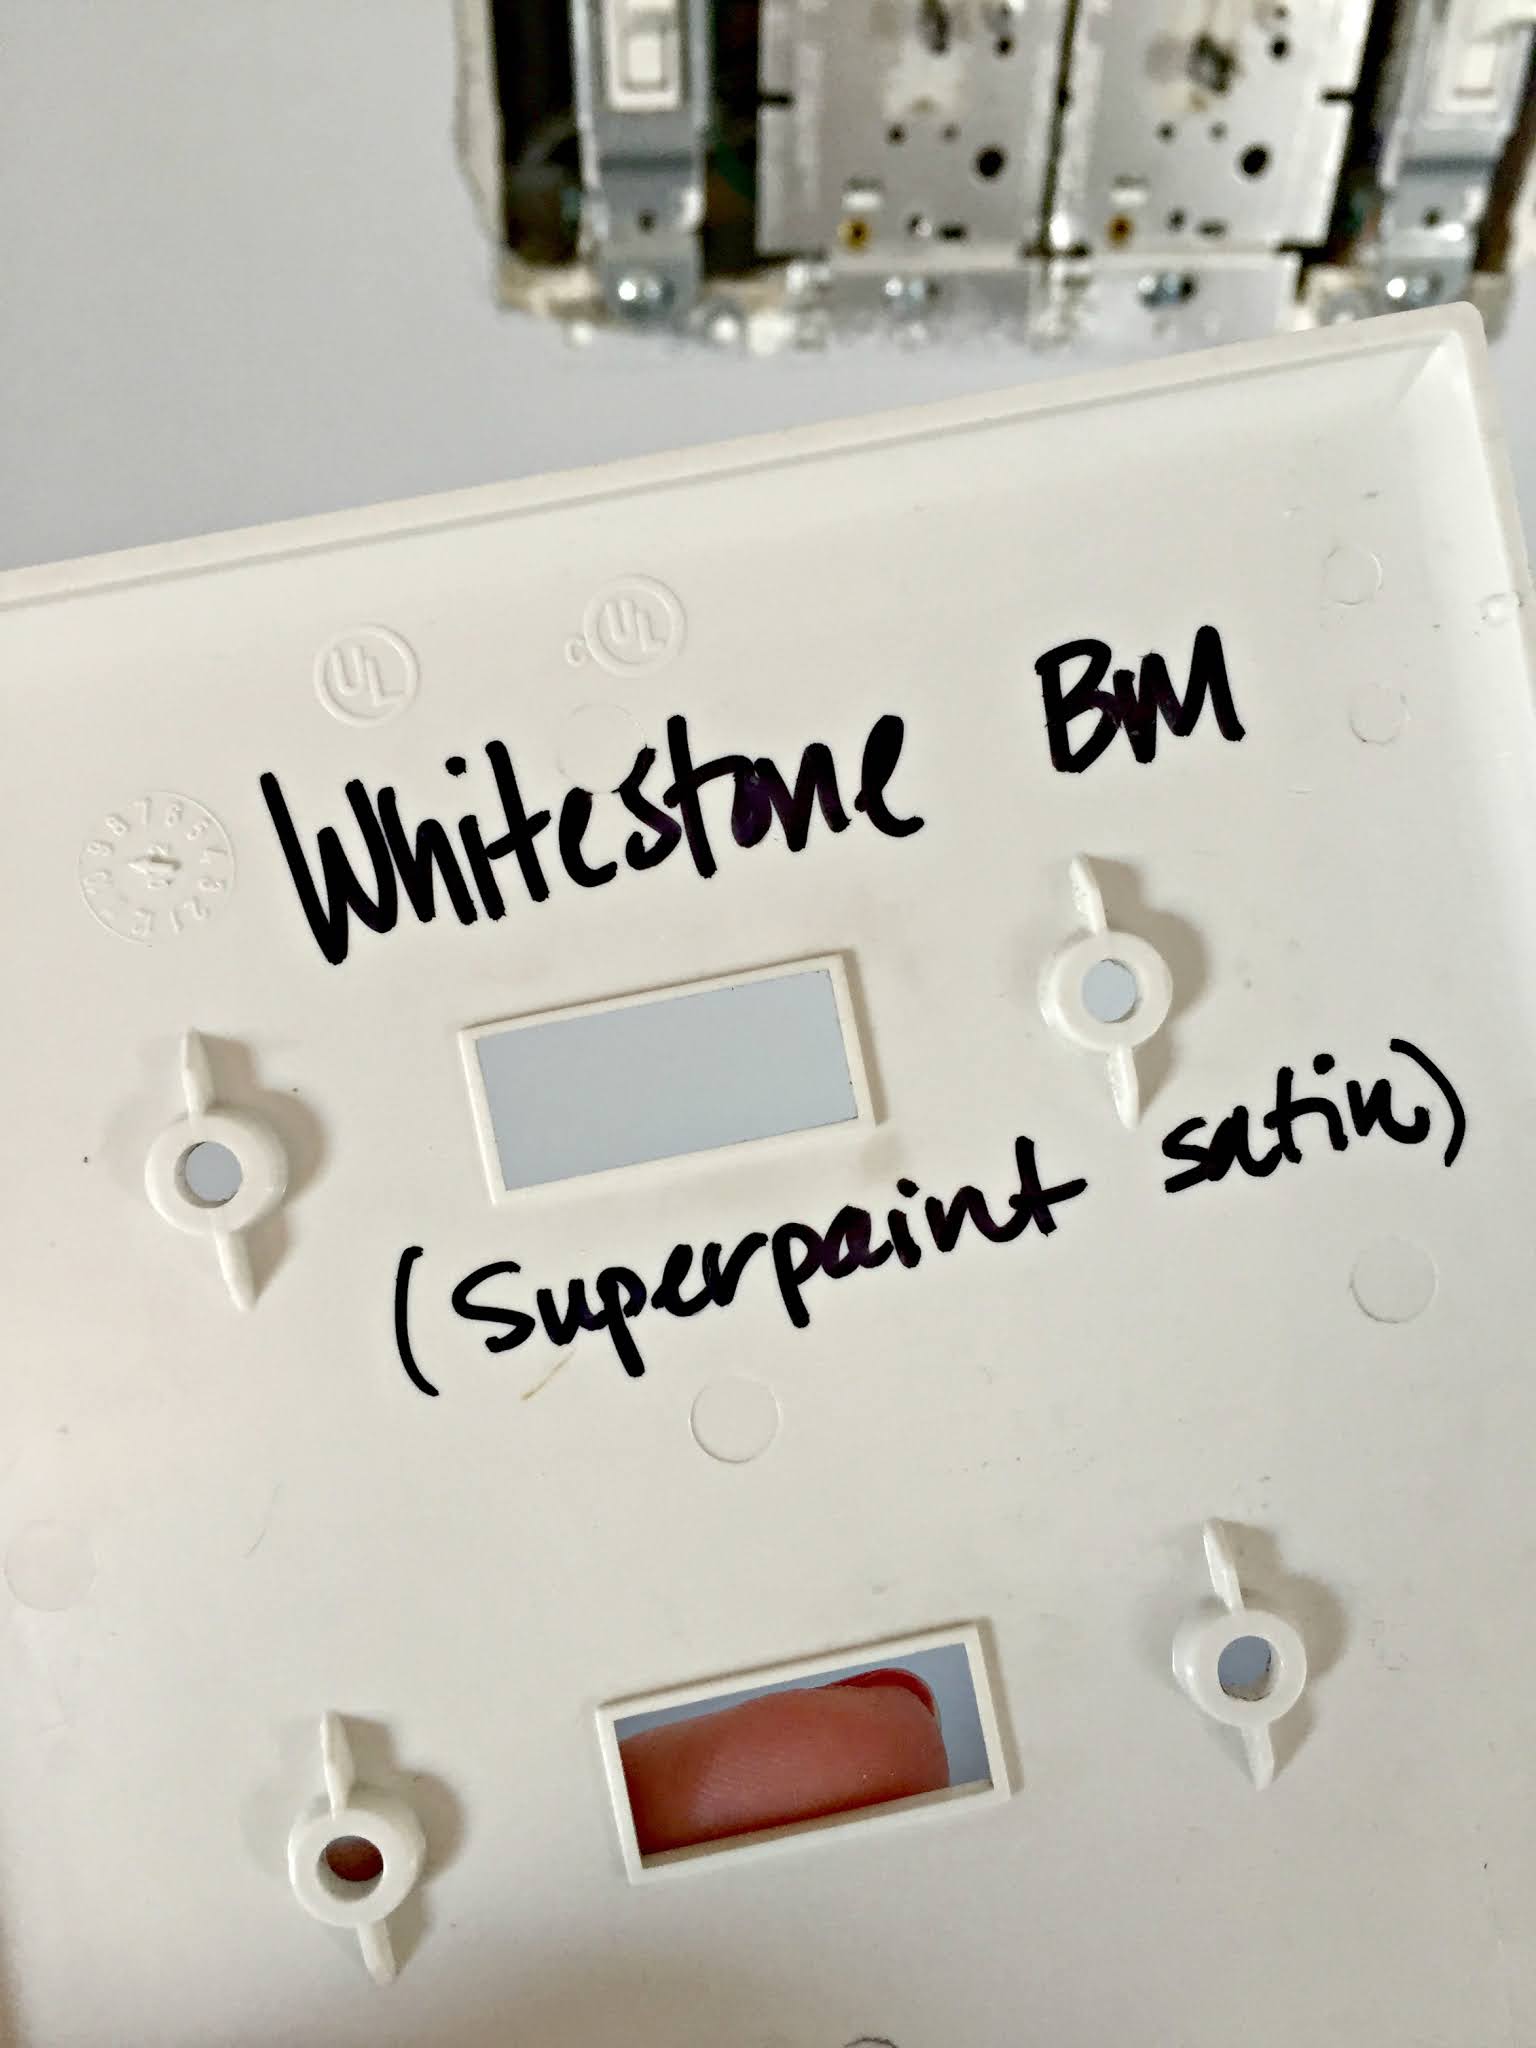
1. Never forget a paint color
We’ve all been there — you need to touch up a spot, or you love a color so much you want to use it again. But did you use eggshell or satin? Was the color Storm Cloud or Stormy Clouds?
Use a sharpie and label the back of your switch cover with the name, sheen and brand of your paint:
This post may contain affiliate links for your convenience.
I may earn a small commission when you make a purchase through links.
This is super helpful, especially if you’re used similar colors throughout your house, or even a different sheen.
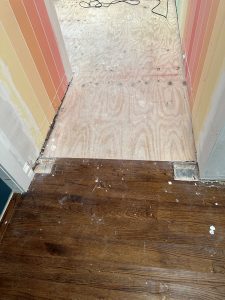
2. Insulation tubing to fill holes

It’s called backer rod and is the perfect way to fill large gaps in trim or along the floor. (Backer rod is made for this purpose, but any small foam tubing will work!)
Since it’s so easy to manipulate, you can cut it to the size you need and squish it into the smallest spots:

It’s especially helpful when you have a big gap you want to caulk over — you’d have to use a TON of caulk. With caulk you have to fill, then and wait over and over again as it dries, fill more, let it dry, etc.
With this it fills that in, you’ll save all that caulk and you can finish it off with a bead of caulk right over it.

3. Paper bag instead of sandpaper
I LOVE this little hack and use it often.
Instead of a fine grit sandpaper, tear off a piece of paper bag to do your final sanding on wood staining and polyurethane projects:

Just “sand” all over the surface with the paper bag and it will knock all of that down and leave you with a perfectly smooth surface and no marks.
You can use this paper bag trick over a DRY painted surface as well!
4. Make cheap wood work
Common pine is the least expensive and has more knots and defects. Select pine is more expensive and is much smoother and has a cleaner look.
I always use select pine for the areas you’ll really see…like the trim on the front of bookcases.
This pine has one coat of paint, but you can see some of the imperfections:

A lot of the time I will just roll on my paint heavily in those areas and let it go at that. You can see here that the paint didn’t fill in that rough spot enough.

I also use spackle (that I use when filling drywall holes) and it holds up just as well.
Use the putty knife to push the filler in and then lightly sand (and clean) before painting again. You won’t even notice the imperfections when you’re done!
5. Shims are your friend

You can use them underneath, behind and in between to get everything perfectly flush.
But they’re also helpful for built in projects and getting the front trim looking super professional:

See how seamless those front frames are on the bookcases? That front trim is the most important part in my opinion — it’s what you see more than anything else!
If your trim doesn’t match up perfectly, you can use shims to bring the trim forward and flush with the rest.
I didn’t take the time to do this on my office built ins. To fix it and bring the front trim on the shelves forward just a bit, tap the thin end of the shims behind that trim until it brings it forward enough:

By the way, it’s not the end of the world…most of the time only you will notice these small imperfections. (And anyone else who does gets a cookie…)
You may have to do it from both the top and the bottom, but it will work! When you have the shim where you want it, score it with a razor blade where it meets the trim and snap off the end with the thin part still behind the trim.
Use caulk to fill in any gaps the shims created on the top of the shelf. (On bookcases most will be above your head anyway.)
6. Picking the perfect piece of wood
The more you spend on wood, the less you’ll have to look for imperfections. It’s worth it to me to spend (a lot) less on pine and spend a little more time digging to find “cleaner” boards.
Watch for large knots (they may pop up or out of the wood over time), sticky sap (that is impossible to get off), cracks in the wood and missing chunk.
If you find a board that checks all of those off the list, you’ll also want to check the wood for bowing.
Wood can look great in the store, and then you’ll get it home and realize it’s so horribly uneven you can’t get it to lay flat.
You can avoid this by holding the board in front of you on the floor and eyeing it right down the middle:

You’ll immediately be able to tell if it’s straight and flat.
If you look closely, you’ll see that my board is slightly bowing at the end — just a bit of a bow that goes to the right. This doesn’t bother me if I’m using the wood for front trim, as I know I’ll be able to secure it well enough.
I always check my skinnier molding pieces for bowing as well. If it’s thin enough you’ll be able to straighten it out during install, but some pieces should be avoided all together.
Check wood boards from all sides, as the wood can bow all kinds of ways.
7. Easy uniform spacing on wall treatments
If the spacing isn’t consistent you will notice that small imperfection more than you think.
I have found a coin is an easy way to get that perfectly thin, consistent gap between each shiplap:

You’ll want to move it down the plank as you nail it in. Sometimes I use a penny for a smaller break, sometimes a nickel.
Scrap wood cut to the length you need is also GREAT way to easily keep measurements consistent when you’re installing a trim project:

They make it MUCH easier to keep continuous distances if you’re repeating the same design throughout a space:

8. Cutting a hole in the middle of wood
Sometimes you’ll need to cut a hole for an outlet, switch plate or vent on the wall. A jigsaw is the best way to cut those smaller, detailed spots:

It’s easy to do when your cuts are on the side of the board — just start cutting with your jigsaw from the side.
But if you need to cut a hole in the middle of the board, this trick is helpful.
Do NOT try to start a cut with a jigsaw directly on the wood. It will rattle all over and potentially snap the blade.
Instead, use a drill and large drill bit to add holes in your wood as a “starter” for the jigsaw:

That way you can slip your jigsaw blade into the hole and start a straight cut. I like to use four holes so I don’t have to do any curved cuts.
9. Use scrap to protect your projects
I tend to keep way too much scrap wood…I’ve learned to let go of smaller pieces over the years but it hurts my soul a little bit every time. 🙂
I keep some scrap because I’ve learned it’s hard to finish a lot of DIY projects without it!
When you have a piece that is a tad too tight into a spot (and you really don’t want to go cut millimeters off of it for the THIRD TIME), use scrap pieces to hammer your trim into place:

Here I’m holding the scrap underneath the trim and hammering it into place till it is level. If you tried to do this directly to the nice trim part, you’d dent the sides or front with your hammer or mallet.
You don’t ever want to force your wood where it won’t fit, so if it’s way too long cut it down.
For a piece that is thisclose to fitting, you can easily maneuver it into place by pounding it with your scrap wood. And your “good” wood will still look great!
If you look closely, you’ll see that I also use scrap to write down my measurements. This is especially helpful if you’re going up or down steps to cut your wood and you tend to forget the exact measurement by the time you get to the saw. This could just happen to me. 🙂
I also use scrap wood pieces to remove trim — if you put too much pressure on a crowbar it will dent or break the drywall:

If there’s too much resistance as you push the crowbar back to pull the base away, it will dent your walls. Place a thin piece of scrap wood behind the crowbar and the wood will disperse the pressure.
10. Easily clean paint brushes
I use this brush cleaning comb every time I clean my paint brushes:
 |
You use it to comb the paint and dried up bits out of your paint brush. I use it when I wash the brushes, and then sometimes later after they dry to get any little additional bits out of there before painting again.
Do you use any of these simple DIY tips? I use them on ALL of my projects, big to small. I’m sure I’ve forgotten a few, but these are my favorites.
Any others you use consistently?


