I’ve been talking about gold leafing the light fixture in the back entry of the studio for a while now, but I kept putting it off because I could just imagine the misery of standing atop a 10-foot ladder for hours while applying adhesive and gold leaf to that large fixture. I just couldn’t bring myself to do that, so I kept putting it off.
Well, thanks to my new scaffolding (this is the one I bought (affiliate link)), this was a very easy and fun project. I have the scaffolding platform set as high as it will go, which I think is around six feet, and I was able to sit down while gold leafing most of the light. This was my view for about three hours last night. The light fixture was practically sitting in my lap. 😀
I only had to stand up to do the very top part of the rod and the canopy against the ceiling.
So let me remind you where this light started. I bought it from Lowe’s several years ago. At the time, I was adding lots of black accents to the studio, so the black light fixture fit in perfectly with my plan. This is a picture of the light right after I installed it, and before the first iteration of the back entry was even finished.

That light was perfect for that very bold Kelly green, white, and black look I was going for the first time around. Obviously, I didn’t yet have the light on a dimmer when I took the picture below. 😀 That’s a lot of light bulbs, and a very bright light.

Anyway, the black light was fine for a while, but now that my vision for the studio has changed quite a bit, and I’m going for a much lighter, brighter, more feminine look, the black light (along with most of the other black accents) started to look and feel too heavy for my taste.
But I didn’t want to take the light fixture down, paint it, and then reinstall it. That fixture is a bear to install, and I remember the frustration I had the first time I installed it. So I wanted to find a way to change the look without having to remove it. Gold leaf seemed like the perfect solution, especially since I had already gold leafed the pendant lights and the sconce on the mural wall. (You can read more about that here.)

The process was exactly the same with this light, but it was much more time-consuming because the back entry light has a lot more parts to it. I used the same gold leaf adhesive (affiliate link), and applied it with a 1-inch artist paint brush. After letting it dry, I then applied the imitation gold leaf (affiliate link).
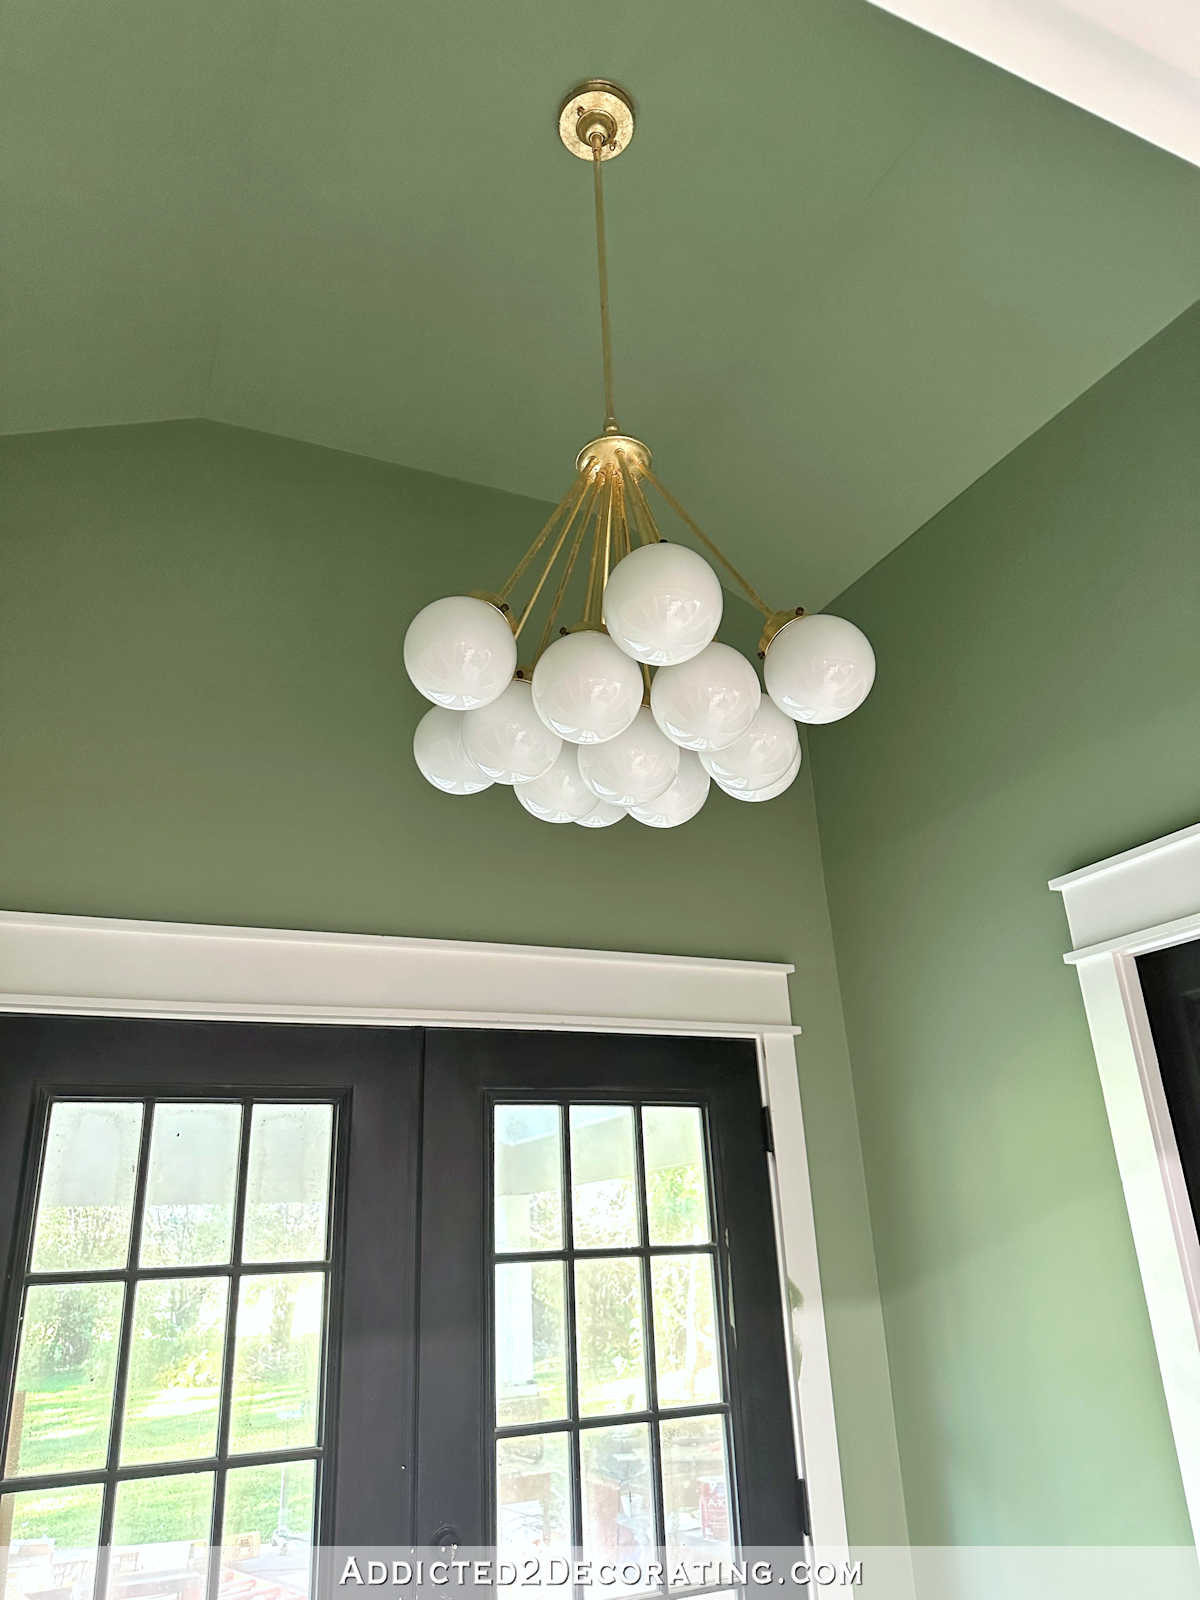
And here’s how the light turned out…

I love it so much! The light and airy look of the gold leaf is so much better in the current room than the black. Here’s a look at the scaffolding in relation to the light fixture. For scale reference, that brown can sitting on top of the platform is a one quart can of metal leaf adhesive.

I just can’t sing enough praises about my new scaffolding. 😀 I really do wonder how in the world I’ve been DIYing this long without scaffolding. I should have bought it years ago.

But back to the light. I love how it turned out. It’s amazing what a difference a simple change in color can make!

Now I need to make a decision about the color I want on the doors. The black is definitely too overpowering, but I just can’t seem to make myself commit to white.

But I do need to keep in mind that the floral pattern of the mural will be repeated on the back doors with curtains in the same print. So even if the doors are white, there’s no way this back entry will look boring when it’s finished. 😀 So maybe with that in mind, the doors will be fine painted white. Or maybe they’re the perfect opportunity to bring in another fun color. Ugh! I can’t make up my mind! Something like a really pale pink might be pretty. Or even something in a peach color. Or a darker green. I’ll land on a decision eventually. Cleary, I’m not there yet.
Addicted 2 Decorating is where I share my DIY and decorating journey as I remodel and decorate the 1948 fixer upper that my husband, Matt, and I bought in 2013. Matt has M.S. and is unable to do physical work, so I do the majority of the work on the house by myself. You can learn more about me here.

