If you’re growing fruit trees, you will have to become familiar with the process of pruning, there’s just no way around it.
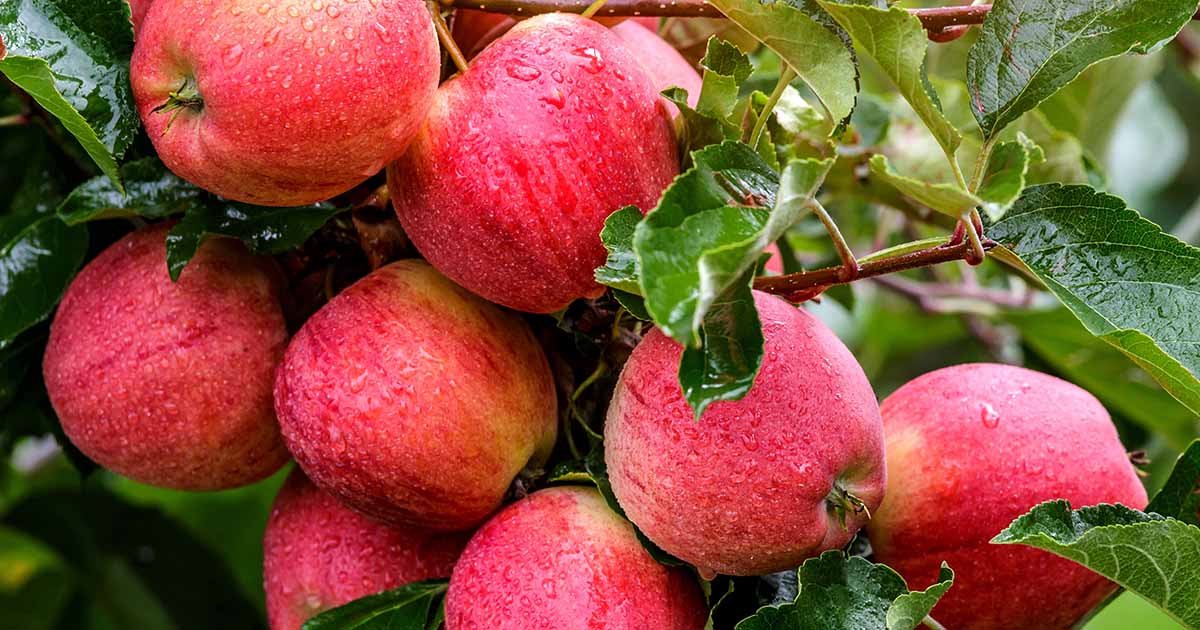
Species like plums, cherries, and apples need to be pruned regularly to ensure they produce an abundant harvest.
Pruning improves the health of the apple, increases airflow in the canopy, helps control the size, and can increase fruit production.
Apples, in particular, require some careful snipping and shaping.

We link to vendors to help you find relevant products. If you buy from one of our links, we may earn a commission.
If you were to ask 10 apple growers how to prune, you’ll likely receive 10 different answers. But they’ll all agree on a few basic pruning principles.
In our guide to growing apples, we cover how to cultivate these trees in your landscape.
As pruning is an essential part of apple maintenance, in this guide we’re going to discuss what you need to know about the process to increase production and promote the health of your tree.
Here are the topics we’re going to go over:
Apples fruit best on wood that is two years old, meaning the wood that grew on the tree the year before last. Our pruning will focus on promoting lots of healthy second-year growth.
There are two types of bearing in apples: spur and tip. The type that you have will influence how you prune. Don’t worry, we’ll explain how to determine which is which if you’re unsure.
When to Prune
Pruning is best done when the apple is dormant. Depending on where you live, this is anywhere between November and March.
If there is live growth on the tree, like leaves or buds, the specimen isn’t dormant.
That doesn’t mean you can prune any old time during the dormant season.
If the wood is frozen, don’t prune. If the temperature has been below freezing for a day or two, don’t prune until it warms up above 35°F for at least three days.

Pruning to remove broken, diseased, or otherwise problematic limbs can be done at any time of year.
It’s best to take off anything that is potentially harming the tree right away. Having said that, try to avoid pruning during extreme heat and drought.
Offer your apple trees some water a few days before you prune if it’s warmer than usual in your area.
When you’re ready to start trimming, you’ll need a saw, loppers, and secateurs. Make sure they’re clean.
How to Make the Cuts
There are two kinds of cuts that you’ll need to make when pruning apples: thinning and heading.
Thinning is when you remove an entire limb back to the trunk or nearest branch, and it’s how we remove unwanted wood.

Heading cuts remove the ends of limbs to encourage branching and encourage new growth.
For thinning cuts, each time you cut a branch away from the trunk, you want to leave the branch collar intact.
The branch collar is the little raised area at the base of the branch.
If you make a flush cut that removes the branch collar, you leave behind a larger wound than necessary and expose the apple to disease and pests.
To make a thinning cut, first cut halfway through the limb from the underside about six to nine inches away from the trunk.
An inch or two further away from this cut, make a cut halfway through the branch coming from the top down.
These two cuts won’t join, they are just there to relieve pressure and prevent the branch from splitting as it falls away from the tree.
Make one final cut right next to the branch collar. This cut will need to be made parallel to the trunk but at a slight angle so you don’t cut through the branch collar.
So the cut will angle in toward the trunk slightly as it goes upwards. You will be left with a little lump on the trunk, which is the branch collar.
This three-step cutting process reduces the chances of the branch cracking or you making a bad cut.
For heading cuts, you should make the cut just in front of a leaf node at a slight angle. If you picture a clock, the cut should have a two o’clock or 10 o’clock angle about half an inch away from the leaf node.
Never make a heading cut close to the trunk beyond all of the leaf nodes or you will leave behind a stump that will eventually die and rot.
It’s not necessary to use a wound sealant. Your apples will take care of sealing their own wounds and sealants can increase the risk of rot.
Training a Young Tree
Pruning in the first few years is entirely different than what you’ll do to maintain an established specimen.
During the first few years of growth, you need to prune the apple to provide it the best shape for healthy production in the future.
Your first task is to decide if you want an open vase (or center), modified central leader, or central leader shape.
Central leaders work best in areas that experience heavy snow. This shape has that classic upright tree form with a strong main trunk and upright branch extending to the top of the tree.
Open vase shapes provide the best air circulation and sun penetration to the canopy, and the fruits tend to be closer to the ground making harvesting easy, but the branches are more likely to break in heavy snow.
With the vase shape, sometimes called open center, imagine a bowl-shaped canopy. The tree will lack that strong central stem and will instead have multiple main stems that extend at an angle from the trunk.
This shape is most common for plums, peaches, and apricots, but growers in regions like the Pacific Northwest opt for this shape for apples and pears since snow isn’t such a concern there.
The modified central leader combines both, with multiple main branches extending out of a strong main stem.

Some young apple trees come pre-trained and if you purchased one like this, you just need to maintain the shape for the first few years after you put it in the ground.
But if your apple tree isn’t trained already, you’ll need to do the work right after planting.
Let your climate and the natural growth of the particular cultivar you are growing inform your choice. ‘Granny Smith,’ for example, lends itself to a more open shape. ‘Red Chief’ naturally has an extremely strong central leader.
To promote an open vase shape, cut the main trunk about 30 inches above the ground, leaving three or four main limbs, known as scaffolds.
Make a heading cut about half an inch above the top remaining branch and remove any excess branches below the cut so there are only three or four left.
The three or four remaining scaffolds should be evenly spaced and should have a 45-degree angle to the main trunk.
If there aren’t any branches with the correct angle, you can prop a two-by-four plank between the trunk and the limb to push it down a bit and encourage it to grow at a better angle. Otherwise, just do your best to pick the limbs with good angles.
The remaining scaffolds shouldn’t be directly above each other.
The second winter after planting, you should have secondary branches forming and a few new main branches trying to develop on the trunk.
Remove all but two or three secondary branches on each main branch. These should be evenly spaced and not directly lined up with each other. Remove any new main branches growing from the trunk.
The central leader style is pretty easy to start because it works with the tree’s natural shape. You want to identify the main trunk running up the center of the specimen. That’s your leader. If your tree has more than one main trunk, remove all but the most central and strongest one.
Then, remove any branches that have a tight crotch. This means two branches emerging from the same spot, creating a tight “V” between them. You want to remove one of these branches to leave just one behind.
Remove any branches that are crossing, fully upright, or close together. Any branches growing at the same angle within a few inches of each other should be removed, as well.
For a modified central leader, start with a central leader shape. In the fourth winter after planting, remove the central leader just above the top branch.
After that, it’s all about maintaining the shape.
Pruning Spur-Bearing Trees
The vast majority of newer, modern hybrids that we grow in home gardens bear fruit on spurs.
Spurs are those short little stems that look sort of wrinkled. They never grow more than a few inches long.

‘Red Delicious,’ ‘Empire,’ ‘Gala,’ and Braeburn apples are all spur-bearing types. If you aren’t sure which kind you have, head outside in the spring when the tree is blooming and look at the flowers.
If the flowers are borne on the tips of long, thin, smooth shoots, it’s a tip-bearer. If they are borne on short, wrinkled spurs, you’ve got a spur-bearing tree.
Spur-bearing types produce best on second year wood but the branches will still produce well in the third, fourth, and fifth years. After that, production drops off.
Your job is to try to create a balance of one-, two-, and three-year-old limbs on the tree. The easiest way to do this is to remove about 15 percent of the limbs each year, taking care to leave obviously young branches.
Not all of the limbs you remove will be the three-year-old or older wood, but that’s fine. Just do your best to target the older-looking branches.
Never remove the main scaffolds. Those are the original main branches that were left in place when training the young apple.
Of course, you should also take off any broken, crossing, diseased, or deformed branches, as well as one of any branch pairs with a tight crotch. Remove weak branches that bend when laden with fruit.
Always remove any spurs that grow on the underside of a branch. These will never produce well.
Over pruning will stress the tree and can result in the development of water sprouts, and these should be removed.
How to Prune Tip-Bearing Types
Tip-bearing apple types produce fruits at the end of the longer shoots. Most heirloom apples are tip-bearing. ‘Cortland,’ ‘Fuji,’ ‘King,’ ‘Granny Smith,’ and ‘Rome Beauty’ are all tip-bearing types.
It’s important to note that if you prune branches in the spring and cut off the wood where the new shoots are or will form, the apple tree won’t produce fruit that year.
On the other hand, you also want to encourage new growth so the tree produces young branches. Remember, the best fruit production happens on two-year-old wood.
Each year, get out there and remove the dead, diseased, or deformed limbs. Anything crossing or with a tight crotch should be removed, as well.
Every three years, make heading cuts to about a tenth to a fifth of the branches. They should be taken about a third of the way back.
This encourages new branches and new wood. Since apples fruit best on two-year-old wood, we want to remove older wood and encourage a constant cycle of new wood.
Remove any branches that are growing vertically or slanted downwards. Prune any that are completely shaded. Don’t take off the main scaffolding branches unless they’re dying or diseased.
When you’re done, you should have an apple tree that is slightly more open with a good mixture of new and old wood.
Overgrown Apples
An overgrown apple tree should either be pruned quite heavily for a few years in a row or trimmed a second time during the summer in addition to the winter prune for a year or two until you return it to a healthy shape.
Prune out some of the excessive branches, but be careful not to take more than 10 percent of the growth during each session.
Target branches that are the wrong shape or are growing in the wrong direction. Once all of these are gone, focus on removing branches from all areas of the tree to keep it even.
Shape Up Your Apples
Don’t be overwhelmed by all the information here.
Once you get your apple tree in shape, maintenance is relatively quick and straightforward. And the result is lots of fruits and fewer problems with pests and disease.

Are you starting and training a young tree? Or are you shaping up an existing tree? Let us know what you’re up to and if you need a little extra assistance in the comments section below.
Pruning is only the beginning of making these trees look their best. Learn more about how to grow and care for apple trees in the following guides: